If your Keurig K-Mini Single Serve Coffee Maker isn’t brewing a full cup, it can be frustrating. Often, issues stem from water reservoir problems, clogs, or maintenance needs. This guide provides clear, practical steps to diagnose and fix the problem safely, ensuring you enjoy your coffee just the way you like it.
Follow these troubleshooting steps carefully to resolve common causes and keep your Keurig functioning perfectly.
Key Takeaways
| Check water reservoir | Ensure it’s filled and properly seated. |
| Clean the machine | Remove clogs and mineral buildup. |
| Inspect the brew mechanism | Look for blockages or damage. |
| Descale regularly | Remove mineral deposits for optimal performance. |
| Use proper water and pods | Avoid using overly hard water or damaged pods. |

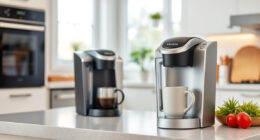
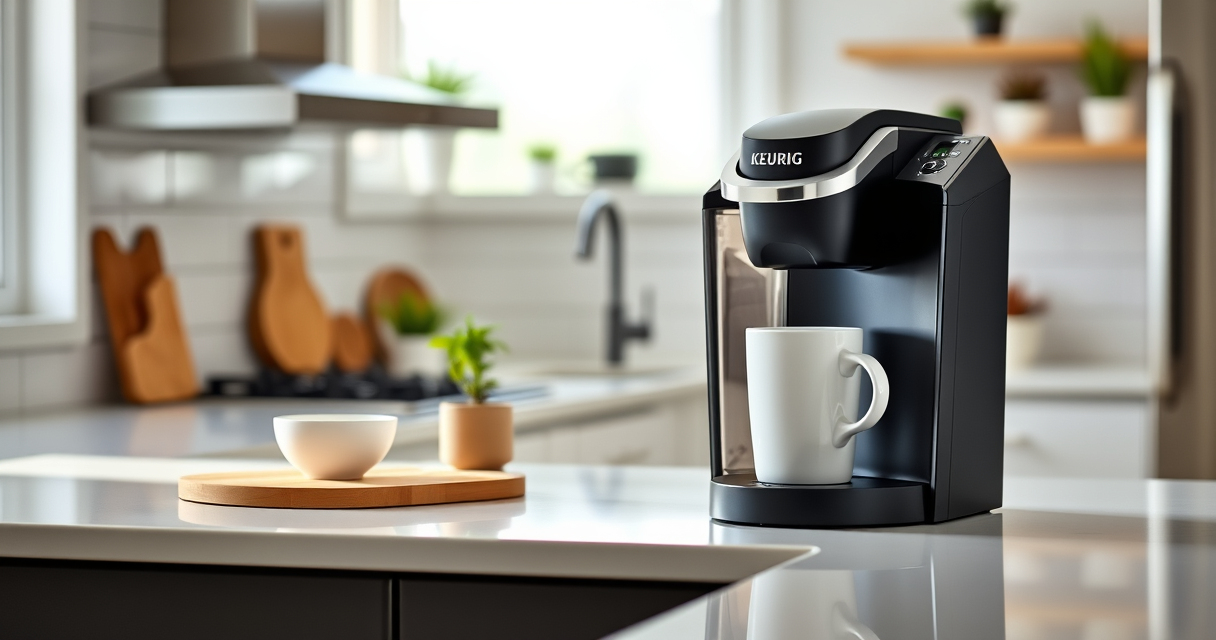
Keurig K-Mini Single Serve K-Cup Pod Coffee Maker, 6 to 12oz Brew size, with Cord Storage, Perfect for Small Spaces, Black
FITS ANYWHERE: Less than 5 inches wide, perfect for small spaces.
As an affiliate, we earn on qualifying purchases.
Ensure Water Reservoir Is Full and Properly Seated
- Remove the water reservoir from your Keurig K-Mini.
- Wash it with mild soap and rinse thoroughly.
- Refill with fresh, clean water, filling at least to the minimum line.
- Securely place the reservoir back into the machine, ensuring it clicks into place.

My K-Cup® Reusable Coffee Filter
BREW WITH GROUND COFFEE: Brew a single cup using your own favorite ground coffee
As an affiliate, we earn on qualifying purchases.
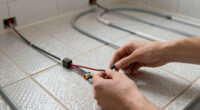
Clean the Brew Head and Needle
- Turn off and unplug your Keurig.
- Remove the pod holder and drip tray for cleaning.
- Use a paperclip or the cleaning tool to clear any clogs in the entrance needle.
- Wipe the brew head with a damp cloth, removing any coffee residue.
Perform a Descaling Cycle
- Mix equal parts of white vinegar and water, or use a descaling solution.
- Fill the water reservoir with the descaling mixture.
- Run a brew cycle without a K-Cup, discarding the liquid afterward.
- Repeat with plain water to rinse out any residual vinegar or cleaner.
Check for Damaged or Clogged Pods
Ensure your K-Cups are not damaged or clogged, which can restrict water flow. Use a reusable filter if necessary and avoid overfilling it with ground coffee. Always use compatible pods or filters designed for your Keurig model.
Tips and Warnings
- Perform descaling every 3-6 months to prevent mineral buildup.
- Never force water into the machine or use abrasive cleaners.
- Always unplug before cleaning or inspecting internal parts.
- Use filtered water if you have hard water to reduce mineral deposits.
The Products in This Guide
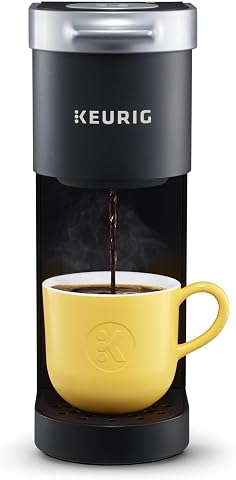
Keurig K-Mini Single Serve K-Cup Pod Coffee Maker
- ✔ Weight: 4.4 lbs
- ✔ Power: 120V
- ✔ Capacity: Removable water reservoir
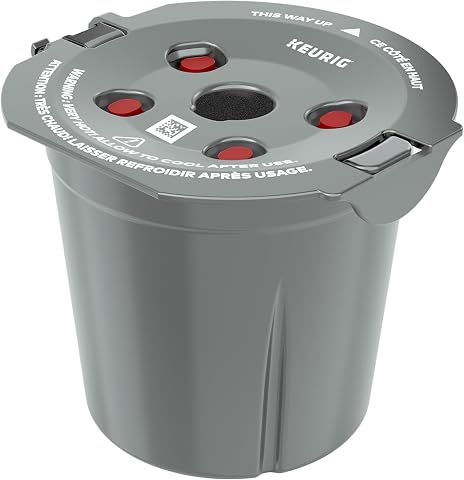
My K-Cup® Reusable Coffee Filter
- ✔ Weight: 3 oz
- ✔ Color: Black
- ✔ Warranty: Limited
Keurig K-Mini Single Serve K-Cup Pod Coffee Maker
The Keurig K-Mini Single Serve Coffee Maker offers a compact design that fits in tight spaces while delivering fast, fresh coffee. Its simple operation and removable drip tray make it convenient for everyday use, though regular maintenance is key to preventing brewing issues.
Pros:
- Fits small spaces
- Brews 6-12oz cups
- Removable drip tray
- Energy-efficient auto-off
Cons:
- Limited water reservoir capacity
- Not compatible with all accessories
- Requires frequent descaling
Best for: Small kitchens, dorm rooms, apartments
Not ideal for: Heavy daily use or large volumes of coffee
Bottom line: A compact, efficient coffee maker ideal for small spaces with regular maintenance.
My K-Cup® Reusable Coffee Filter
The My K-Cup® Reusable Coffee Filter allows you to brew your own ground coffee, providing flexibility and savings. It’s easy to use and compatible with your Keurig, making it a versatile addition to your coffee routine.
Pros:
- Customizable coffee strength
- Cost-effective
- Eco-friendly
- Easy to clean
Cons:
- Requires manual filling
- Can clog if overfilled
- Less convenience than pods
Best for: Ground coffee lovers, eco-conscious users
Not ideal for: Those seeking quick, pod-based brewing
Bottom line: A practical reusable filter for customizing your coffee experience.
Frequently Asked Questions
Why is my Keurig not brewing a full cup?
Common causes include low water levels, clogs in the needle or brew head, mineral buildup, or a faulty water reservoir. Follow the troubleshooting steps to identify and fix the issue.
How often should I descale my Keurig?
It’s recommended to descale every 3 to 6 months, or more frequently if you notice slower brewing or off-flavors.
Can I use ground coffee instead of pods?
Yes, with a reusable filter like the My K-Cup®, you can brew your own ground coffee for more control and savings.
What safety precautions should I take during cleaning?
Always unplug your Keurig before cleaning or inspecting parts to avoid electrical hazards. Use gentle cleaners and avoid abrasive materials.
Getting Your Keurig Back to Full Capacity
By following these troubleshooting tips, you can resolve most issues causing your Keurig K-Mini not to brew a full cup. Regular maintenance like descaling and cleaning can prevent future problems and ensure your coffee tastes great every time. Remember to always handle internal parts carefully and consult your user manual for specific guidance.
Affiliate disclosure: As an Amazon Associate we earn from qualifying purchases. Prices and availability are accurate as of the time of publishing.