Using a retrofit bathroom fan simplifies installation by allowing you to upgrade without major remodeling. It’s designed to fit into existing spaces, reducing the need for new ductwork or extensive work. This shortcut saves time, money, and effort while improving airflow and reducing noise. With the right tools and proper prep, you can easily install your new fan. Keep going and discover how to make the most of this handy upgrade.
Key Takeaways
- Use a retrofit fan designed for easy installation, fitting directly into existing duct and electrical setups.
- Choose models with adjustable brackets and straightforward wiring for quick, tool-efficient upgrades.
- Assess existing ductwork and wiring beforehand to minimize modifications and installation time.
- Follow manufacturer instructions carefully to ensure proper fit, sealing, and optimal performance.
- Perform post-installation checks to confirm quiet operation, proper airflow, and secure connections.

Broan-NuTone RE70BN 70 CFM Bathroom Exhaust Fan Replacement Motor Kit, Easy DIY Replacement Motor Kit for 70 CFM and 50 CFM Bath Fans, White
- High CFM Capacity: 70 CFM for effective ventilation
- Enhanced Power: Up to 40% more power for 50 CFM fans
- Odor and Moisture Removal: Efficiently eliminates odors and moisture
As an affiliate, we earn on qualifying purchases.
As an affiliate, we earn on qualifying purchases.
What Is a Bathroom Fan Retrofit and How Does It Work?
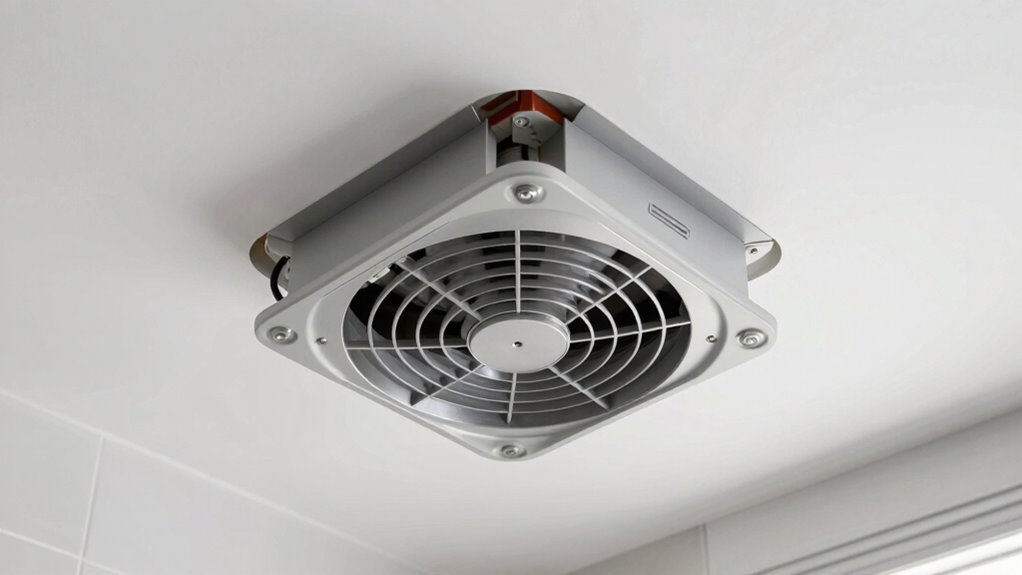
A bathroom fan retrofit involves replacing or upgrading your existing ventilation fan to improve airflow, energy efficiency, and noise levels. This upgrade not only boosts moisture control but also enhances your bathroom decor by providing a sleek, modern look. Outdated fans often struggle to vent humidity effectively, leading to mold and damage. A new, more efficient fan helps remove excess moisture quickly, protecting your walls and fixtures. Plus, modern fans operate quieter and consume less energy, saving you money over time. Whether you’re updating for better moisture control or aiming for a cleaner aesthetic, a retrofit makes a significant difference. It’s a simple way to optimize your bathroom’s ventilation while improving comfort and style. Incorporating proper installation techniques can ensure your retrofit performs at its best and extends the lifespan of your new fan. Regular maintenance and selecting the right filter size and flow rate can further enhance your fan’s efficiency and longevity. Additionally, choosing a fan with advanced control features can provide even more convenience and energy savings. Understanding cabling solutions and how they integrate into the retrofit process can also be crucial for a successful upgrade. Considering modern ventilation standards can help ensure your retrofit complies with current building codes and best practices.

Broan-NuTone Bathroom Exhaust Fan, 50 CFM Modern Grille, Energy Star Fan, 2.0 Sones
- Ventilation Capacity: 50 CFM for small bathrooms
- Energy Efficiency: Energy Star Certified, 2.0 Sones
- Easy Installation: No-cut, versatile mounting with foldable brackets
As an affiliate, we earn on qualifying purchases.
As an affiliate, we earn on qualifying purchases.
How to Check If Your Existing Fan Is Retrofit-Compatible
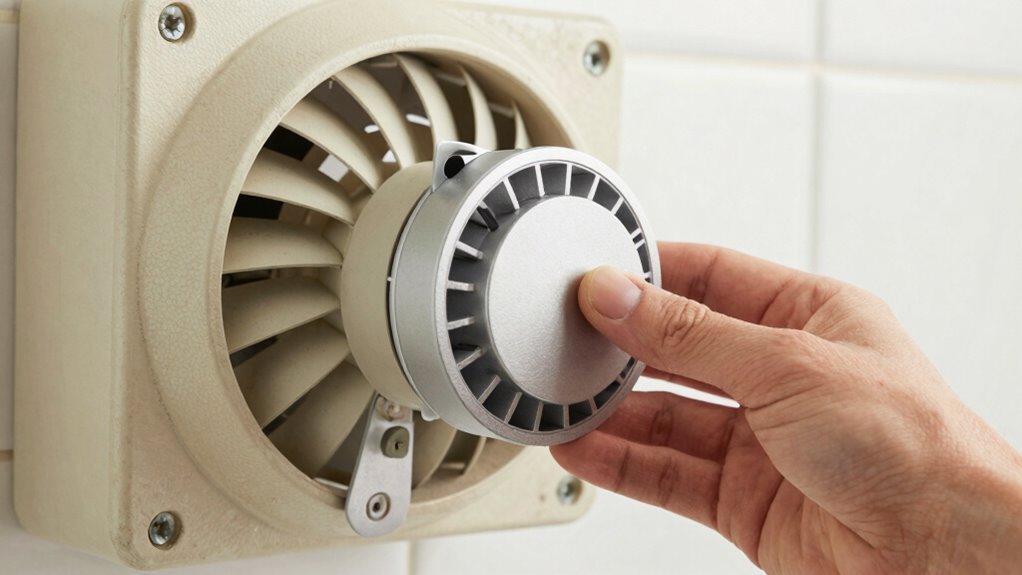
Before replacing your bathroom fan, it’s important to determine if your existing unit is retrofit-compatible. Start by inspecting the fan’s mounting, duct connection, and electrical setup, as these are key for retrofit options. Check the fan’s size and compare it to the new model’s specifications to verify proper fit. Review the ventilation standards in your area, as these often dictate minimum airflow and noise levels, influencing compatibility. Consider your fan maintenance history—if your current unit is easy to access and service, it might be easier to upgrade without significant modifications. Confirm that the existing wiring and ductwork meet current safety and efficiency standards. Additionally, evaluating the performance requirements of your current fan can help determine if a retrofit will meet your needs or if an upgrade is necessary. Understanding regional airflow standards can also guide your decision-making process. Performing a retrofit assessment can help identify any potential modifications needed before installation, making your retrofit process smoother and more compliant. Checking the installation guidelines and understanding the local building codes can further streamline the upgrade and prevent unexpected issues. Doing this prep work helps ensure your retrofit installation is smooth and compliant, saving you time and potential expenses later.

Gopper Ultra Quiet Bathroom Exhaust Fan with Light, 120 CFM, 1.0 Sones
- LED Light Type: 12-inch single-color LED light
- Noise Level: Ultra-quiet 1.0 Sones
- Airflow Capacity: 120 CFM for effective ventilation
As an affiliate, we earn on qualifying purchases.
As an affiliate, we earn on qualifying purchases.
Why Choose a Retrofit Bathroom Fan? Benefits Explained

Choosing a retrofit bathroom fan makes installation quick and straightforward, saving you time and effort. It also boosts ventilation efficiency, helping your bathroom stay fresher and free of excess moisture. With these benefits, it’s a smart upgrade that improves your space with minimal hassle. Additionally, incorporating smart tech features can enhance fan performance tracking and provide better control over ventilation. For those interested in reliable data management, understanding storage and backup solutions can ensure your system remains secure and efficient over time. A well-designed retrofit system can also benefit from professional services to optimize its installation and functionality. Incorporating cycling gear care tips can extend the lifespan of your fan and prevent issues caused by humidity and dust.
Easy Installation Process
Ever wondered how quick and hassle-free it is to upgrade your bathroom with a retrofit fan? The installation process is straightforward, making it ideal for DIY enthusiasts or those short on time. Unlike traditional fans, retrofit models fit directly into existing spaces, reducing the need for extensive remodeling. This compatibility with existing setups can help prevent unnecessary expenses and compatibility issues during installation. The design simplifies wiring and mounting, cutting down installation time considerably. Most retrofit fans come with clear instructions and adjustable brackets, ensuring a smooth setup. You’ll also appreciate how seasonal considerations can influence the performance and longevity of your ventilation system. Additionally, understanding future technological advancements can help you select a model that stays efficient over time. Incorporating golf heritage insights into product design can sometimes inspire innovations that improve airflow and energy efficiency. You won’t need to worry about complex tools or labor-intensive work. With a retrofit, you get a seamless upgrade that saves time, minimizes mess, and keeps your bathroom looking great—all while improving its ventilation. Easy installation process can also help prevent costly repairs down the line by ensuring proper ventilation from the start.
Improved Ventilation Efficiency
Upgrading to a retrofit bathroom fan considerably boosts ventilation efficiency, ensuring your space stays fresh and odor-free. With improved airflow, you’ll notice better air quality, reducing odors and airborne pollutants. A more efficient fan quickly removes excess moisture, which is vital for moisture control and preventing mold growth. Unlike older models, retrofit fans are designed to maximize airflow with less energy, making your bathroom more comfortable and healthier. The enhanced ventilation ensures that humidity levels stay balanced, protecting your walls and fixtures from damage. You’ll experience a noticeable difference in how effectively your bathroom manages moisture and stale air. Additionally, retrofit fans often incorporate energy-efficient technology, helping reduce your overall energy costs. When selecting a retrofit fan, considering compatibility with existing ductwork can simplify installation and ensure optimal performance. Properly installed ventilation upgrades can also contribute to a more sustainable home environment. Choosing the right retrofitting process can further optimize your ventilation improvements and simplify the upgrade. Overall, a retrofit fan is a smart upgrade that promotes a cleaner, healthier environment while simplifying maintenance and reducing energy costs.

Panasonic WhisperFit Retrofit Ceiling Mount Bathroom Exhaust Fan, 50-80-110 CFM, FV-0511VF1
- Energy Star Certified: Whisper quiet, energy-efficient operation
- SmartFlow Technology: Revolutionary DC/ECM motor for performance
- Customizable Airflow: Select 50, 80, or 110 CFM
As an affiliate, we earn on qualifying purchases.
As an affiliate, we earn on qualifying purchases.
How to Decide If a Retrofit Installation Is Right for You

Deciding if a retrofit installation is right for you depends on several key factors, including your current system’s condition, your energy goals, and your budget. If your existing bathroom fan is outdated or inefficient, a retrofit can be a smart upgrade. It’s also worth considering if you’re planning other home renovations, as combining projects can save time and money. Retrofit installations often appeal to DIY enthusiasts because they typically involve less demolition and disruption. However, assess your comfort level with electrical work and whether you have the right tools. If your current setup is in good shape and you’re focused on minimal intrusion, a retrofit might be the perfect solution. Additionally, understanding home safety tips can help ensure your installation is both safe and effective. Ultimately, weigh your goals and resources to decide if this approach aligns with your home improvement plans.
The Complete Step-by-Step Guide to Installing a Retrofit Bathroom Fan

To install a retrofit bathroom fan, you’ll first gather the necessary tools and materials to guarantee a smooth process. Next, you’ll prepare the existing vent to make installation easier and more effective. Finally, you’ll follow the steps to properly install the retrofit fan, completing your upgrade efficiently.
Tools and Materials Needed
Before starting your retrofit bathroom fan installation, gather all the necessary tools and materials to guarantee a smooth process. You’ll need a screwdriver, drill, and possibly a reciprocating saw for cutting into drywall or framing. Have a ladder or step stool nearby for reaching the ceiling. You’ll also need the new fan, ducting, and mounting hardware. Don’t forget a vent cap and sealant to ensure proper airflow and prevent leaks. A measuring tape helps confirm correct placement, while a level guarantees the fan is straight. Keep a cleaning schedule in mind to maintain peak airflow and reduce fan noise over time. Having everything ready minimizes delays and ensures you can focus on installing the fan efficiently and quietly.
Preparing the Existing Vent
Have you checked the existing vent system to make sure it’s ready for your new bathroom fan? Start by inspecting the vent ducting for damage, blockages, or leaks. Clear out any debris or obstructions that could restrict airflow or cause moisture buildup. Confirm that the ducting is properly connected and securely fastened to prevent leaks. Next, verify fan compatibility by ensuring the vent diameter matches your new fan’s specifications; this is vital for peak performance. If the current ducting is too narrow or damaged, consider replacing it with a suitable size that supports proper airflow. Taking these steps guarantees your retrofit installation will function efficiently, reducing noise and preventing moisture issues. Proper preparation of the existing vent is key to a smooth, successful fan upgrade.
Installing the Retrofit Fan
Ready to install your retrofit bathroom fan? First, position the new fan housing in the existing vent opening, ensuring it fits snugly. Secure it with screws, making sure it’s level and stable. Connect the wiring according to the manufacturer’s instructions, paying attention to grounding for safety. This step is key to maximizing energy efficiency, as a proper seal prevents air leaks that can drive up utility bills. Once connected, attach the fan grille securely. Proper installation reduces noise by minimizing vibrations, leading to noise reduction and a quieter bathroom environment. Double-check all connections and fasteners. Turning on the fan will confirm a successful retrofit, delivering improved energy efficiency and quieter operation compared to your previous unit.
Common Challenges and How to Avoid Them During Retrofit Installations
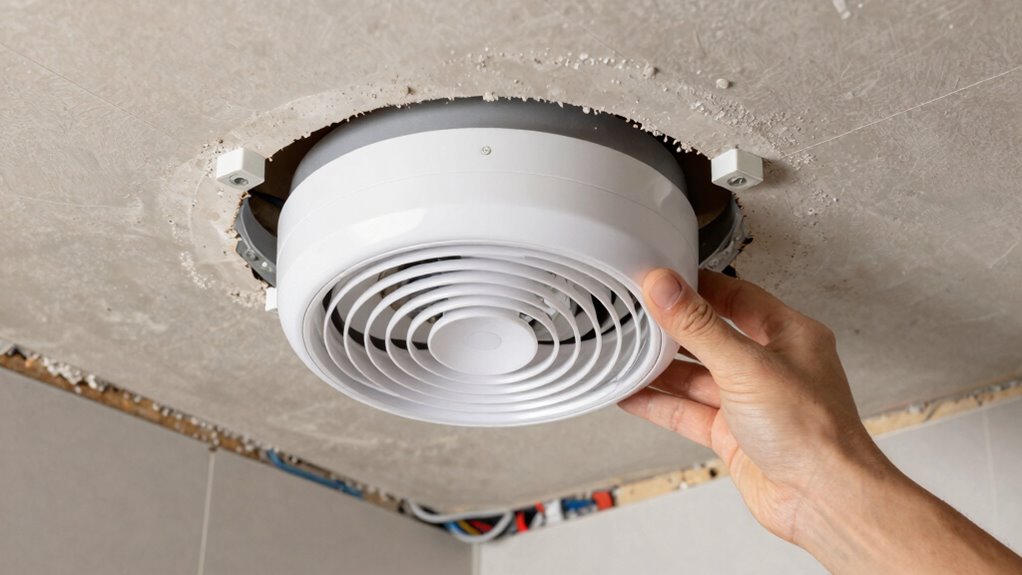
Retrofit installations often present unexpected challenges that can derail projects if not properly anticipated. One common issue is falling for ventilation myths, like believing a more powerful fan always means better airflow, which can lead to noise problems and inefficiency. Fan noise is a frequent challenge; installing an ill-suited fan or incorrect ductwork can cause excessive sound, disrupting comfort. To avoid these pitfalls, verify your ventilation needs and choose a fan designed for retrofit use, ensuring it’s quiet and efficient. Always check duct connections for leaks or restrictions, as these can worsen noise and reduce effectiveness. Planning ahead and understanding these common issues help you sidestep costly mistakes, ensuring a smoother retrofit process with a quieter, more effective bathroom ventilation system.
Tips for Selecting the Best Retrofit Bathroom Fan for Your Home
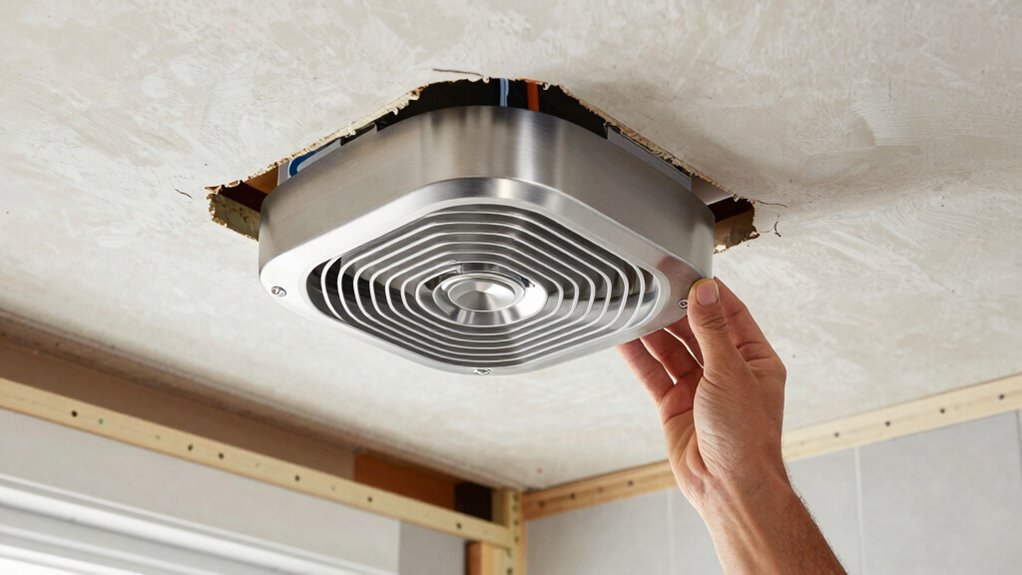
Choosing the right retrofit bathroom fan starts with understanding your specific ventilation needs and space requirements. Consider how the fan impacts indoor air quality, making certain it effectively removes humidity and odors. Look for models with sufficient airflow capacity, measured in CFM (cubic feet per minute), tailored to your bathroom size. An efficient exhaust system design can improve performance and energy efficiency. Check for features like quiet operation and humidity sensors, which enhance comfort. Compatibility with existing ductwork is vital to avoid costly modifications. Also, select a fan with easy installation options suitable for retrofit projects. By focusing on these factors, you guarantee your fan improves indoor air quality and functions seamlessly within your home’s exhaust system design.
Final Checks and Troubleshooting After Installation

Once you’ve installed your retrofit bathroom fan, it’s important to perform a thorough check to guarantee everything functions correctly. Start by listening for fan noise—ideally, it should operate quietly without rattles or vibrations. Check the color contrast between the fan grille and surrounding wall to ensure proper visibility and safety, especially in low light. Use the table below to visualize your inspection:
| Inspection Step | Description |
|---|---|
| Fan noise test | Run the fan, listen for loud or irregular sounds |
| Power connection check | Confirm the switch and wiring work properly |
| Airflow verification | Feel for consistent airflow at the outlet |
| Color contrast review | Ensure the fan blends or contrasts as desired |
| Vibration inspection | Gently touch the unit to detect unwanted movement |
Perform these checks to troubleshoot any issues early, ensuring a safe, quiet, and efficient operation.
Frequently Asked Questions
Can I Retrofit a Bathroom Fan Without Professional Help?
Yes, you can retrofit a bathroom fan yourself, but be aware of DIY challenges, especially with electrical wiring. If you’re comfortable working with electricity and have basic handyman skills, you can follow step-by-step instructions carefully. Turn off power before starting, and guarantee proper wiring connections for safety and functionality. However, if you’re unsure or uncomfortable, it’s best to consult a professional to avoid potential hazards.
What Is the Typical Cost of a Bathroom Fan Retrofit?
Think of a bathroom fan retrofit like upgrading your phone—initial costs vary, but efficiency improves over time. Typically, you’ll spend between $150 and $300, depending on fan features and installation complexity. A cost comparison shows newer models save energy, reducing long-term expenses. You might find a basic retrofit on the lower end, but investing in a more efficient fan can pay off through lower utility bills and better ventilation.
How Long Does a Retrofit Bathroom Fan Installation Usually Take?
A retrofit bathroom fan installation typically takes about 2 to 4 hours, depending on your existing setup. You’ll want to guarantee it meets ventilation standards for proper airflow and adheres to noise level regulations for quieter operation. If you’re experienced, it might go faster, but if not, expect some extra time for troubleshooting. This process allows you to upgrade efficiently while maintaining compliance and comfort.
Are There Specific Brands Recommended for Retrofit Bathroom Fans?
For retrofit bathroom fans, brands like Panasonic, Broan, and Delta are highly recommended because they prioritize ventilation efficiency and noise reduction. These brands are known for durable, quiet operation, making them ideal choices. When selecting a fan, look for features that enhance airflow and minimize noise, ensuring comfort and effective moisture control. Investing in reputable brands helps you achieve a quieter, more efficient bathroom ventilation system.
Will Retrofitting Improve My Bathroom’s Air Quality Significantly?
Retrofitting your bathroom fan can considerably improve air quality and ventilation efficiency. For example, upgrading to a more powerful, modern fan with better airflow reduces humidity and removes odors faster. This guarantees better air circulation, preventing mold and allergens from lingering. As a result, you’ll notice cleaner, fresher air, making your bathroom healthier and more comfortable. So, yes, retrofitting can make a noticeable difference in your bathroom’s air quality.
Conclusion
By choosing a retrofit bathroom fan, you’re fundamentally hitting two birds with one stone—saving time and effort while upgrading your space. With the right prep, careful selection, and a steady hand, you’ll breeze through the installation process. Don’t forget to double-check your work before calling it a day—it’s better to be safe than sorry. In the end, you’ll have a fresh, efficient fan that keeps your bathroom comfortable and your home running smoothly, like clockwork.