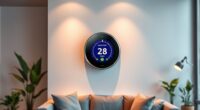
To set up your smart thermostat with zone dampers, first verify it’s compatible with multi-zone systems and your HVAC unit. Turn off power before wiring, then carefully connect each wire according to the manufacturer’s instructions, guaranteeing proper communication with zone dampers. Mount the device securely, connect it to Wi-Fi, and configure zones in the app or touchscreen. Testing each damper’s response finalizes the process—continue to explore for detailed tips to optimize your setup.
Key Takeaways
- Confirm the thermostat supports zone damper control and is compatible with your HVAC system before installation.
- Follow the manufacturer’s wiring diagram carefully, ensuring correct connections for damper actuators and HVAC communication.
- Mount the thermostat securely in a suitable location and connect it to Wi-Fi if required for smart features.
- Use the app or touchscreen to set up zoning schedules and configure damper controls for energy efficiency.
- Test each zone damper response and system communication to ensure proper operation and system integration.

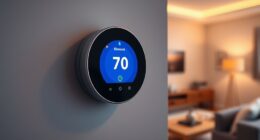
Setting up your smart thermostat is a straightforward process that can considerably improve your home’s comfort and energy efficiency. When working with a zone damper system, ensuring proper setup is vital for peak performance. The first step is understanding the programming compatibility of your smart thermostat. Not all models support zone damper systems or advanced HVAC configurations, so check the manufacturer’s specifications to confirm compatibility. Most modern smart thermostats are designed to integrate with multi-zone setups, but verifying this beforehand helps prevent future issues. Once you’ve confirmed compatibility, you can proceed with the installation guidelines, which are typically outlined in the device’s manual.
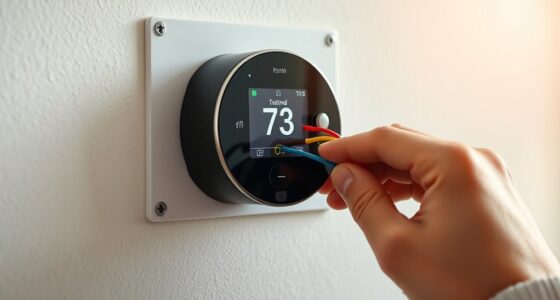
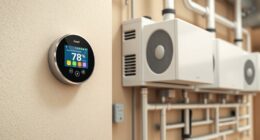
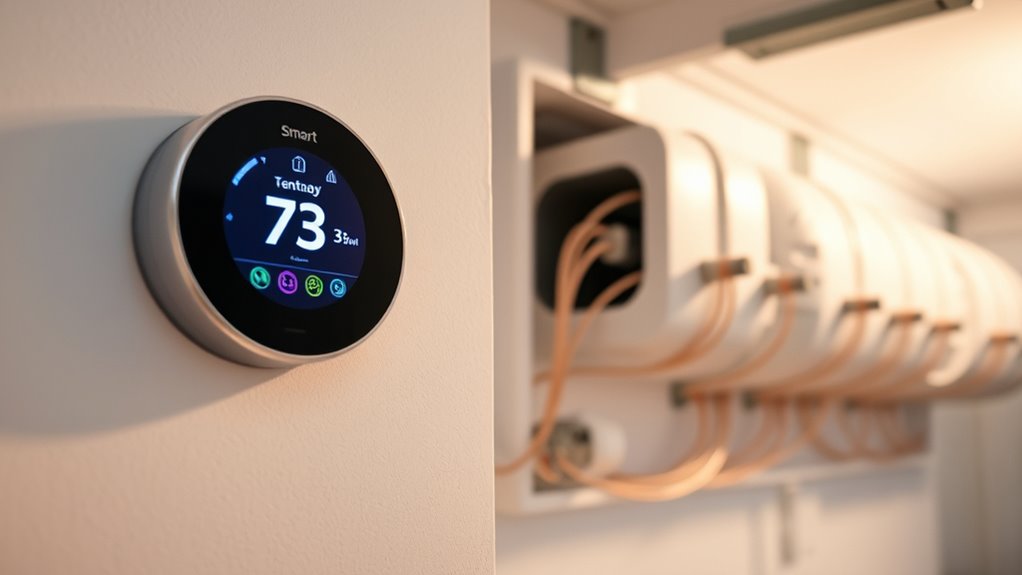
The installation guidelines usually include important safety precautions and step-by-step instructions to connect the thermostat to your existing wiring. It’s vital to turn off your power supply before beginning the installation to avoid any electrical hazards. Carefully remove your old thermostat, noting how the wires are connected, or take a picture for reference. When installing the new smart thermostat, follow the wiring diagram precisely, ensuring each wire connects to the correct terminal. Many models come with a wiring adapter or connector that simplifies this process, but double-check the connections against the installation guidelines provided. Proper wiring is fundamental for the thermostat to accurately control your zone damper system and communicate with your HVAC equipment.
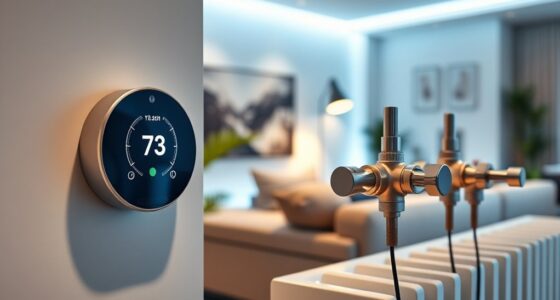
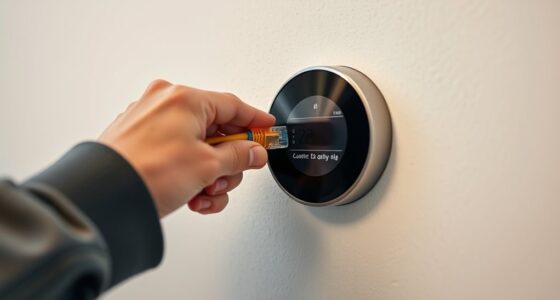
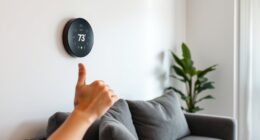
Additionally, consulting the support hours of your smart thermostat brand can help if you encounter technical issues during setup. Once physically installed, the next step involves configuring the thermostat’s settings. This includes setting up the programming schedule, which can often be customized through the device’s app or touchscreen interface. Many smart thermostats support flexible programming compatibility, allowing you to create heating and cooling schedules tailored to your lifestyle. Take advantage of this feature by setting different temperature zones based on your daily routine, which helps save energy. During setup, ensure the thermostat recognizes all your zones and communicates correctly with each damper actuator. Some systems may require additional configuration steps, such as integrating with a home automation system or connecting to your Wi-Fi network.
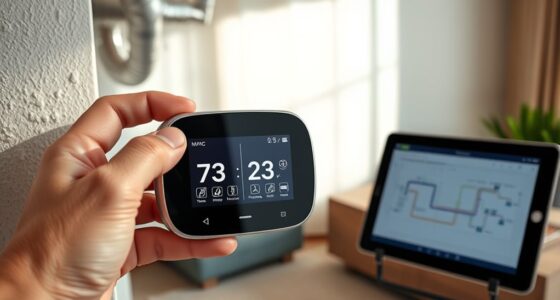
Finally, follow the on-screen prompts or app instructions to complete the setup process. It’s a good idea to run a test to verify that each damper responds correctly when adjusting temperatures or switching zones. Proper configuration and adherence to installation guidelines will guarantee your smart thermostat functions seamlessly with your zone damper system, providing you with precise control, improved comfort, and energy savings.
Frequently Asked Questions
Can I Install a Smart Thermostat Myself?
You can do a DIY installation of a smart thermostat if you’re comfortable with basic wiring and follow the manufacturer’s instructions carefully. Make sure you turn off power before starting, identify your existing wires, and connect them correctly. While it’s doable for many, if you’re unsure about wiring or system compatibility, consider consulting a professional. Proper installation guarantees your smart thermostat works efficiently and safely.
What Compatibility Issues Might I Face?
Thinking about compatibility issues? Well, strap in, because wiring requirements and compatibility considerations can turn your DIY dreams into a tech nightmare. Not all smart thermostats play nice with every HVAC system or zone damper setup. You might face incompatible wiring, missing features, or even voiding your warranty. So, before you plunge in, double-check your system’s specs and make sure your chosen thermostat is truly a match made in tech heaven.
How Do I Connect Multiple Zone Dampers?
To connect multiple zone dampers, you need to set up multiple zone control points. First, wire each damper’s zone damper wiring to your smart thermostat or zone control panel. Make certain to follow the manufacturer’s instructions for proper wiring. Use a dedicated control board if necessary, and confirm your system supports multiple zones. This setup allows your thermostat to manage each damper independently for efficient zone control.
Is Professional Installation Necessary for Complex Systems?
Ever wondered if tackling complex systems yourself is worth the risk? When it comes to smart thermostats for zone damper systems, DIY challenges can quickly become overwhelming. You might save money upfront, but without professional expertise, you risk improper installation, system damage, or safety issues. For these intricate setups, hiring a professional ensures proper setup, ideal performance, and peace of mind—making it a wise investment in the long run.
How Do I Troubleshoot Connectivity Problems?
When troubleshooting connectivity problems, start by checking for wireless interference from other devices or thick walls blocking signals. Make sure your smart thermostat’s firmware is up to date, as updates often fix bugs and improve connectivity. Restart your router, thermostat, and any hubs involved. If issues persist, reset your device’s network settings and reconnect. These steps help guarantee a stable connection, making your system run smoothly.
Conclusion
Now that you’ve set up your smart thermostat for zone damper systems, you hold the reins to a perfectly balanced home. Imagine your system as a symphony, each zone playing in harmony under your command. With your new setup, comfort and efficiency are within reach, turning your house into a cozy sanctuary. Embrace this power—your smart thermostat isn’t just a device; it’s the conductor of your ideal living environment, ready to lead.