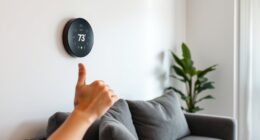

If you face common smart thermostat installation problems, start by checking your Wi-Fi connection—restart the router and make certain the signal is strong. Verify that the thermostat’s wiring matches the system’s requirements, especially the power source, and confirm the circuit breaker is on. Double-check network passwords and settings. If issues persist, consult the manufacturer’s troubleshooting guide or seek professional help to resolve more complex wiring or compatibility problems. Keep going for more detailed tips to get your thermostat working perfectly.
Key Takeaways
- Verify Wi-Fi connection strength, network settings, and password accuracy; restart router if needed.
- Confirm thermostat wiring matches system requirements and ensure all connections are secure.
- Check power supply, including the presence of a C-wire, and use adapters if necessary.
- Ensure the HVAC system is functioning properly before completing thermostat installation.
- Follow manufacturer instructions carefully and contact support if issues persist.
Installing a smart thermostat can sometimes come with unexpected challenges, but most issues are easily resolved with a few troubleshooting steps. One common problem you might face is trouble connecting your thermostat to your Wi-Fi network. Wireless connectivity is essential for your thermostat to function properly, so start by ensuring your router is working correctly. Check that your Wi-Fi signal is strong in the area where you’re installing the device. Sometimes, simply restarting your router or moving it closer to your thermostat can improve the connection. Additionally, verify that your network settings are compatible with your thermostat’s requirements, such as supported frequency bands (2.4 GHz or 5 GHz). Make sure you’re entering the correct Wi-Fi password, as typos can prevent connection. If you’re still having issues, try resetting the thermostat’s network settings and reconnecting from scratch, following the manufacturer’s instructions carefully. Ensuring your wireless network setup is optimal can significantly reduce connection problems.
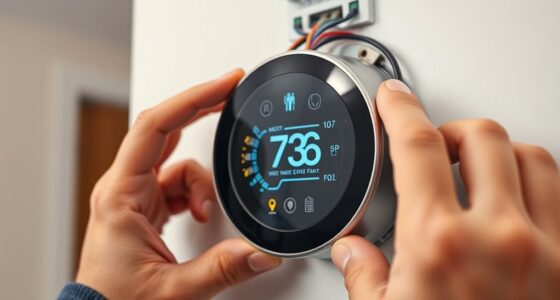
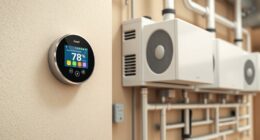
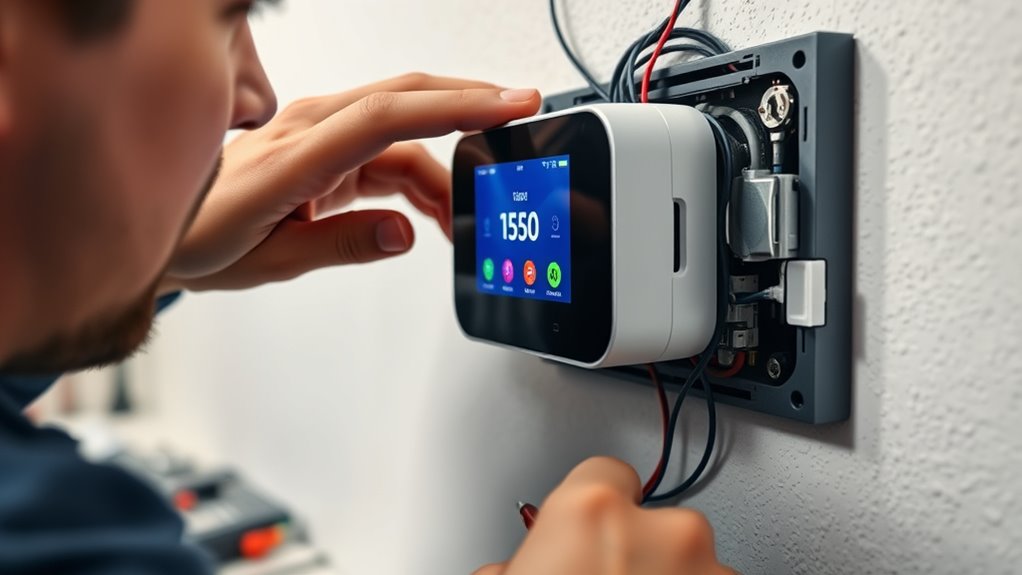
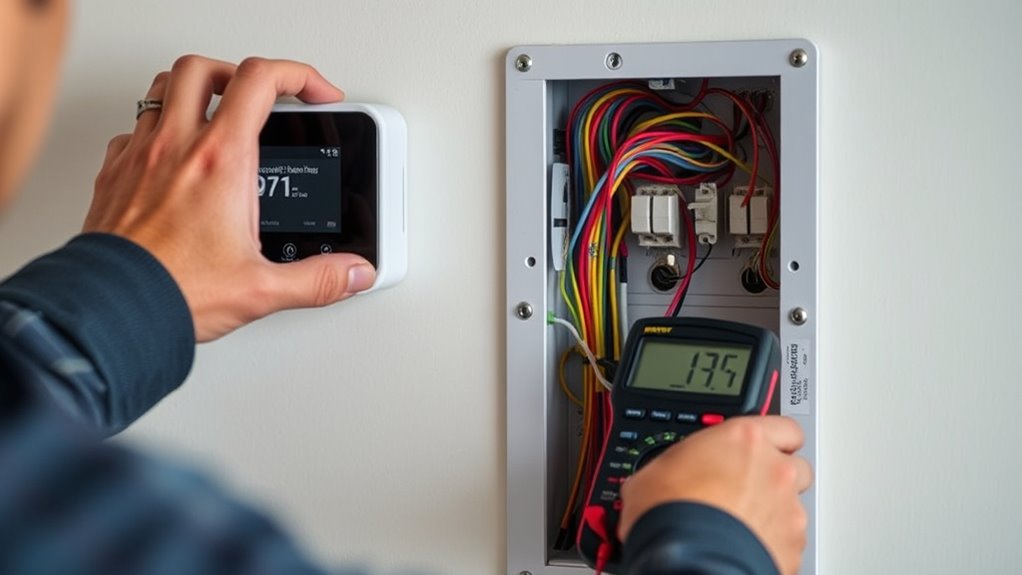
Power compatibility is another critical aspect that can cause installation hiccups. Your smart thermostat needs to be compatible with your home’s existing wiring and power supply. Before installation, double-check the voltage and wiring specifications provided by the manufacturer, and compare them with your HVAC system’s wiring. If the thermostat isn’t receiving enough power, it might not turn on or function properly. Some models require a C-wire (common wire) to supply continuous power; if your system doesn’t have one, you may need an adapter or to consult an HVAC professional. Using a thermostat with incompatible power requirements can lead to frequent resets, display issues, or complete failure to operate.
During installation, ensure that you’ve correctly identified the wiring terminals and connected the wires securely. Loose or incorrect wiring can cause power issues or interrupt wireless connectivity, so take your time and follow the instructions closely. If your thermostat still isn’t powering on, check your circuit breaker to confirm it hasn’t tripped. It’s also worth confirming that your HVAC system is functioning properly, as a fault in your heating or cooling system can sometimes be mistaken for a thermostat problem.
In many cases, resolving wireless connectivity and power compatibility issues involves a combination of checking your network setup, ensuring proper wiring, and confirming your system’s specifications. Don’t hesitate to consult the troubleshooting guide provided by the manufacturer or reach out to customer support if problems persist. Usually, these steps will help you get your smart thermostat up and running smoothly, giving you reliable control over your home’s climate.
Frequently Asked Questions
Can I Install a Smart Thermostat Without Professional Help?
Yes, you can do a DIY installation of a smart thermostat if you’re comfortable with basic wiring and follow the manufacturer’s instructions carefully. However, if you’re unsure about your skills or encounter complex wiring, it’s best to seek professional assistance to guarantee safety and proper setup. While DIY installation can save money, professional help ensures your smart thermostat operates correctly and avoids potential issues.
What Should I Do if My Wi-Fi Isn’t Connecting?
If your Wi-Fi isn’t connecting, first check the signal strength near your thermostat. Move your router closer if needed, and restart both your router and thermostat. Make sure your Wi-Fi network is active and password correct. Sometimes, updating your thermostat’s firmware or resetting network settings helps. Keep your Wi-Fi connection stable for maximum Wi-Fi connectivity, and avoid interference from other devices to maintain a strong, reliable signal.
How Do I Reset My Smart Thermostat to Factory Settings?
To reset your smart thermostat to factory settings, start by power cycling it—turn it off, wait a few seconds, then turn it back on. If that doesn’t work, navigate to the settings menu and select the factory reset option. Before resetting, check for any available firmware updates, as installing them can resolve bugs. Power cycling during updates helps guarantee the reset completes smoothly and your thermostat functions correctly afterward.
Can I Use a Smart Thermostat With a Heat Pump System?
Verily, yes, you can use a smart thermostat with a heat pump system, provided it’s compatible. Check heat pump compatibility and guarantee your smart thermostat wiring aligns with your system’s requirements. Many modern smart thermostats are designed for heat pumps, but verify the specifications before installation. Proper wiring is essential to avoid issues, so follow manufacturer instructions carefully to optimize your system’s performance and energy savings.
What Is the Typical Lifespan of a Smart Thermostat?
A smart thermostat typically lasts around 5 to 10 years, depending on its durability and how well you maintain it. You can expect its lifespan to be influenced by factors like build quality, usage, and environmental conditions. To extend its longevity, keep it clean and update its firmware regularly. With proper care, your smart thermostat can serve you well for many years, making it a worthwhile investment.
Conclusion
If you run into installation issues, don’t get discouraged—many problems have simple fixes. For example, Sarah struggled with her smart thermostat not connecting to Wi-Fi, but a quick reset and checking her router settings solved the problem. Remember, patience and troubleshooting step-by-step often lead to success. With a bit of persistence, you’ll have your smart thermostat up and running smoothly, helping you save energy and stay comfortable all year round.