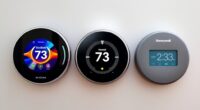
To connect your smart thermostat to Wi-Fi stress-free, start by confirming your device’s compatibility and ensuring your signal is strong—move the router closer if needed. Access the setup menu via the app or device controls, then select your Wi-Fi network and enter the password carefully. Restart your router if connection issues arise and keep firmware up to date. For a smooth setup, follow each step carefully; more tips to simplify your connection process are just ahead.
Key Takeaways
- Ensure your Wi-Fi network is stable and compatible with your thermostat’s frequency (2.4 GHz or 5 GHz).
- Position your router closer to the thermostat and remove obstacles to improve signal strength.
- Follow clear on-device or app prompts to select your Wi-Fi network and enter the password accurately.
- Restart your router and thermostat if connectivity issues occur, and check for firmware updates.
- Use voice commands or app features to verify the connection and perform test controls for stress-free setup.
Preparing Your Devices and Environment
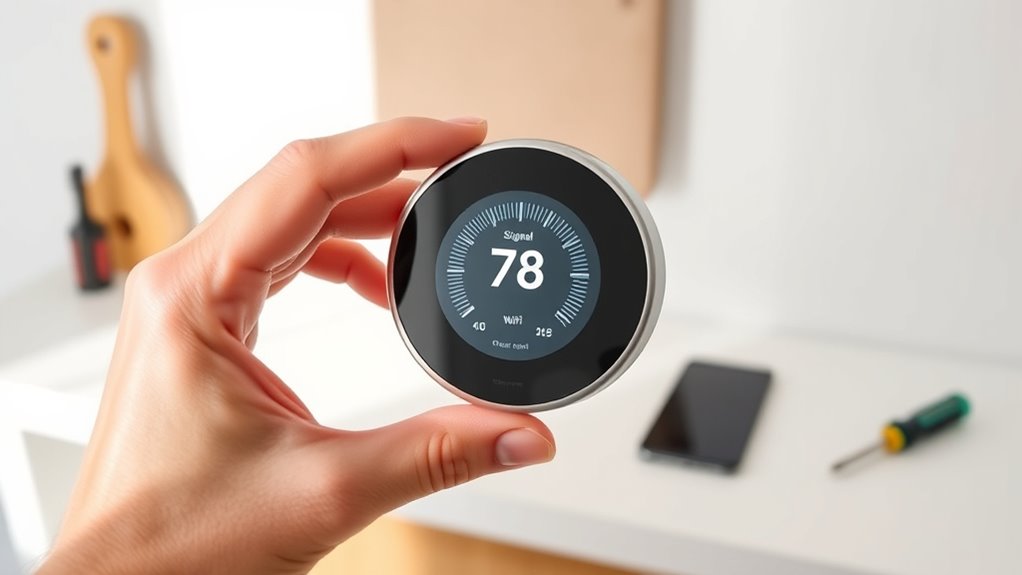
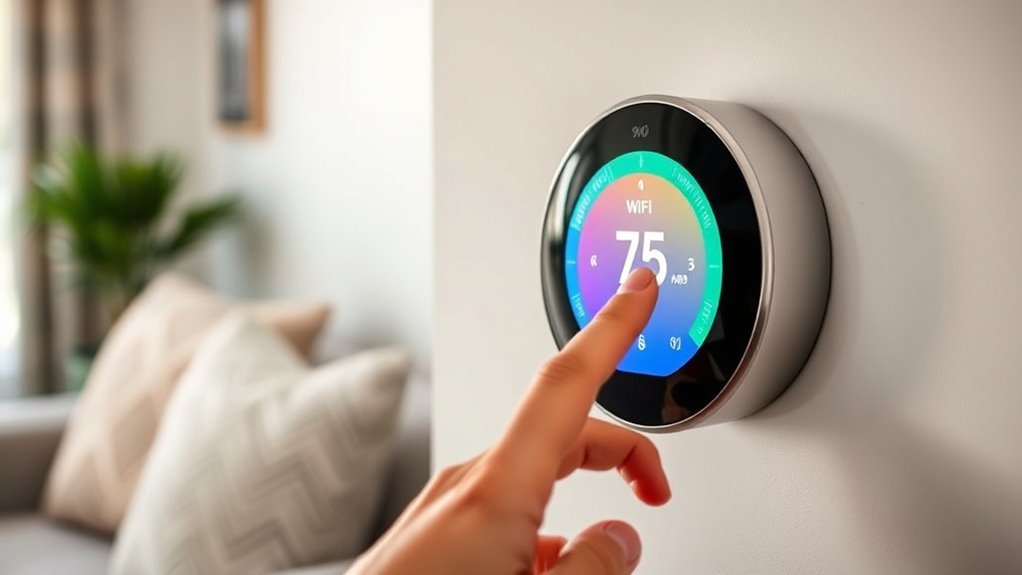
Before you begin connecting your smart thermostat to Wi-Fi, make sure your devices and environment are ready. First, check device compatibility—ensure your thermostat supports your Wi-Fi network’s frequency (2.4 GHz or 5 GHz) and that your smartphone or tablet meets the app requirements. Next, assess your Wi-Fi signal strength; a weak or unstable connection can cause setup issues. Position your router closer to the thermostat or remove obstacles that could interfere with the signal. Confirm that your Wi-Fi network is functioning properly by testing other devices. Having a strong, stable connection and compatible devices will make the setup process smoother and faster. Additionally, understanding your network’s security protocols can help avoid connectivity issues related to data privacy challenges and ensure a secure connection. Being aware of pinball machine weights can also be useful if you plan to relocate your devices or set up a home installation area.
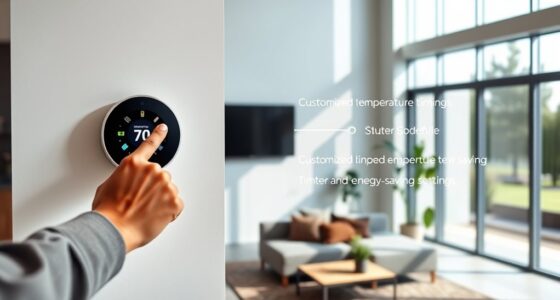
Accessing Your Thermostat’s Setup Menu
To access your thermostat’s setup menu, start by waking up the device. This may involve pressing a physical button or using a voice command like “Hey [device name], open setup.” Once active, navigate to the menu options on the touchscreen or through the app. Make sure you have granted the app the necessary permissions, such as access to Wi-Fi and notifications, to streamline the setup process. Voice commands can also help you enter setup mode hands-free, making it easier if your hands are occupied. Take your time to locate the setup or settings icon. Confirm your selections carefully to avoid errors. Properly connecting to Wi-Fi involves understanding network security protocols to ensure your connection is safe and reliable. Ensuring your device is ergonomically positioned can also make the setup process more comfortable and efficient. Additionally, verifying your Wi-Fi signal strength can help prevent connectivity issues during setup. Accessing the setup menu is a straightforward step that prepares you for connecting your thermostat to Wi-Fi smoothly.
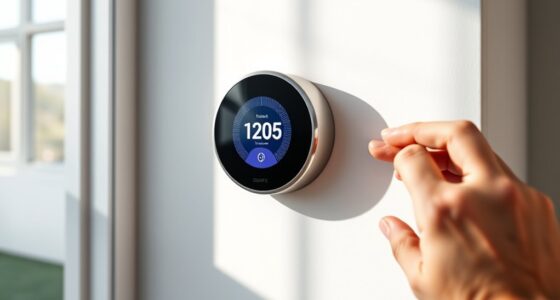
Connecting to Your Wi‑Fi Network
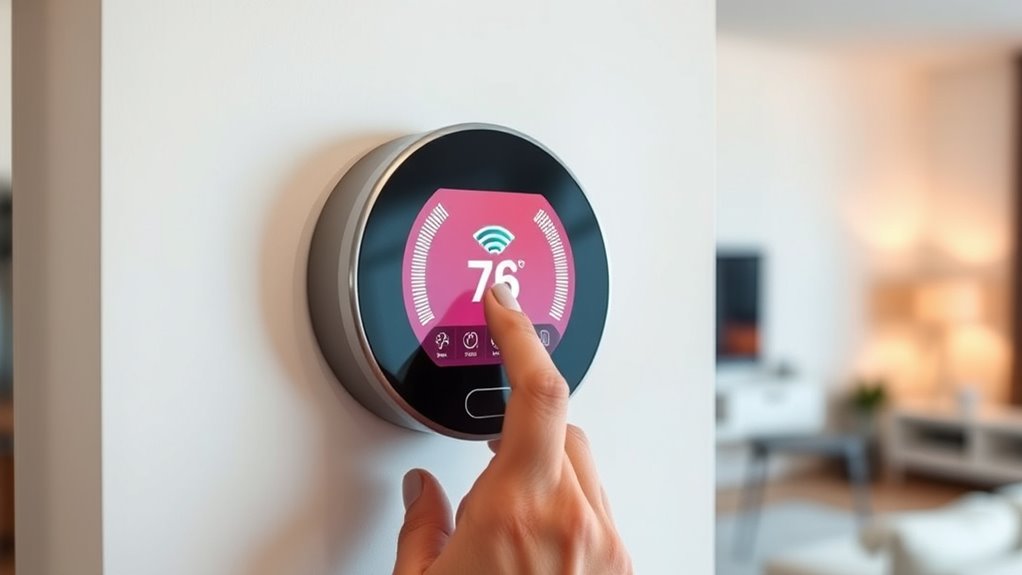
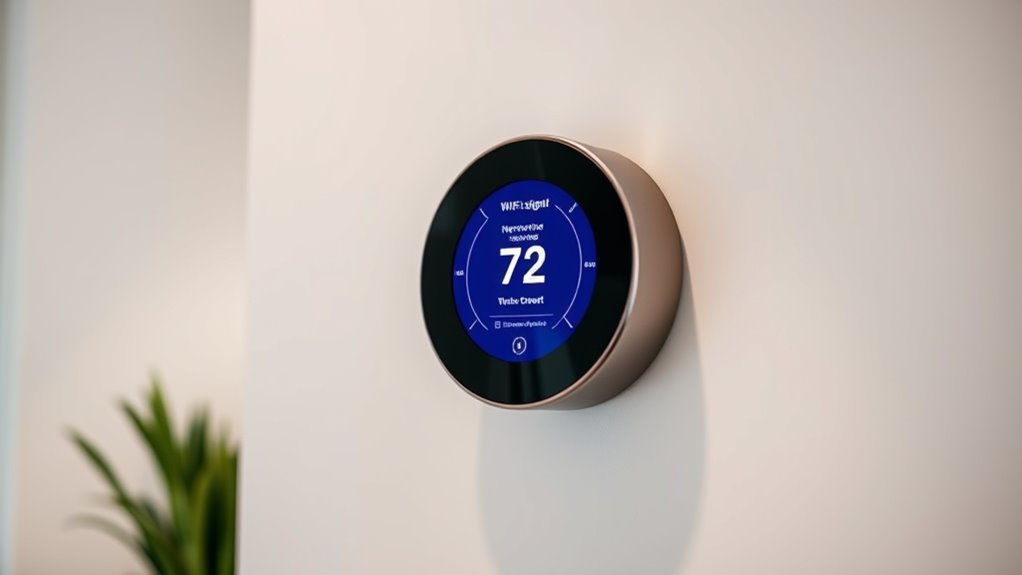
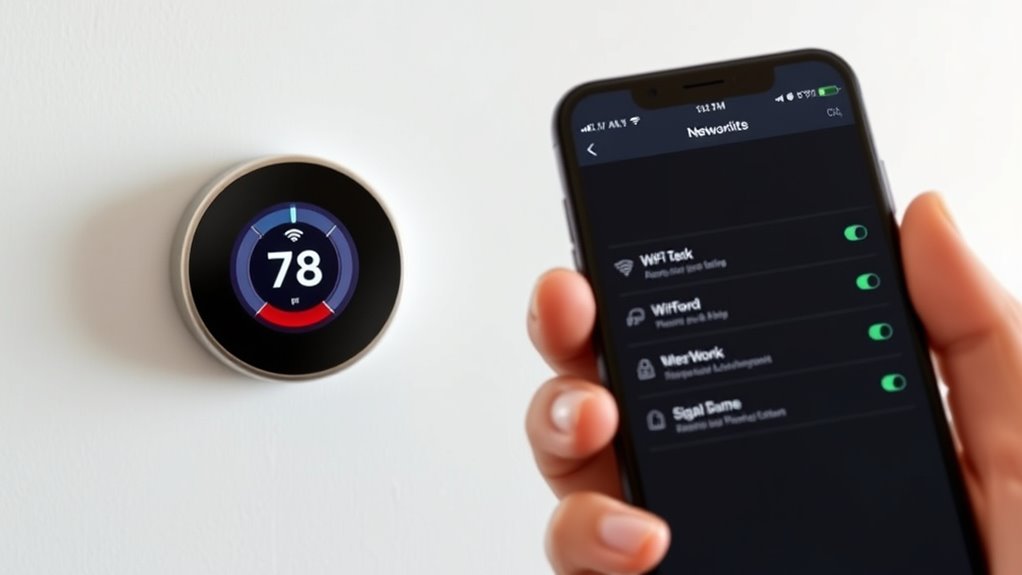
Ready to connect your thermostat to Wi-Fi? First, select your network from the list on the screen. Make certain your Wi-Fi password is nearby. Once connected, your thermostat might prompt you to perform firmware updates—these keep your device running smoothly. You can also use voice commands to confirm connectivity or ask for status updates. Visualize this:
- Your thermostat displaying available networks
- Typing in your Wi-Fi password easily
- A notification about completing firmware updates
- Voice commands verifying connection or adjusting settings
Additionally, ensure your Wi-Fi signal strength is sufficient for stable operation, which can be affected by your router placement and network congestion. Proper placement of your router can significantly enhance your energy efficiency by providing a stronger, more reliable connection. Connecting to Wi-Fi allows seamless control, remote access, and voice command integration. After setup, your thermostat stays updated automatically, ensuring peak performance. Additionally, understanding the benefits of glycolic acid exfoliation can help you appreciate the importance of maintaining healthy skin, just as a reliable Wi-Fi connection ensures your smart device functions optimally. Now, you’re ready to enjoy a stress-free smart home experience, with your device reliably connected and ready for your commands.
Troubleshooting Common Connectivity Issues
When your thermostat isn’t connecting to Wi-Fi despite following the setup steps, troubleshooting can help identify and resolve the issue quickly. First, check if your device needs a remote firmware update, as outdated software can disrupt connectivity. Ensure your Wi-Fi signal is strong and stable—weak signals often cause drops. If you’re using voice assistant integration, verify that the connection between your thermostat and voice platform is active and properly configured. Restart your router and thermostat to refresh their network connections. Also, review your network settings to see if any security features are blocking the device. If problems persist, consult the manufacturer’s troubleshooting guide or support resources. Addressing these common issues can restore your thermostat’s Wi-Fi connection and ensure smooth operation. Additionally, understanding the security vulnerabilities associated with new technologies can help you take extra precautions to protect your device from potential threats. To further enhance your device’s security, consider regular updates and monitoring for suspicious activity. Being aware of the potential risks can help you maintain a secure smart home environment.
Finalizing Setup and Testing Your Connection
Once you’ve completed the initial setup steps, it’s important to finalize the process by thoroughly testing your smart thermostat’s connection. Verify that it responds to commands and communicates reliably with your Wi-Fi network. Check for remote firmware updates to ensure your device runs smoothly and stays secure. Test the energy usage monitoring feature to see how well it tracks your consumption and provides insights. Confirm that you can control your thermostat remotely via your app without lag or disconnects. Ensure your settings are saved properly and that the device syncs with your schedule. Conducting a proper connection test guarantees your setup is complete, reliable, and ready to optimize comfort and efficiency in your home. Additionally, reviewing the wireless network stability can help prevent future connectivity issues and enhance overall performance. Incorporating AI-driven diagnostics may further assist in troubleshooting and maintaining optimal device operation.
Frequently Asked Questions
Can I Connect Multiple Thermostats to the Same Wi-Fi Network?
Yes, you can connect multiple thermostats to the same Wi-Fi network. Just make certain your Wi-Fi bandwidth is sufficient to handle multiple devices simultaneously, preventing slowdowns. Check your router’s capacity and your thermostats’ compatibility before adding more. Keep in mind that too many devices sharing bandwidth might affect performance, so monitor your network to maintain a smooth connection for all thermostats and avoid interruptions in your smart home system.
What Security Settings Should I Use for My Smart Thermostat Wi-Fi Connection?
When securing your smart thermostat’s Wi-Fi, you should use strong encryption protocols like WPA3 or WPA2 to protect your network. Additionally, make certain you manage your passwords carefully, avoiding common words and using a password manager to keep track of complex passwords. Regularly update your thermostat’s firmware and change passwords periodically. These steps help prevent unauthorized access and keep your smart home setup safe and secure.
How Do I Update My Thermostat’S Firmware for Optimal Connectivity?
You’re on the right track to keep your thermostat running smoothly. To update your firmware, open the app or control panel, then navigate to the settings or device update section. Regular firmware updates boost connectivity stability and fix bugs. Don’t wait for a problem to crop up—staying current guarantees your thermostat performs at its best. Think of it as giving your device a tune-up for seamless, stress-free operation.
Is It Possible to Connect My Thermostat to a Guest Wi-Fi Network?
You can connect your thermostat to a guest network, but keep in mind guest network limitations like restricted device access. Check your router’s settings to enable thermostat guest access or create a separate guest network with fewer restrictions. This makes sure your smart thermostat maintains a stable connection without compromising your main network’s security. Just follow your thermostat’s instructions for connecting to Wi-Fi, and you should be able to set up guest network access smoothly.
What Should I Do if My Wi-Fi Signal Is Weak Near the Thermostat?
When your Wi-Fi signal is weak near your thermostat, it’s like trying to hear a whisper in a noisy room. First, try Wi-Fi signal troubleshooting by moving your router closer or using a Wi-Fi extender. Consider thermostat placement tips—place the thermostat away from obstructions and electronic interference. This can boost your connection, ensuring smooth communication with your smart thermostat and making your smart home experience more seamless.
Conclusion
Now that you’ve successfully connected your smart thermostat to Wi-Fi, it’s almost like fate stepped in to simplify things. With your device ready and your environment set, you’re all set to enjoy smarter heating and cooling. Sometimes, a quick setup feels like a lucky coincidence, turning a tech challenge into a breeze. Just remember, a little patience can turn everyday moments into surprisingly smooth experiences—making your home smarter and your day a whole lot easier.