To keep your smart thermostat sensors accurate, regularly inspect and clean them to prevent dust and debris buildup. Calibrate them periodically using a known accurate thermometer and check for firmware updates to improve performance. Verify sensor placement avoids drafts or heat sources, and replace faulty units promptly. Secure all connections and maintain cables to prevent false readings. Staying on top of these maintenance steps helps your system run smoothly—exploring these tips will give you even more insights.
Key Takeaways
- Regularly calibrate sensors using a known accurate thermometer and re-test after adjustments.
- Inspect and clean sensor locations monthly, removing dust and debris with soft brushes or compressed air.
- Ensure sensor placement avoids heat sources and drafts to maintain accurate readings.
- Check and secure wiring connections periodically, cleaning contact points to prevent corrosion.
- Keep firmware updated via app or control panel and schedule biannual calibration and maintenance checks.
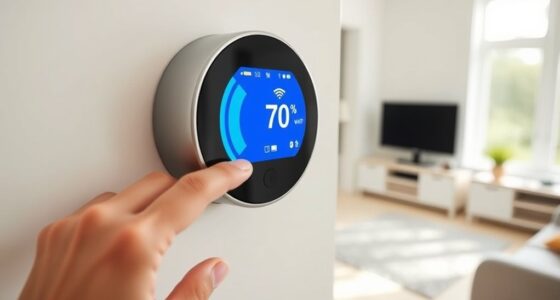
Understanding Your Smart Thermostat Sensors
Understanding your smart thermostat sensors is essential for ensuring your system runs efficiently. Proper sensor calibration helps your thermostat accurately detect temperature changes, preventing unnecessary heating or cooling. Many smart thermostats feature wireless connectivity, allowing you to monitor and adjust sensors remotely, which simplifies maintenance. To keep sensors calibrated, follow manufacturer instructions, and regularly check for firmware updates that enhance accuracy. Wireless connectivity also enables real-time alerts if sensors detect issues or irregular readings. Knowing how your sensors work and maintaining their calibration ensures your system responds correctly to environmental changes, saving energy and increasing comfort. Additionally, understanding sensor placement can significantly improve the accuracy of temperature readings and overall system efficiency. Regular inspections of sensor locations help prevent layout-related inaccuracies that could impair system performance.
Recognizing Signs of Inaccurate Sensor Readings
Inaccurate sensor readings can lead your smart thermostat to make improper adjustments, causing discomfort and energy waste. One clear sign is inconsistent temperature control, where your home feels too hot or cold despite the thermostat settings. If you notice frequent cycling or sudden temperature swings, it may indicate sensor calibration issues. Humidity interference can also skew sensor accuracy, making your thermostat misjudge the actual conditions. Watch for persistent drafts or uneven heating, which suggest the sensor isn’t reading correctly. Additionally, if your system runs excessively or short cycles, it’s a sign that the sensor might be providing faulty data. Recognizing these signs early helps you maintain proper sensor function, ensuring your thermostat responds accurately to your home’s needs. Being aware of technological innovations can help you stay updated on tools that improve sensor accuracy and overall system performance, including smart diagnostic features that can detect sensor issues automatically. Regular sensor calibration is also essential to maintain precision over time.
Locating and Accessing Your Sensor Components

To maintain your smart thermostat sensors effectively, you need to know how to locate and access their components. Proper sensor placement tips can help guarantee accurate readings, while understanding how to access these parts makes troubleshooting easier. If you encounter difficulties, quick troubleshooting steps can save you time and keep your system running smoothly. Additionally, regular maintenance of your sensors can prevent inaccuracies that may affect your overall comfort and energy efficiency, similar to how watering tips for indoor plants ensure their health and longevity. Ensuring proper sensor calibration is also vital for maintaining accuracy over time, which can be facilitated by understanding the sensor’s internal components and their functions. Staying informed about AI automation developments in smart devices can further enhance your ability to troubleshoot and optimize your thermostat system.
Sensor Placement Tips
Proper sensor placement is crucial for guaranteeing your smart thermostat functions accurately and efficiently. To achieve ideal positioning, avoid placing the sensor near heat sources like vents, radiators, or direct sunlight, which can skew temperature readings. Install the sensor on an interior wall, about five feet above the floor, where it can accurately detect room temperature without interference. Keep it away from drafts, windows, or exterior walls that may cause temperature fluctuations. Ensure the sensor is accessible for maintenance and battery changes but out of reach of pets or children. Consistent placement helps maintain reliable readings, improving your thermostat’s performance and energy efficiency. Remember, a well-placed sensor is the foundation for a comfortable, cost-effective home environment.
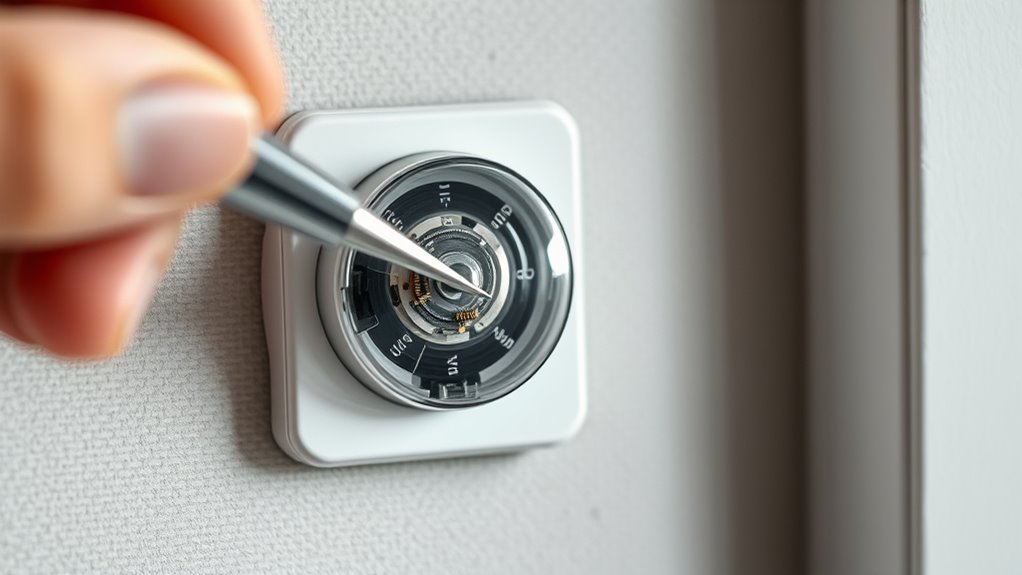
Accessing Sensor Components
Locating and accessing your sensor components is essential for routine maintenance, troubleshooting, and replacing batteries. Start by carefully removing the thermostat cover to reveal the sensor modules inside. Ensuring good component accessibility allows you to inspect connections, clean sensor surfaces, and perform sensor calibration when needed. Use a screwdriver if necessary, but be gentle to avoid damaging delicate parts. Once accessible, you can check for dust, debris, or corrosion that might affect accuracy. Proper access also simplifies calibration adjustments, ensuring your sensor provides precise readings. Keep track of screw positions and component placement to make reassembly straightforward. Regularly opening your thermostat for sensor access helps maintain sensor accuracy and prolongs the lifespan of your sensor components. Additionally, understanding juice cleansing effects can help you optimize your maintenance routines and maintain sensor accuracy over time. Regular inspections can also help prevent sensor malfunction, ensuring your thermostat functions correctly.
Troubleshooting Difficulties
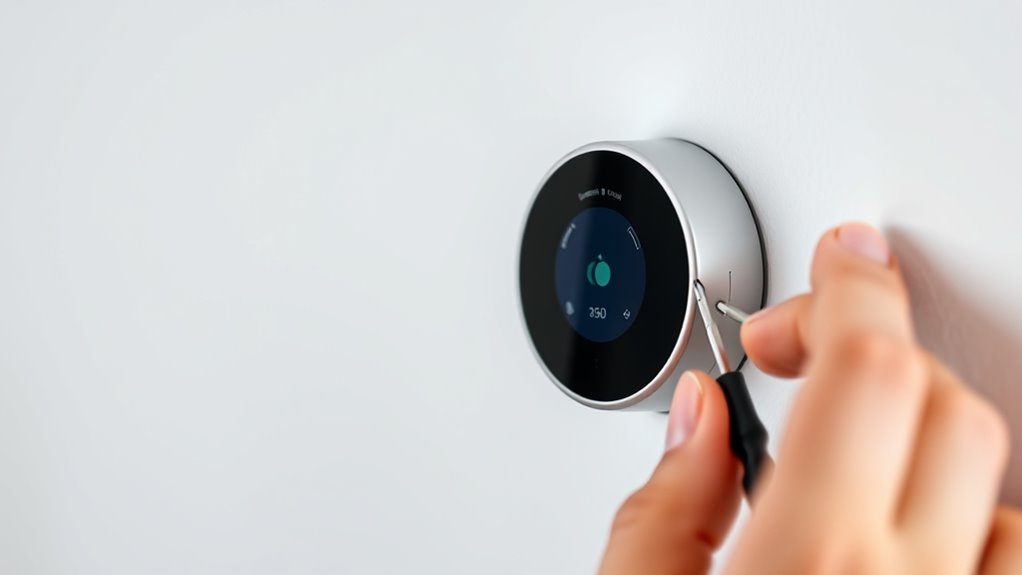
Sometimes, accessing your sensor components can be more challenging than expected due to tight spaces, hidden screws, or obstructive wiring. These hurdles can complicate troubleshooting, especially when trying to calibrate sensors or perform firmware updates. To make the process smoother:
- Use a flashlight to reveal hidden screws and wiring.
- Carefully disconnect obstructive cables without damaging connectors.
- Refer to your thermostat’s manual for specific sensor access points.
- Once accessible, check for dust or debris that could affect sensor calibration.
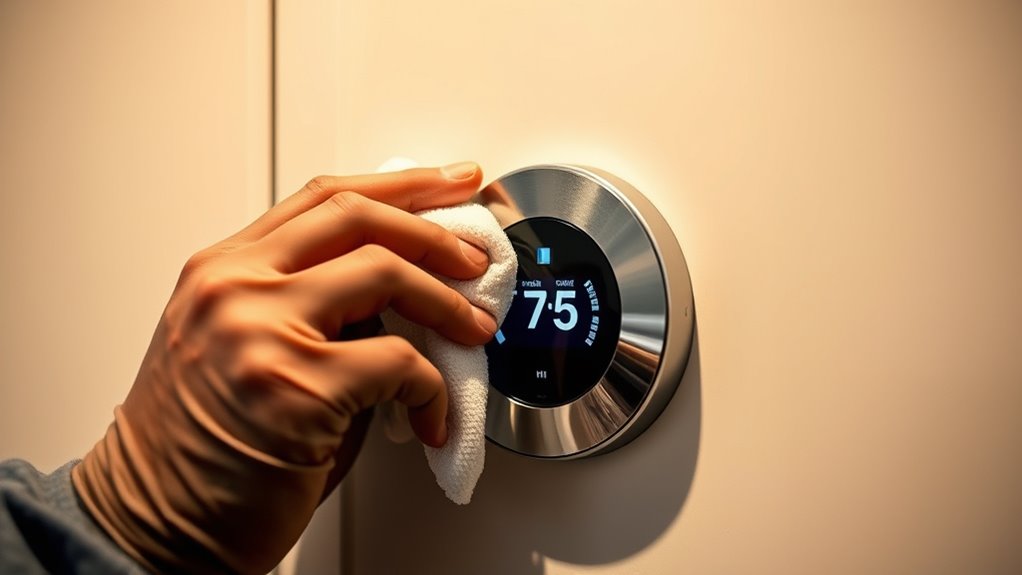
Cleaning Your Thermostat Sensors Effectively

To guarantee your smart thermostat sensors work accurately, regular cleaning is essential. Start by turning off the thermostat to prevent false readings. Use a soft, clean cloth or a gentle brush to remove dust and debris from the sensor surface. Dust removal helps prevent dirt buildup that can interfere with sensor calibration, ensuring accurate temperature readings. Avoid using harsh chemicals or liquids, as they can damage sensitive components. If your sensors have hard-to-reach spots, a can of compressed air works well to blow away dust without contact. Regular cleaning maintains sensor responsiveness and accuracy, reducing false readings and improving your thermostat’s performance. Incorporating sensor maintenance strategies can help monitor sensor performance over time and identify when maintenance is needed. Keep a consistent cleaning schedule to ensure your sensors stay free of dust and operate at their best.
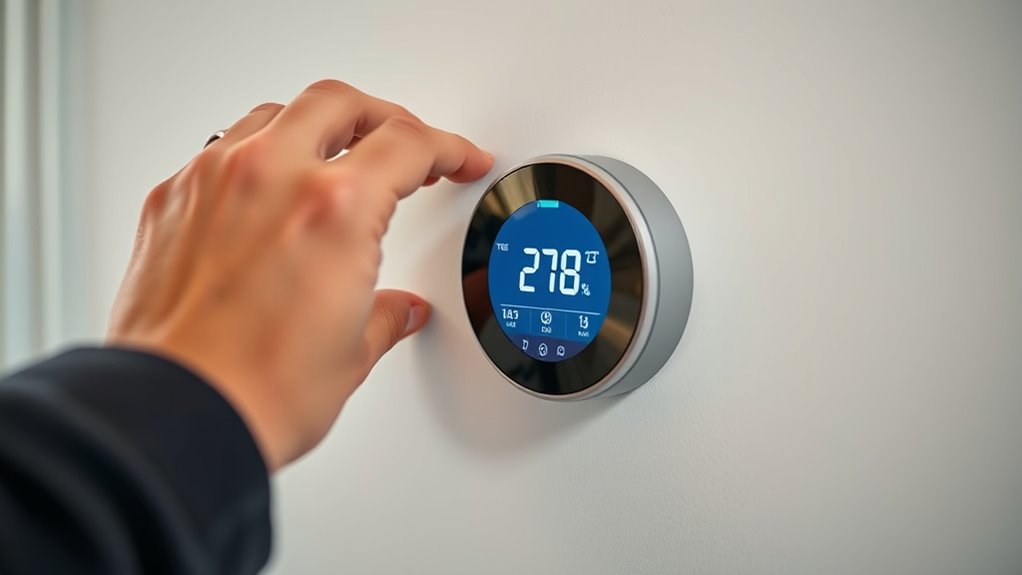
Calibrating Your Sensors for Optimal Accuracy

Calibrating your smart thermostat sensors guarantees they provide accurate readings, which is crucial for maintaining a comfortable and energy-efficient environment. Proper sensor calibration ensures your system responds correctly to temperature changes. To do this, perform accuracy testing by comparing sensor readings to a known accurate thermometer. If discrepancies are found, adjust your thermostat’s calibration settings if available. A 3.5mm Jack can sometimes be used for wired sensor connections, depending on your setup. Re-test to confirm the sensor now provides precise data. Regular sensor calibration maintains ideal performance and prevents errors that could lead to discomfort or wasted energy. Understanding sensor accuracy is essential for effective calibration and astrological compatibility, which can influence perceptions of harmony within a smart home environment. Keep your sensors accurate to ensure your smart thermostat functions as intended.
Replacing Faulty or Damaged Sensors
When you notice your smart thermostat’s readings are consistently off or unresponsive, it’s a clear sign that the sensors may be faulty or damaged. In this case, sensor calibration won’t fix the issue, and you’ll need to contemplate sensor replacement. First, turn off your thermostat and carefully remove the damaged sensor, following the manufacturer’s instructions. Make sure to handle it gently to avoid damaging other components. Once removed, install a new sensor that matches your model, ensuring a secure connection. After replacing the sensor, recalibrate it to ensure accurate readings. Proper sensor replacement is vital for maintaining ideal comfort and energy efficiency. Additionally, understanding grocery store hours can also help plan your maintenance or shopping trips efficiently. Being aware of dog names can also add a personal touch if you’re considering a pet-friendly environment during maintenance. To ensure a seamless replacement process, it’s helpful to familiarize yourself with sensor calibration techniques to maintain accuracy over time. If you’re unsure, consulting a professional can help prevent installation errors and ensure your thermostat functions correctly.
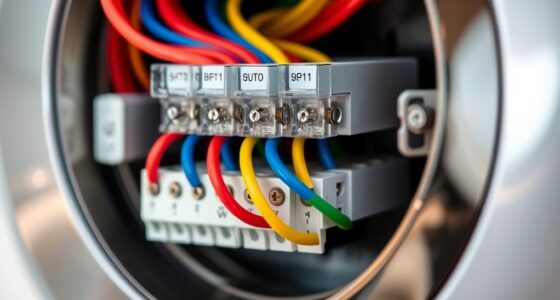
Maintaining Sensor Cables and Connections

You should regularly check your sensor cables for any signs of wear or damage to guarantee proper function. Clean the connection points to remove dirt and corrosion that could interfere with signals. Additionally, make sure all wiring connections are secure to prevent any communication issues with your thermostat. Staying informed about AI discoveries that impact technology can help anticipate future maintenance needs. For example, advancements like on-device AI capabilities in smart devices can influence sensor accuracy and diagnostics over time.
Inspect Cable Integrity Regularly
Regularly inspecting the cables and connections of your smart thermostat sensor is essential to guarantee accurate readings and reliable operation. Focus on cable inspection to ensure wiring integrity, preventing signal loss or false data. Here are four key steps:
- Check for visible damage like cuts, frays, or exposed wires.
- Confirm all connectors are securely plugged in without looseness.
- Look for corrosion or rust on metal contacts.
- Test for continuity with a multimeter to verify wiring integrity.
- Ensure connections meet safety standards to prevent potential hazards or malfunctions. Additionally, inspecting sensor calibration periodically can help maintain measurement accuracy over time.
Clean Connection Points Thoroughly
Ensuring the connection points are clean helps maintain accurate readings and prevents connection issues. Over time, sensor dust can accumulate on contact surfaces, leading to faulty signals. Additionally, connection corrosion may develop, especially in humid environments, weakening the electrical connection. To keep your sensor cables performing effectively, gently disconnect the cables and inspect the contact points. Use a soft brush or compressed air to remove any dust buildup. If you notice corrosion, carefully clean it with a contact cleaner or isopropyl alcohol and a soft cloth. Avoid harsh abrasives that could damage the connectors. Regularly maintaining clean connection points ensures your smart thermostat sensors stay accurate and reliable, avoiding false readings caused by dirt or corrosion interference. Proper maintenance of electrical contacts can significantly extend the lifespan of your sensor system. Monitoring AI vulnerabilities and addressing potential safety concerns can help prevent unexpected malfunctions.
Secure Loose Wiring Connections
Loose wiring connections can cause intermittent signals, inaccurate readings, or sensor failure. To guarantee your smart thermostat maintains peak performance, check all wiring connections regularly. Secure loose wires tightly, especially where sensor cables connect to the controller. This prevents disruptions in wireless communication, which can lead to false readings. Additionally, verify that power supplies are stable to avoid frequent battery replacements, as poor connections can drain batteries faster. Consider these steps:
- Inspect wiring for corrosion or damage.
- Tighten all terminal screws securely.
- Test wireless communication stability.
- Replace batteries if signal issues persist.
Updating Firmware to Enhance Sensor Performance
Updating your smart thermostat sensor’s firmware is essential for maintaining peak performance and fixing potential bugs. Firmware updates improve sensor accuracy and reliability by incorporating the latest features and security patches. When you perform these updates, you’re guaranteeing your sensor remains optimized for accurate temperature readings, which directly impacts your comfort and energy efficiency. Regular firmware upgrades also fix software glitches that could cause inaccurate data or connectivity issues. To update, check your thermostat’s app or control panel for available firmware versions and follow the instructions provided. Keeping your firmware current is a simple yet effective way to enhance sensor optimization, prolong device lifespan, and ensure your smart thermostat functions smoothly and accurately over time.
Establishing a Regular Maintenance Schedule

Maintaining your smart thermostat sensor’s ideal performance requires more than occasional updates; establishing a regular maintenance schedule keeps everything running smoothly over time. Regular checks help guarantee proper sensor calibration and peak sensor placement. To stay on track, consider these steps:
- Schedule biannual sensor calibration to prevent drift.
- Reassess sensor placement to avoid heat sources or drafts.
- Clean sensors monthly to remove dust and debris.
- Record calibration results and placement adjustments for future reference.
Frequently Asked Questions
How Often Should I Test My Smart Thermostat Sensors for Accuracy?
You should test your smart thermostat sensors for accuracy at least once every few months. Proper sensor placement is vital for consistent readings, so make sure they’re positioned away from heat sources or drafts. Regular calibration frequency helps maintain precision, especially if you notice temperature discrepancies. By checking your sensors periodically, you can catch any errors early and keep your thermostat functioning efficiently.
Can External Environmental Factors Affect Sensor Performance Over Time?
External environmental factors can definitely affect sensor performance over time. Environmental interference like high humidity, dust, or direct sunlight can cause sensor degradation, making them less accurate. You should regularly check your sensors, especially if you notice temperature inconsistencies. Keep your thermostat in a stable environment and clean the sensors periodically to minimize environmental impact, ensuring they stay reliable and precise for ideal comfort and energy efficiency.
Are There Specific Tools Recommended for Sensor Calibration?
Think of sensor calibration tools as your toolkit for tuning a musical instrument. For DIY calibration techniques, you can use a digital thermometer or a multimeter to compare readings and make adjustments. Some smart thermostats have built-in calibration settings, but for more precise results, specialized sensor calibration tools are recommended. Always follow manufacturer instructions to guarantee your sensors stay accurate and your home’s climate remains comfortable.
What Are Common Causes of Sensor Calibration Drift?
Sensor calibration drift can happen due to sensor aging, which causes the components to wear out over time, affecting accuracy. Installation issues, like improper placement or poor contact, also contribute to drift. Environmental factors such as temperature fluctuations and humidity can impact sensor performance. Regularly checking and recalibrating your sensors helps maintain accuracy, ensuring your thermostat responds correctly to your home’s conditions and keeps your system running efficiently.
How Do I Identify Compatible Replacement Sensors for My Thermostat Model?
Think of your thermostat as a musical instrument, needing the right notes to play in harmony. To find compatible replacement sensors, check your thermostat’s model number and manufacturer’s guidelines—these act as a map guiding you through sensor compatibility. Follow the replacement guidelines carefully to guarantee your new sensor fits perfectly, maintaining accurate readings. This way, your system continues to perform smoothly, like a well-tuned symphony.
Conclusion
Keeping your smart thermostat sensors in top shape is like guarding the gates to comfort itself—you can’t afford to let inaccuracies sneak in! Regular cleaning, calibration, and updates ensure your system runs flawlessly, saving you from costly energy waste and discomfort. Stay vigilant with routine maintenance, and your sensors will perform like a well-oiled machine, delivering perfect climate control every time. Trust me, a little upkeep now spares you from chaos later!