
Upgrading your legacy thermostat to a smart model boosts your home’s comfort, energy savings, and control. Choose a compatible device that matches your existing system and follow the installation steps carefully—turn off power, note wiring connections, and consult manufacturer instructions. Once installed, connect it to your Wi-Fi and customize features like scheduling and geofencing. Proper installation and configuration ensure peak performance. Keep exploring to discover how to maximize your smart thermostat’s benefits and improve your home environment.
Key Takeaways
- Verify compatibility of the smart thermostat with existing HVAC systems before purchasing.
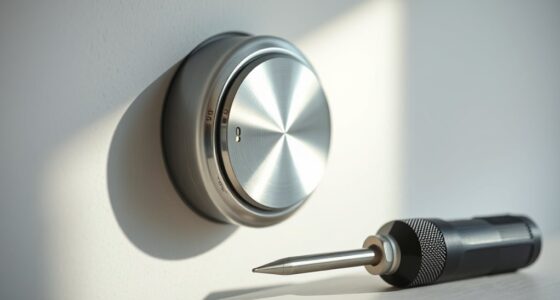
- Turn off power and carefully follow manufacturer installation instructions for safe setup.
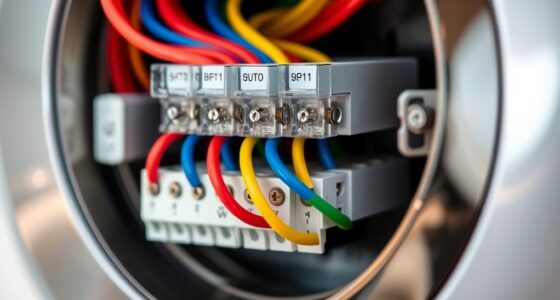
- Take photos or notes of wiring connections to ensure correct wiring during installation.
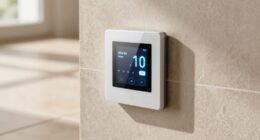
- Connect the thermostat to a stable Wi-Fi network to enable remote control and energy monitoring.
- Use app features like scheduling and energy reports to optimize efficiency and maximize savings.

If your home still relies on outdated thermostats, upgrading to a modern system can substantially improve comfort and energy efficiency. Older thermostats often lack the precision and programmability needed to optimize your heating and cooling, leading to unnecessary energy use and higher bills. By switching to a smart thermostat, you can gain better control over your climate settings, customize schedules, and monitor usage in real-time. This not only enhances comfort but also delivers significant energy savings over time, helping you reduce your carbon footprint and lower utility costs.
Upgrading to a smart thermostat boosts comfort, saves energy, and reduces utility costs.
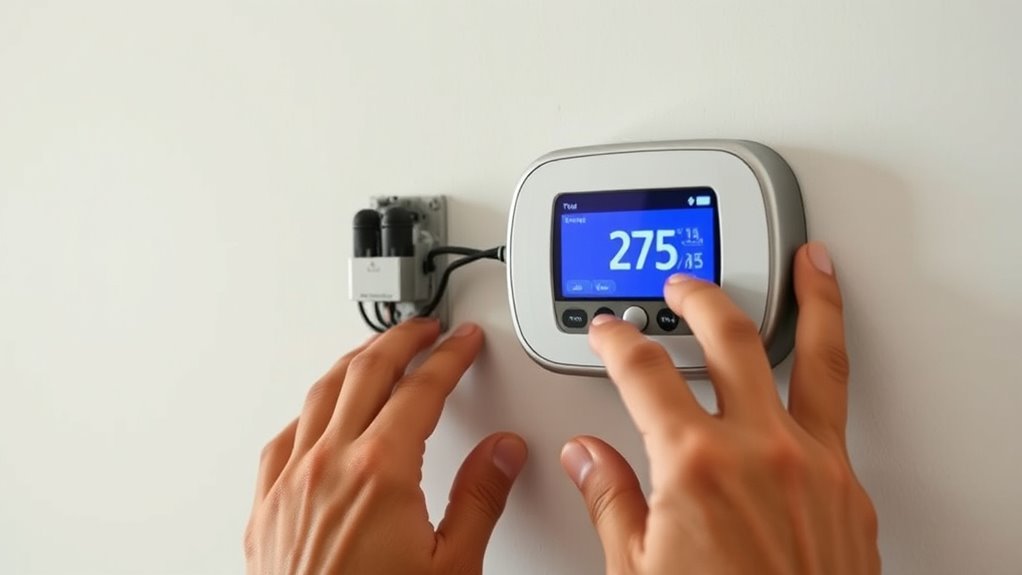
When considering installation tips, start by choosing a compatible smart thermostat that works with your heating and cooling system. Many models are designed for easy DIY installation, but you should still turn off power to your HVAC system before beginning. Remove the old thermostat and take note of the wiring connections, or better yet, take a photo for reference. Modern smart thermostats often come with detailed instructions, and some even include step-by-step installation videos. If you’re uncomfortable handling wiring or unsure about compatibility, consulting a professional can save you time and prevent potential electrical issues.
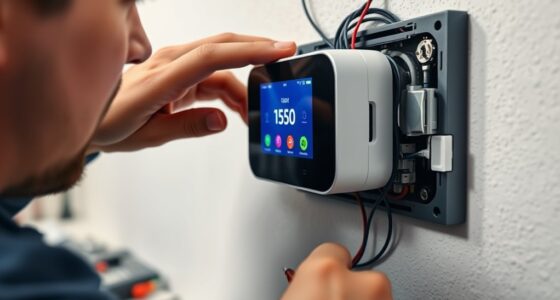
Next, follow the manufacturer’s guidelines carefully to connect the new thermostat. Proper wiring is vital to ensure the device functions correctly and safely. Once installed, turn the power back on and configure your thermostat’s settings through its app or interface. Many smart models allow you to set custom schedules, geofencing, and adaptive learning features that automatically adjust your home’s temperature based on your routines. This level of control maximizes energy savings by minimizing heating or cooling when you’re away or asleep.
Another key installation tip involves securing your Wi-Fi connection. A stable internet connection ensures your smart thermostat can communicate with your devices, provide updates, and deliver remote control capabilities. If your Wi-Fi signal is weak near the thermostat, consider relocating your router or installing a Wi-Fi extender to ensure seamless connectivity. Additionally, take some time to explore the energy reports and usage data your new thermostat provides. These insights can help you fine-tune your settings further, optimizing comfort while reducing energy consumption. Understanding aura and energy dynamics can also enhance your overall awareness of your home’s energy profile.
Upgrading your thermostat isn’t just about convenience; it’s a strategic move toward greater energy efficiency. With the right installation tips, you can make the transition smoothly, ensuring your new smart device operates reliably from day one. As you start to enjoy the benefits of smarter climate control, you’ll appreciate how these upgrades lead to tangible energy savings and a more comfortable home environment.
Frequently Asked Questions
Can I Upgrade My Thermostat Myself Without Professional Help?
Yes, you can do a DIY installation of your smart thermostat if you’re comfortable with basic wiring and electrical work. First, turn off power to your HVAC system, then follow the manufacturer’s troubleshooting steps for removing your old thermostat. Carefully connect the new wires to the smart thermostat, ensuring correct placement. Remember, if you encounter issues or feel unsure, it’s best to consult a professional to avoid costly mistakes or damage.
How Do I Ensure Compatibility With My Existing HVAC System?
Think of your HVAC compatibility like a puzzle; if the pieces don’t fit, the whole system struggles. To guarantee compatibility, check your existing thermostat wiring and compare it with the smart model’s requirements. Review your HVAC system’s specifications, and consult the manufacturer’s guidelines. If unsure, take photos of your current wiring and ask a professional for advice. This way, you avoid costly mistakes and ensure a smooth upgrade.
Are Smart Thermostats Suitable for All Types of Heating and Cooling Systems?
Smart thermostats aren’t suitable for all heating and cooling systems. Compatibility issues can arise with older or specialized systems like radiant heating or multi-stage units, leading to system limitations. You should check your system’s specifications and consult the manufacturer’s compatibility list before purchasing. If your system isn’t compatible, you might need a different thermostat or consider professional advice to avoid potential issues and guarantee smooth operation.
What Is the Typical Cost Difference Between Traditional and Smart Thermostats?
You’ll find that smart thermostats typically cost $100 to $250, while traditional ones average around $50 to $100. A recent price analysis shows smart models can be twice as expensive, but they often save you money through energy efficiency. This cost comparison highlights that investing in a smart thermostat might seem pricier upfront, but the long-term savings and convenience often justify the higher price.
How Long Does Installation and Setup Usually Take?
The installation timeline for a smart thermostat usually takes about 30 minutes to an hour, depending on your existing system. During the setup process, you’ll connect the device to your Wi-Fi, configure your preferences, and sync it with your app. You can typically complete the entire process in under two hours, making it a quick upgrade. Make certain your Wi-Fi is stable for a smooth setup experience.
Conclusion
Upgrading your legacy thermostat to a smart model simplifies your life, saves you money, and enhances your home’s comfort. It’s about gaining control, increasing efficiency, and enjoying convenience all at once. By making this upgrade, you’re not just changing a device—you’re transforming your home, your routines, and your everyday experience. Embrace the future of home automation, take charge of your comfort, and enjoy the benefits of a smarter, more efficient home today.