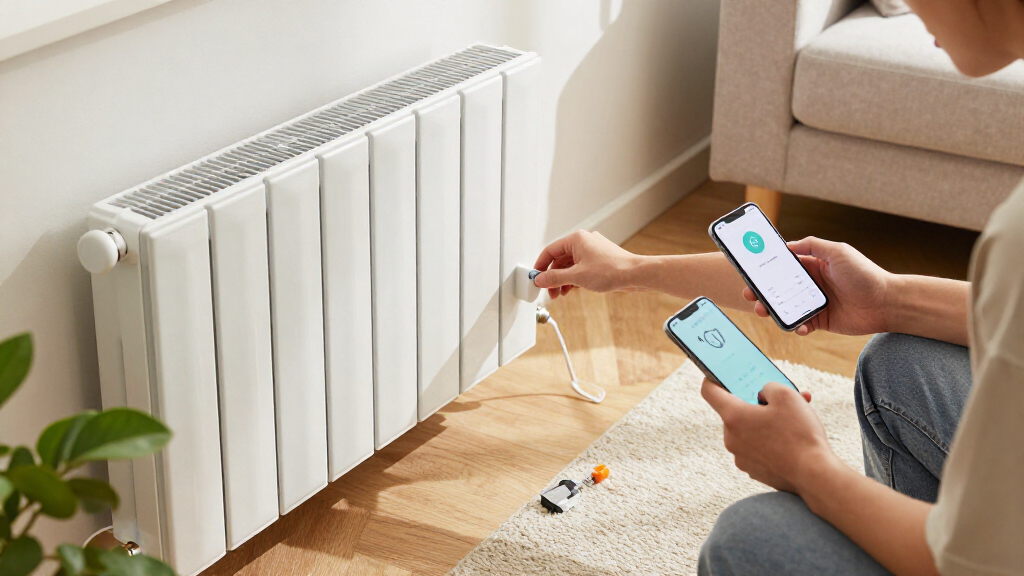

This checklist is for homeowners and renters planning a smart radiator upgrade who want to know which parts to consider before buying. It covers the valve, the connections and supporting accessories, and the ways to monitor room conditions.

Get home appliances delivered free with Prime
- Fast, free delivery on millions of items
- Prime Video, Amazon Music and more included
- Member-only deals all year
The sections follow the radiator setup: start with the valve, then check whether adapters, a booster fan, temperature monitoring, reflector panels, or pipe insulation belong in your plan. Some sections offer a named product; others provide buying guidance without a specific pick.
Use each section to check fit and compatibility before ordering. Compare product dimensions with your radiator and pipes, confirm any system requirements with the manufacturer, and prioritize the parts that address your setup first.
Smart Radiator Valves
A thermostatic valve body is a key part of a radiator setup because it provides the valve connection for temperature control. The listed pick is the Honeywell V110D1000 Thermostatic Valve Body 1/2. Its name identifies a 1/2-inch connection, but that alone does not establish compatibility with every radiator, thermostat, or heating system.
A common buying mistake is treating a matching nominal size as proof of fit. Check the existing valve and pipe connection, the valve body’s dimensions, and the requirements of the smart thermostat you intend to use. Confirm whether the thermostat head is included or must be selected separately; the product name specifies a valve body. If you are replacing an existing part, compare its connection type and installation arrangement with the product documentation, and ask a qualified installer if the setup is unclear.
Plan the valve choice alongside any adapter requirements and the smart controls you expect to pair with it. Verify that the full combination is supported before purchasing, rather than assuming parts from different systems will connect or communicate. Keep the existing radiator details handy when checking fit.
What to look for:
- Confirm the radiator and pipe connection size and type.
- Check the product dimensions against the existing valve space.
- Verify smart thermostat compatibility with the valve body.
- Confirm whether a thermostat head is included or sold separately.
- Review installation requirements for your heating setup.
Honeywell V110D1000 Thermostatic Valve Body 1/2"

This Honeywell V110D1000 thermostatic valve body is designed for hydronic heating systems, hot water, and steam applications. It features a nickel-plated valve seat and cartridge, with a temperature rating of 248°F, suitable for 1/2 inch nominal size piping.
Pros:
- Suitable for hydronic heating and steam applications
- Nickel-plated for corrosion resistance
- Includes valve seat and cartridge
Cons:
- Limited to 1/2 inch pipe size
- No detailed installation instructions provided
- Specific to certain heating systems
Best for: People replacing a valve body who can verify the 1/2-inch connection and system compatibility.
Not ideal for: Setups where the connection or smart thermostat requirements are unknown.
Bottom line: Check the complete radiator and thermostat combination before choosing this valve body.
Radiator Thermostat Adapters
An adapter may be needed when the radiator valve connection does not match the thermostat you plan to install. This section has no named product pick, so treat it as a compatibility check rather than a recommendation to buy a particular part. First identify the valve connection and the thermostat’s supported connection type.
A frequent mistake is buying an adapter based only on appearance or a broad valve description. Compare the exact connection details in both manufacturers’ documentation, including thread or fitting specifications where provided. Check whether the thermostat maker lists a suitable adapter for your valve; do not assume that a part described as universal will fit every radiator. If the existing valve is worn, damaged, or unfamiliar, an adapter may not resolve the underlying issue.
Consider clearance as well as the connection: the assembled valve and thermostat need room around the radiator and nearby surfaces. Check the adapter’s dimensions and installation instructions, and confirm the intended pairing before ordering. When the valve identity is uncertain, take its make and model or clear measurements to a heating professional or the thermostat manufacturer for guidance. The goal is a secure, documented fit for the specific valve and control, not a trial-and-error stack of fittings.
What to look for:
- Identify the exact radiator valve make, model, and connection.
- Check the thermostat maker’s compatibility list and adapter guidance.
- Match connection specifications using manufacturer documentation.
- Confirm dimensions and clearance around the installed thermostat.
- Avoid relying on an unverified universal-fit claim.
Radiator Booster Fans
A radiator booster fan is an optional accessory to consider when you want to explore moving warmth away from the radiator area. There is no product pick in this slot, so begin by checking whether a fan suits the radiator’s shape, available space, and intended placement. Do not assume every radiator can accommodate one.
One common mistake is focusing on a fan’s general description without checking how it sits beside the radiator and its controls. Measure the available length and clearance, and review the installation method, power needs, and any operating requirements in the product documentation before choosing a model. Keep cords and controls clear of hot surfaces and of the normal path through the room, following the manufacturer’s placement guidance.
Think about the specific room and radiator where you plan to use the accessory. Check the radiator dimensions and the fan’s stated compatibility, then confirm that there is a suitable outlet or other required power arrangement. Avoid buying on the assumption that a fan will correct every heating or comfort issue; make sure the accessory is suitable for your radiator and your goal. A measured fit check can prevent choosing a unit that is difficult to position or operate in the space.
What to look for:
- Measure the radiator and available mounting or placement space.
- Check the fan maker’s radiator compatibility details.
- Review power requirements and cord placement.
- Confirm controls remain accessible after installation.
- Follow the product’s clearance and operating instructions.
Smart Temperature Sensors
A smart temperature sensor can help monitor conditions in a room as part of a radiator upgrade. The named pick is Cellular Temperature Monitor, Power Outage Alarm & Humidity Sensor. Its product name describes temperature monitoring, a power outage alarm, and humidity sensing, but does not specify its full connectivity, app, or smart-home compatibility.
A common buying mistake is assuming that a sensor described as cellular will connect to a particular smart-home platform or radiator thermostat. Check the manufacturer’s documentation for network requirements, service requirements, supported apps, and whether the sensor can share readings with the controls you plan to use. Confirm how it is powered and what happens during an outage; the name mentions an alarm, but the product details should explain how that alarm is delivered.
Placement matters for readings. Choose a position that reflects the room conditions you want to monitor, and follow the maker’s guidance on distance from the radiator, windows, direct sunlight, and other heat or moisture sources. Compare the sensor’s dimensions and mounting method with the intended location. Before buying, verify the connectivity and alert setup against your needs, especially if you expect it to participate in automated radiator control rather than serve as a standalone monitor.
What to look for:
- Confirm cellular, app, and smart-home requirements in the documentation.
- Check power source and power outage alarm behavior.
- Verify temperature and humidity monitoring features.
- Review placement guidance for representative room readings.
- Confirm the mounting method and alert delivery options.
Cellular Temperature Monitor, Power Outage Alarm & Humidity Sensor

This cellular-enabled sensor monitors temperature, humidity, and power outages, providing real-time alerts via a mobile app. It features a rechargeable battery for continuous operation during power outages and offers easy setup with remote access and customizable thresholds.
Pros:
- Includes 2 years of cellular service with no extra fees
- Provides real-time alerts for temperature, humidity, and power outages
- Rechargeable battery ensures continuous monitoring during power outages
- Easy to install and operate via mobile app
Cons:
- Subscription renewal required after 2 years
- Limited to cellular network coverage
- Battery life may require frequent charging
Best for: People seeking temperature and humidity monitoring with a named power outage alarm feature.
Not ideal for: Buyers who need confirmed integration with a specific smart radiator system.
Bottom line: Verify connectivity, alert delivery, and placement before choosing this monitor.
Radiator Reflector Panels
Reflector panels are an optional item to evaluate for the wall area behind a radiator. This checklist includes no product pick, so use the section to decide whether a panel suits your radiator and wall. Check the radiator’s position and the space available behind it before looking at specific products.
A common mistake is choosing a panel without checking its material, dimensions, and installation instructions. Measure the area behind the radiator, accounting for brackets, pipework, and any obstacles. Review the manufacturer’s guidance for suitable wall and radiator arrangements, how the panel is secured, and any clearance requirements. Do not assume one size or installation method works for every radiator.
Consider access as well as fit: the panel should not prevent you from reaching valves or other parts that need routine attention. Check whether installation requires moving the radiator and whether that work is appropriate for your setup. If the radiator is fixed close to the wall or the surface is difficult to assess, consult an installer before buying. A careful space check helps you select a panel that can be positioned as intended without interfering with the radiator or its connections.
What to look for:
- Measure the wall area behind the radiator.
- Check panel dimensions against brackets, pipes, and obstacles.
- Review installation and wall-surface requirements.
- Keep valves and service points accessible.
- Confirm whether installation requires moving the radiator.
Pipe Insulation Sleeves
Pipe insulation sleeves are an accessory to consider for exposed pipework in a radiator setup. The listed pick is Amylove Pre-Slit Foam Pipe Insulation, 12 Pieces, 3.28 ft, for 1-Inch. The name provides a piece count, length, material type, and a 1-inch pipe reference; check the full listing to confirm exactly how those measurements apply.
A common buying mistake is assuming the stated pipe size matches the pipe’s outside diameter or the dimension the sleeve uses. Measure the pipe as directed by the product maker, and verify the sleeve’s inner diameter and length before ordering. Check bends, joints, valves, and the space around the pipe, since straight pre-slit pieces may need careful fitting around fittings or interruptions. Do not cover controls or connections that need access.
Count the exposed sections and measure their lengths so you can judge whether the listed quantity and piece length suit the job. Confirm that the foam and installation method are appropriate for the pipe location and operating conditions, following the manufacturer’s guidance. If your pipes differ in size, a single 1-inch product may not cover the whole route. Making a pipe-by-pipe fit check helps avoid gaps, excess material, or sleeves that cannot close correctly around the intended pipe.
What to look for:
- Measure the pipe using the sizing method in the listing.
- Confirm the sleeve’s inner diameter and piece length.
- Count exposed pipe sections and check total coverage.
- Plan around bends, joints, and valve access.
- Verify material suitability and installation guidance.
Amylove Pre-Slit Foam Pipe Insulation, 12 Pieces, 3.28 ft, for 1-Inch Pipes

This set includes 12 flexible, reusable PEP foam tubes designed to insulate and protect pipes from freezing, impacts, and noise. Each pre-slit tube is about 3.28 ft long and installs by clipping it around a pipe; the foam can also be used for crafts, pool activities, and protective padding.
Pros:
- Pre-slit tubes are easy to install
- Flexible and reusable foam
- Suitable for freeze, impact, and sound insulation
- Can also be used for crafts and pool activities
Cons:
- Specified inner diameter is slightly larger than 1 inch
- No performance details are given for insulation in specific temperatures
Best for: People insulating exposed pipe sections that match the product’s stated sizing.
Not ideal for: Installations with mixed pipe sizes or many complex fittings.
Bottom line: Measure each pipe and confirm the sleeve dimensions before ordering.
Build your buying order around confirmed fit first: identify the valve and thermostat pairing, then check whether an adapter is needed. Next measure any exposed pipes or wall space for insulation sleeves or reflector panels, and consider a booster fan only after checking radiator clearance. Add a sensor when its connectivity and alerts match the way you plan to monitor the room.
You do not need to add every accessory at once. Start with the part that addresses your radiator setup, verify its dimensions and requirements, and work through the remaining checklist as needed. With a few careful checks, you can make a well-matched upgrade plan at a pace that suits your home.
Fall yard work Picks
leaf blowers
As an affiliate, we earn on qualifying purchases.