
To get accurate temperature readings from your remote sensor, place it away from direct sunlight, heat sources, and reflective surfaces that can skew data. Mount it at a consistent height, preferably in shaded, sheltered areas like under eaves or behind foliage, and avoid wind drafts. Use enclosures or shields if needed to block external influences. Regularly calibrate your sensor and keep detailed documentation. Keep these tips in mind, and you’ll improve your sensor’s accuracy—continue to find out more.
Key Takeaways
- Place sensors in shaded, protected areas away from direct sunlight, heat sources, and reflective surfaces.
- Mount sensors on stable, non-reflective surfaces at consistent heights for reliable measurements.
- Avoid proximity to heat vents, electronic devices, and airflow disturbances that can skew readings.
- Use weather-resistant enclosures with proper ventilation to shield sensors from moisture, dust, and environmental factors.
- Regularly calibrate sensors against trusted standards and document environmental conditions to ensure ongoing accuracy.
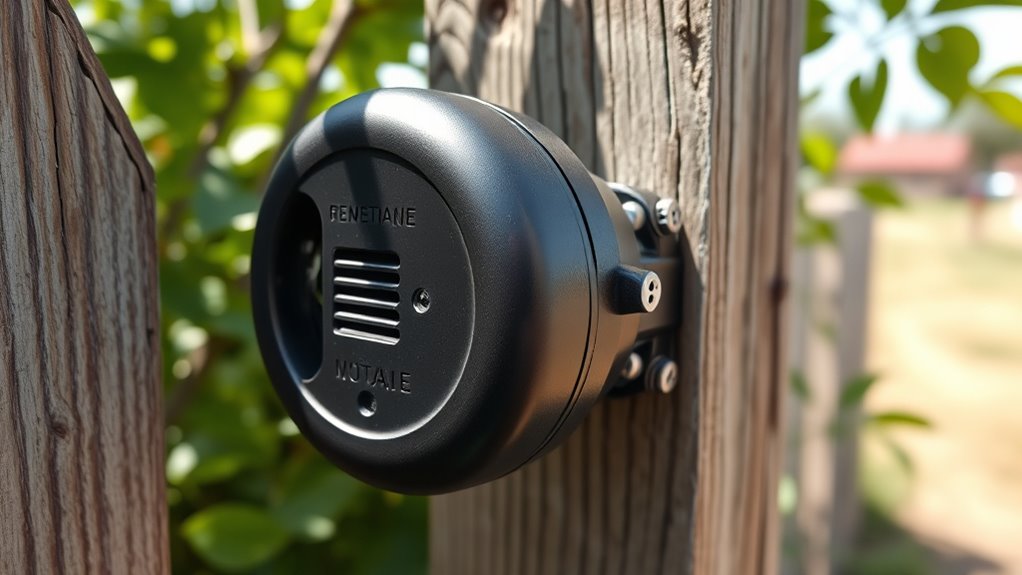
La Crosse Technology 925-1418 Sensor Protection Shield with Mount
Wall mountable or place onto flat surface, includes hardware
As an affiliate, we earn on qualifying purchases.
As an affiliate, we earn on qualifying purchases.
Choosing the Right Location for Your Sensor
Selecting the ideal location for your sensor is essential to guarantee accurate and reliable data collection. Proper sensor placement directly impacts the quality of your temperature readings. You need to contemplate environmental factors such as airflow, proximity to heat sources, and potential interference. Place your sensor in an area that reflects typical conditions without being affected by direct sunlight or drafts. Avoid spots near machinery or vents that can cause fluctuations. Think about how environmental factors like humidity, wind, and nearby objects might influence readings. Positioning your sensor in a stable, unobstructed location ensures consistent data. Remember, the goal is to capture representative data, so choose a spot that accurately reflects the environment you’re monitoring. Proper sensor placement is key to obtaining precise, dependable temperature measurements. Additionally, understanding local environmental conditions, such as prairie scenery in Wichita or urban influences in cities like Kansas City or Cleveland, can help you select the most suitable spot for your sensor. Considering regional characteristics, like urban heat islands, can further improve the accuracy of your readings. To optimize data accuracy, it’s also beneficial to evaluate the microclimate of your chosen location to ensure it truly reflects the broader environment.
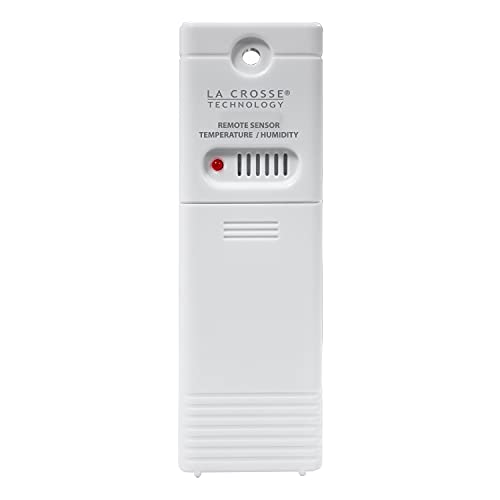
La Crosse Technology Wireless Outdoor Temperature & Humidity Sensor – Wall Mounted, Accurate, Weather Resistant, Wide Temperature & Humidity Gauge Transmission Range (330ft Range), Battery Powered
*PLEASE VERIFY compatibility ~ ONLY WORKS with model clock/weather stations (not limited to): 308-1414B, 308-1414W, 308-1414MB-INT, 308-1711BL, 308-1425B-INT,…
As an affiliate, we earn on qualifying purchases.
As an affiliate, we earn on qualifying purchases.
Avoiding Direct Sunlight and Heat Sources
You should place your sensor in a shaded spot to prevent overheating and inaccurate readings. Keep it away from heat vents and reflective surfaces that can cause false data. Avoiding direct sunlight and heat sources helps guarantee your sensor functions reliably. Additionally, ensure the sensor is positioned away from heat-sensitive areas, such as areas with high humidity or temperature fluctuations, to maintain accurate measurements. Proper placement also involves selecting locations with stable ambient conditions to avoid environmental interference, which can skew temperature readings. Being mindful of sensor calibration ensures ongoing accuracy and reliable data collection.
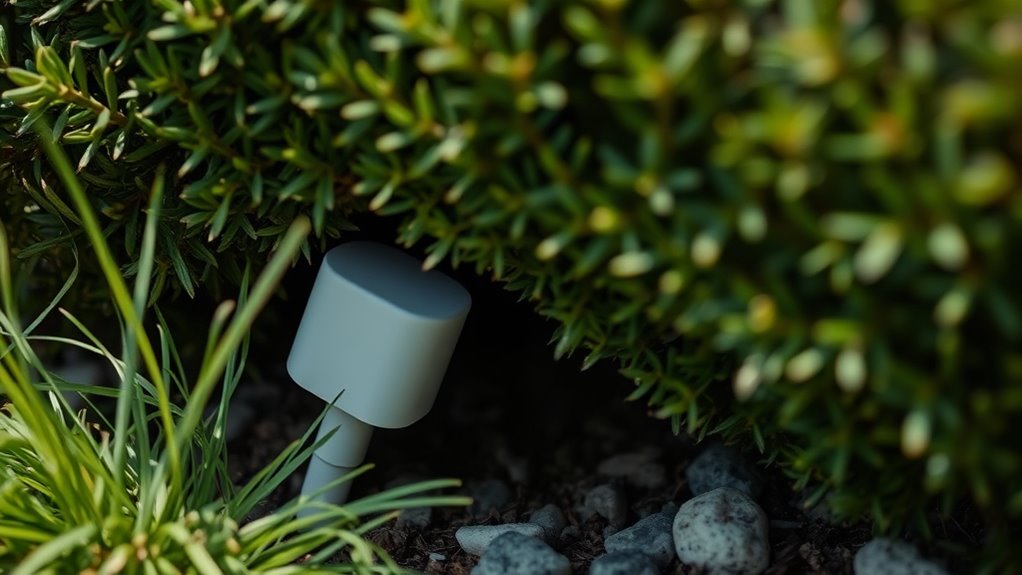
Choose Shaded Locations
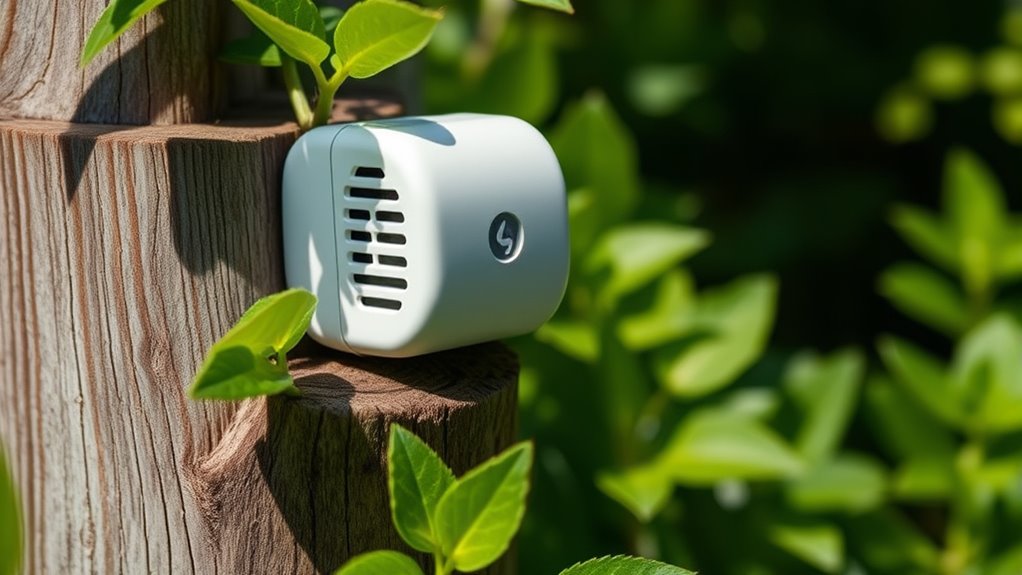
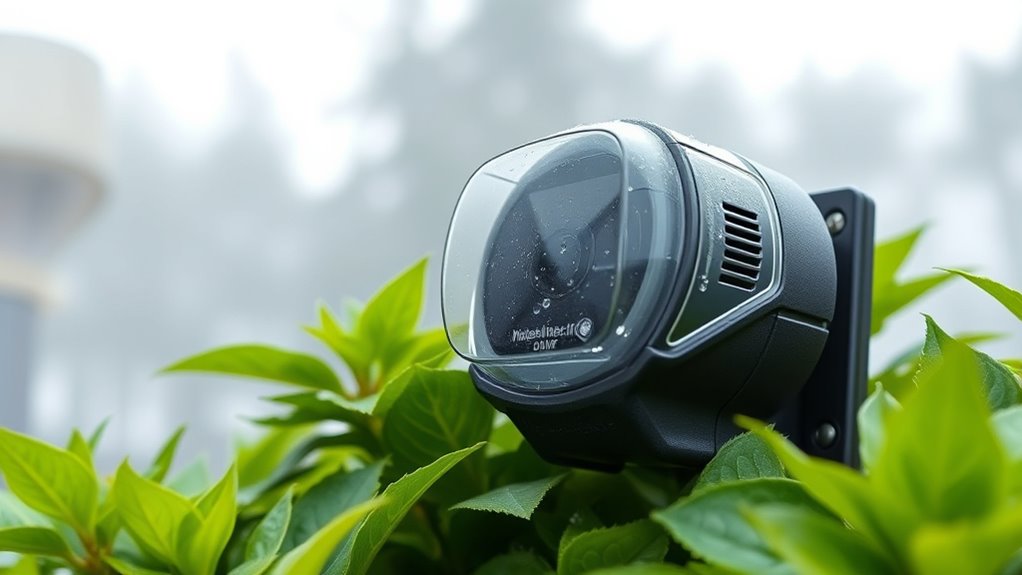
To guarantee accurate sensor readings, it’s essential to place sensors in shaded locations where direct sunlight and heat sources won’t interfere. Proper sensor placement helps minimize environmental factors that can skew temperature data. Look for spots that naturally block sunlight, such as under eaves or behind dense foliage. Imagine a sensor tucked under a gazebo’s roof, shielded from the sun’s rays. Or consider placing it beneath a canopy of trees, where leaves cast cool shadows. Another option is positioning sensors in shaded corners of buildings or under awnings. These choices prevent heat buildup and ensure reliable readings. Focus on environmental factors that could cause fluctuations, and always select a location that remains consistently shaded throughout the day. This way, you’ll get the most accurate temperature data possible. Additionally, understanding Gold IRA Rollovers can help diversify your retirement portfolio, providing a hedge against inflation and economic uncertainty. Ensuring the sensor is in a stable environment also reduces the risk of temperature variations caused by microclimates within your planting or storage area. Recognizing the importance of proper placement can significantly improve the accuracy of your temperature measurements and help maintain optimal conditions.
Keep Away From Heat Vents
Since heat vents emit warm air that can quickly raise sensor readings, it’s essential to keep sensors well away from these sources. Heat vents generate thermal drafts that can skew temperature data. Placing sensors near vents or direct sunlight causes inaccurate readings. To help, consider this quick reference:
| Location to Avoid | Reason | Impact on Readings |
|---|---|---|
| Heat Vents | Warm air distorts data | Overestimates temperature |
| Direct Sunlight | Extra heat exposure | Inflated readings |
| Near Appliances | Heat from devices | Unreliable data |
| Windows & Drafts | External temperature influence | Inaccurate readings |
Additionally, understanding the sensor placement principles can improve the accuracy of your temperature measurements. Proper placement involves avoiding sources of heat and external influences to ensure reliable data. Being aware of environmental factors can further help in achieving precise readings.
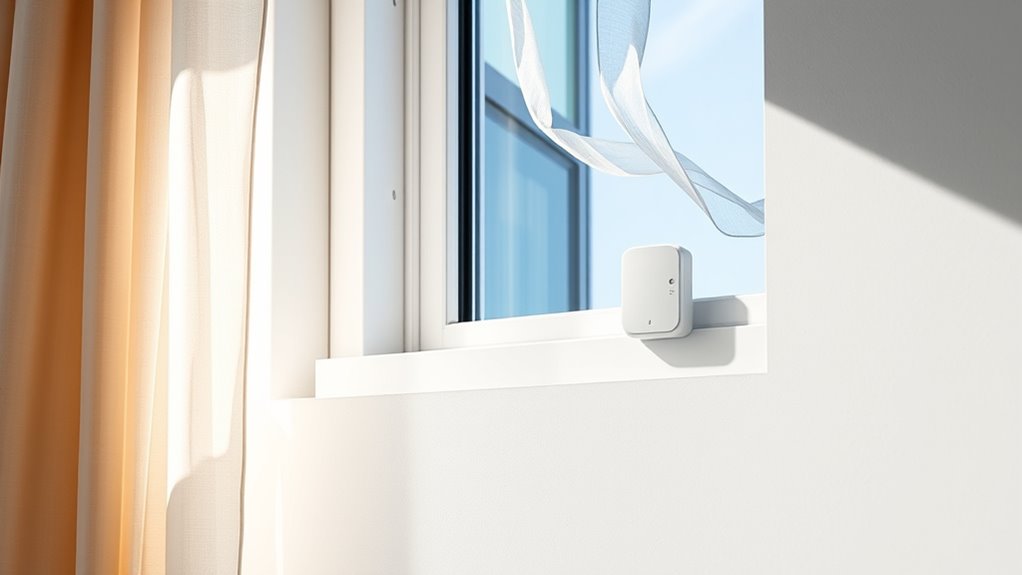
Avoid Reflective Surfaces
Reflective surfaces and direct sunlight can considerably distort sensor readings by reflecting heat or sunlight onto the device. This surface interference can cause inaccurate temperature measurements, leading you to misjudge conditions. To prevent this, avoid placing sensors near shiny or glossy materials that reflect heat, such as metal or glass. Be mindful of areas with surfaces that bounce sunlight, like white walls or polished floors, which can intensify surface interference. Imagine positioning your sensor in a shaded spot, away from reflective objects. Keep in mind:
- Shiny metal tables or appliances
- Glass windows or mirrors
- Bright white or glossy walls
- Automation technologies can also impact sensor accuracy if integrated improperly, so ensure proper calibration and placement within automated systems. Additionally, understanding the effects of surface reflectivity helps optimize sensor placement for accurate readings. To further improve accuracy, consider the thermal properties of surfaces, which influence how heat is absorbed and emitted around your sensor.

Digital pH Meter Food Pocket pH Pen for Fermentation with pH Calibration Kits Color Display Spear Tip pH Food Tester Probe with ATC for Cosmetics Sourdough Professional pH Test Strips for Food Acidity
1. Professional Accuracy with Easy Calibration: GIDIGI digital pH meter with high accuracy and ATC for consistent results…
As an affiliate, we earn on qualifying purchases.
As an affiliate, we earn on qualifying purchases.
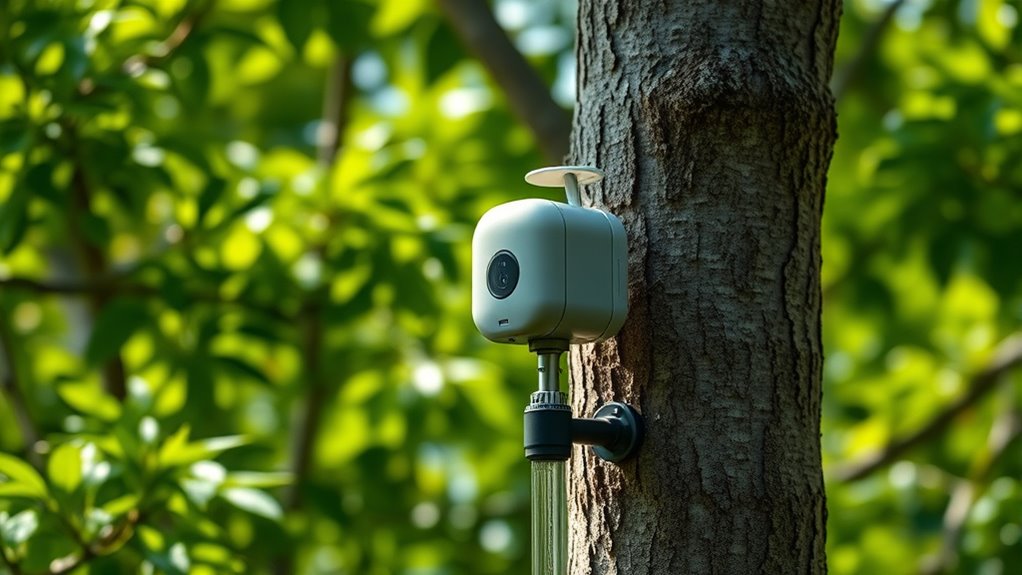
Maintaining Proper Height and Elevation

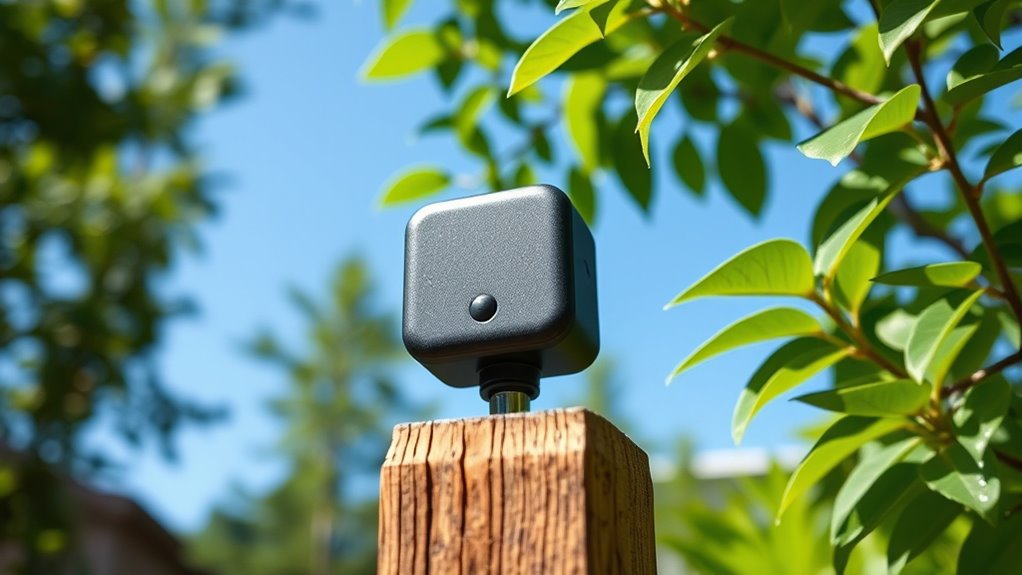
Maintaining the correct height and elevation for your remote sensors is crucial for accurate data collection and reliable performance. Proper sensor height ensures that temperature readings reflect the environment accurately, avoiding distortions caused by ground heat or obstructions. Aim to install sensors at a consistent elevation, ideally around 4 to 6 feet above the ground, to maintain elevation consistency across different locations. This uniformity helps ensure that readings are comparable and unaffected by varying heights. Use a level or measuring tools to confirm the sensor’s height during installation. Regularly check that sensors haven’t shifted or been disturbed, as even small changes can impact data accuracy. Consistent height and elevation are key to collecting reliable temperature data over time. Additionally, understanding sound vibrations and their influence can help optimize sensor placement in environments where acoustic factors may affect readings. Considering environmental factors such as wind and sunlight exposure can further improve sensor accuracy and longevity. Proper placement also involves avoiding interference from nearby objects, which can cause misleading temperature readings.
La Crosse Technology 925-1418 Sensor Protection Shield with Mount
Wall mountable or place onto flat surface, includes hardware
As an affiliate, we earn on qualifying purchases.
As an affiliate, we earn on qualifying purchases.
Minimizing Exposure to Wind and Drafts
Proper sensor placement also involves minimizing exposure to wind and drafts, which can considerably skew temperature readings. Wind protection and draft prevention are essential to ensure accuracy. When placing your sensor, imagine shielding it behind an obstacle, such as a fence or shrub, that blocks airflow. This helps prevent rapid temperature changes caused by gusts. Additionally, selecting a location that reflects typical indoor or outdoor conditions ensures more reliable measurements key elements of modern farmhouse style. Recognizing the importance of environmental factors, understanding local weather patterns can further improve sensor accuracy. Incorporating knowledge of gathered weather data can help in choosing the optimal placement for consistent readings.
Ensuring Good Air Circulation Around the Sensor
To guarantee accurate temperature readings, you need to promote good air circulation around your sensor. Proper sensor placement is essential; avoid placing it in stagnant air zones or corners where air tends to be still. Position the sensor where air naturally flows, such as near vents or open spaces, to ensure consistent airflow. Good air circulation helps prevent temperature fluctuations caused by localized heat sources or drafts. If the sensor is enclosed or confined, consider adding small vents or spacing to facilitate airflow. Regularly check that nothing obstructs air movement around the sensor. Proper placement and airflow are key to achieving precise temperature measurements.
Protecting Sensors From Moisture and Humidity
Moisture and humidity can substantially impair sensor performance, so it’s crucial to protect your devices from these elements. Without proper moisture barriers and humidity control, readings can become unreliable or sensors may fail prematurely. To shield your sensors effectively, consider using sealed enclosures that prevent water ingress. Incorporate desiccants inside the housing to absorb excess moisture. Elevate sensors above ground and away from direct exposure to rain or condensation. Visualize a clear, waterproof casing with tight seals, a small vent with a humidity filter, and desiccant packs nestled inside. These strategies help maintain stable conditions around your sensor, ensuring accurate temperature readings and longer device life. Proper moisture protection is essential for consistent, dependable data in any environment. Fokos can also be used to help identify optimal placement and protective measures for sensors in varying environments. Additionally, implementing sensor calibration regularly can help compensate for any environmental effects that might impact accuracy. Employing environmental monitoring tools can further enhance your ability to maintain ideal sensor conditions.
Keeping Sensors Away From Electronic Interference
To guarantee your sensors work accurately, keep them away from electronic devices that can cause interference. Placing sensors at a safe distance minimizes signal disruption and noise. Using shielding materials can also protect your sensors from unwanted electronic signals. Recognizing and avoiding manipulative behaviors in your environment can further enhance sensor performance.
Keep Distance From Electronics
Electronics nearby can generate electromagnetic interference that disrupts sensor readings, so it’s crucial to keep sensors away from such devices. When electronics are too close, their electromagnetic fields can cause inaccurate temperature measurements. Additionally, electronics proximity can lead to heat conduction, artificially raising sensor temperatures and skewing data. To avoid these issues, position sensors at a safe distance from electronic devices.
- Visualize a sensor placed too close to a computer or power supply, with sparks or heat radiating towards it.
- Imagine a sensor near a motor or transformer, where magnetic fields interfere with readings.
- Picture heat conduction from a nearby electronic device elevating the sensor’s temperature, compromising accuracy.
Use Shielding Materials
Using shielding materials is an effective way to minimize electromagnetic interference and protect sensor accuracy. Incorporate shielding materials like metal enclosures or conductive tape around your sensors to block unwanted signals. When considering placement, think about nearby electronic devices that could generate interference, such as routers or motors. Proper shielding helps guarantee that electrical noise doesn’t distort temperature readings. Placement considerations should include positioning sensors away from sources of electromagnetic fields and ensuring that shielding doesn’t obstruct airflow or access. Always evaluate the environment to decide where shielding materials can be most effective without compromising sensor function. By carefully selecting shielding materials and considering placement, you improve measurement reliability and maintain accurate temperature data.
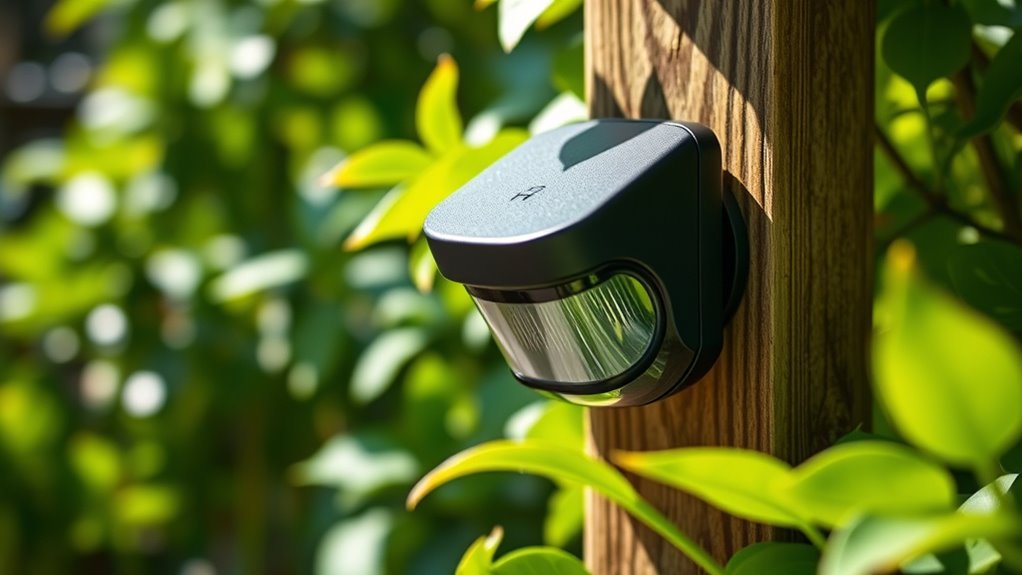
Using Shielding and Enclosures When Necessary
Have you considered how environmental interference can affect your sensor’s readings? Using shielding and enclosures can protect your sensor from factors like wind, direct sunlight, and dust. Proper sensor shielding minimizes external influences, ensuring more accurate data. When choosing enclosure materials, opt for durable, weather-resistant options like UV-resistant plastics or metal to withstand harsh conditions. Visualize your sensor tucked inside a protective box, shielding it from rain and debris, yet allowing air circulation. Keep in mind:
Protect your sensors with durable enclosures to shield against weather, dust, and moisture for reliable readings.
- Shielding blocks radiant heat from nearby surfaces
- Enclosure materials prevent moisture ingress
- Proper placement inside enclosures avoids temperature fluctuations
These measures help maintain consistent readings, especially in challenging environments. Shielding and enclosures are essential tools to safeguard your sensors and improve measurement reliability.
Calibrating Sensors Regularly for Accuracy
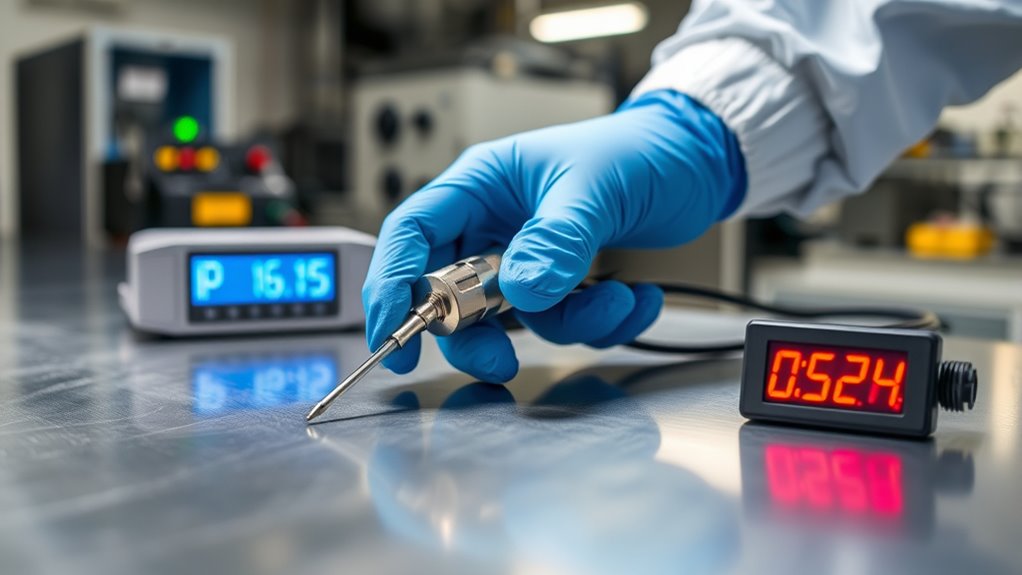
To make certain your sensors stay accurate, you need to set a regular calibration schedule based on their usage and environment. Using standard references helps verify measurements and maintain consistency over time. By sticking to your calibration frequency, you can catch errors early and improve data reliability.
Scheduled Calibration Frequency
Regular calibration is essential to guarantee your sensors maintain their accuracy over time. Setting appropriate calibration intervals helps prevent sensor drift, which can lead to inaccurate readings. The frequency depends on environmental conditions and sensor quality, but neglecting this can compromise data integrity. To visualize, imagine:
- A sensor slowly losing precision as it ages without recalibration
- Periodic checks catching drift before it affects results
- Consistent calibration keeping your temperature data reliable
Using Standard References
Using standard references is a crucial step in maintaining sensor accuracy. When you perform sensor calibration, using reliable standard references ensures your readings stay precise over time. This process helps verify that your sensors are measuring temperature correctly, especially if placement consistency is maintained. Regular calibration against known temperature standards allows you to identify drift or deviations early. Keep your calibration procedures consistent to avoid discrepancies caused by different reference points or methods. By integrating standard references into your routine, you enhance the reliability of your data, enabling better decision-making. Remember, consistent sensor calibration with trusted references is essential for accurate temperature monitoring, particularly in remote sensor setups where direct maintenance is limited. This practice ensures your readings remain trustworthy and precise.
Documenting and Monitoring Placement Conditions
When documenting and monitoring placement conditions, capturing detailed information about the sensor’s environment and setup is essential. Proper documentation helps guarantee accurate temperature readings and consistent data over time. Focus on recording key environmental conditions such as ambient temperature, humidity levels, and airflow around the sensor. Keep track of where you placed the sensor, including height, proximity to heat sources, or reflective surfaces. Visualize your sensor nestled in a shaded corner, shielded from direct sunlight, or mounted on a stable surface. Consider how nearby equipment or materials might influence readings. Regularly monitor these conditions to detect changes that could impact sensor accuracy. Consistent documentation ensures you understand how environmental conditions affect your sensor placement and temperature data.
Frequently Asked Questions
How Often Should I Check Sensor Accuracy After Installation?
You should check your sensor accuracy regularly to guarantee reliable data. Usually, it’s best to perform sensor calibration every few months or after any extreme environmental changes. Keep track of your data logging frequency to spot any discrepancies early. Consistent calibration helps maintain precision, especially if you notice inconsistent readings. By staying proactive, you ensure your temperature data remains accurate and trustworthy over time.
Can Multiple Sensors Be Used for Better Temperature Measurement Coverage?
Did you know that using multiple sensors can improve temperature measurement accuracy by up to 30%? Yes, you can use several sensors to achieve better coverage optimization, especially in large or complex spaces. Just remember, regular sensor calibration is essential to maintain accuracy across all devices. By deploying multiple sensors, you ensure more reliable data, helping you make informed decisions and maintain ideal conditions efficiently.
What Are Common Mistakes to Avoid During Sensor Installation?
When installing sensors, avoid common mistakes like neglecting proper calibration protocols, which can lead to inaccurate readings. Make certain you select an appropriate installation environment, avoiding areas with extreme temperatures, drafts, or direct sunlight. Secure the sensor firmly to prevent movement, and follow manufacturer instructions carefully. Regularly check and recalibrate your sensors to maintain accuracy, and keep the environment consistent to ensure reliable temperature measurements over time.
How Do Environmental Changes Affect Long-Term Sensor Accuracy?
Imagine the sensor as a vigilant observer, constantly affected by environmental factors like humidity, sunlight, and airflow that shift over time. These changes can skew temperature readings if you neglect calibration procedures. Regularly adjusting and maintaining your sensors guarantees they adapt to environmental fluctuations, preserving accuracy. Without this, long-term environmental shifts could cause your sensor to give false data, undermining your efforts to monitor and control conditions effectively.
Are There Specific Sensor Types Best Suited for Outdoor Use?
When choosing sensors for outdoor use, you should look for models with high sensor durability to withstand environmental elements like rain, sun, and temperature fluctuations. Opt for sensors that require less frequent calibration to maintain accuracy over time. These types guarantee reliable readings despite outdoor conditions, reducing maintenance needs and maximizing sensor lifespan, so you get precise temperature data without constant adjustments.
Conclusion
By carefully choosing and maintaining your sensor placement, you’re planting the seeds for truly accurate temperature readings. Think of your sensor as a delicate plant—if you nurture it with the right environment, it’ll flourish with reliable data. Keep these tips in mind, stay vigilant, and your measurements will be as steady as a lighthouse guiding ships through the night, ensuring you always have a clear picture of your environment’s true temperature.