To install a smart thermostat with your baseboard heaters, start by turning off the power and removing your existing control switch, noting wire connections. Check if your system has a common wire, as many smart thermostats require it for proper operation. Follow the thermostat’s wiring instructions carefully, matching wires to the correct terminals. Mount the device securely, restore power, and complete the setup. With proper wiring, you’ll enjoy better control and energy savings—learn more about ensuring a seamless installation.
Key Takeaways
- Verify your baseboard heater wiring matches the smart thermostat’s specifications before installation.
- Turn off power and carefully remove existing thermostat, noting wire connections.
- Confirm if your system has a common wire; many smart thermostats require it.
- Connect wires to the correct terminals as per the thermostat’s installation instructions.
- Mount the thermostat securely, restore power, and complete Wi-Fi setup for remote control.
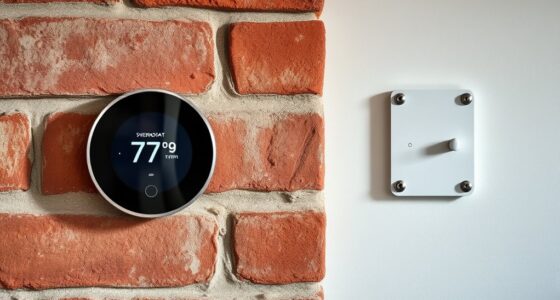
Installing smart thermostats with baseboard heaters can substantially improve your home’s comfort and energy efficiency. When you upgrade to a smart thermostat, you gain greater control over your heating system, allowing you to customize temperature settings, create schedules, and even monitor your energy usage remotely. This not only enhances your comfort but also helps you save money by reducing unnecessary energy consumption. However, before you get started, it’s important to consider wiring compatibility, as baseboard heaters often have specific electrical requirements. Ensuring your home’s wiring matches the thermostat specifications is vital for a safe and effective installation. Many smart thermostats are designed to work with a wide range of wiring setups, but some may require additional wiring modifications or adapters, especially if your system is older or was installed for different control methods. Checking your current wiring configuration beforehand can prevent surprises and guarantee a smooth installation process.
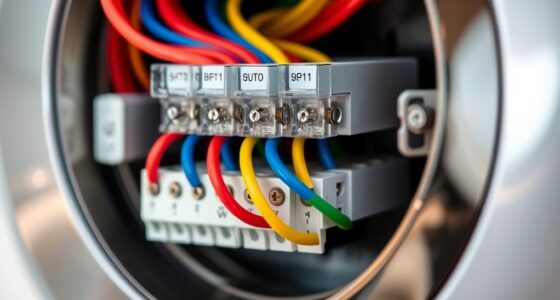
First, turn off your power supply to avoid any electrical hazards. Carefully remove your existing thermostat or control switch, noting how the wires are connected. Many baseboard heaters are wired directly to the electrical circuit, so you might find that you only have two wires—hot and load—without a common wire, which some smart thermostats need. If your system lacks a common wire, don’t worry; there are models specifically designed for such setups. If you do have a common wire, confirm that it’s properly connected and compatible with your chosen smart thermostat. Many models specify whether they need a common wire or can operate without one, so selecting the right device is key.
Next, consult the thermostat’s installation instructions to verify wiring compatibility with your system. Use a voltage tester to double-check that no power is flowing before you connect the new device. When wiring the smart thermostat, match the wires to the corresponding terminals—usually labeled as “hot,” “load,” or “common.” If your baseboard heater system uses a different wiring configuration, you might need an adapter or a different wiring approach recommended by the thermostat manufacturer. Proper wiring ensures that your smart thermostat functions correctly, providing reliable control over your heating and maximizing energy efficiency. Additionally, understanding mindfulness practices can help you stay patient and focused during the sometimes detailed installation process.
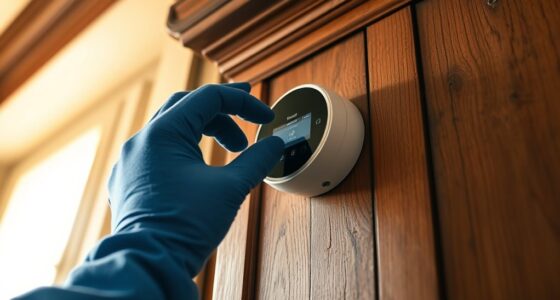
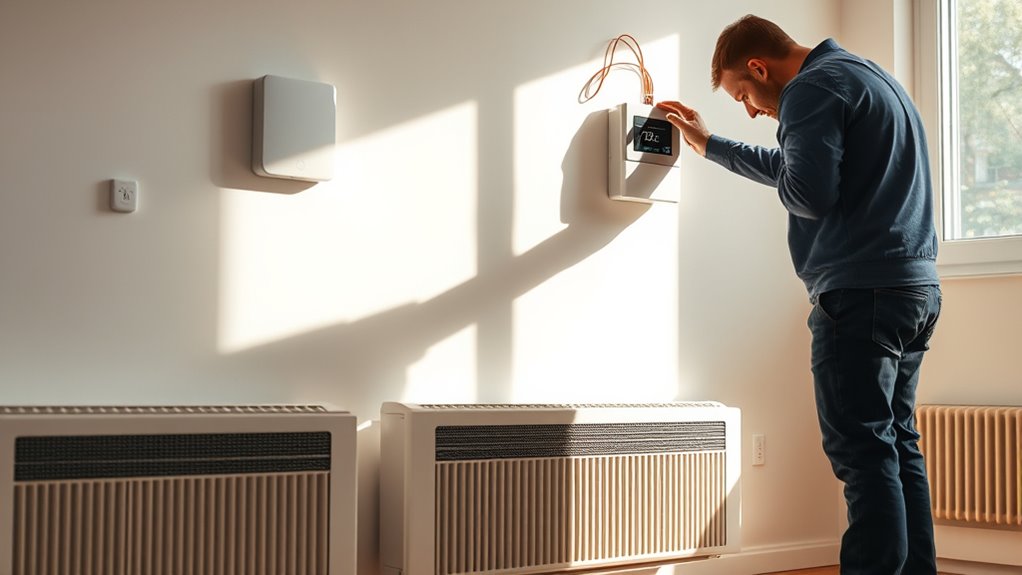
Once wired correctly, mount the thermostat on the wall, restore power, and follow the setup instructions to connect it to your Wi-Fi network. With everything in place, you can start enjoying smarter heating that adapts to your schedule and preferences. Proper wiring compatibility not only guarantees safe installation but also ensures your smart thermostat operates at its best, helping you achieve better energy efficiency and consistent comfort in your home.
Frequently Asked Questions
Can Smart Thermostats Control Individual Baseboard Heaters Separately?
Yes, smart thermostats can control individual baseboard heaters separately, thanks to their zoning capabilities. You can set specific temperatures for each heater, giving you better control over your home’s comfort and energy use. This individual heater control allows for customized heating zones, making it easier to save energy and enhance comfort. Just make certain your smart thermostat system supports zoning and is compatible with your baseboard heaters for ideal performance.
What Is the Compatibility of Smart Thermostats With Older Baseboard Heater Models?
You’ll find that many smart thermostats struggle with older baseboard heater models due to legacy wiring and compatibility issues. These outdated systems often lack the necessary wiring or control interfaces, making integration seem nearly impossible—like fitting a square peg in a round hole! However, some smart thermostats are designed with universal compatibility or require additional wiring adapters, so you may still be able to upgrade without a complete overhaul.
Do I Need a Professional for Installing Smart Thermostats on Baseboard Heaters?
You can do a DIY installation of smart thermostats on baseboard heaters, but consider your electrical skills first. If you’re comfortable working with wiring, you might save money and time. However, professional installation guarantees safety, proper setup, and maintains your warranty. Poor installation could void your warranty, so weigh the risks carefully. When in doubt, hiring a pro can give you peace of mind and a reliable, efficient system.
How Does Wi-Fi Connectivity Impact the Performance of Smart Thermostats?
Wi-Fi connectivity can substantially impact your smart thermostat’s performance if there’s interference or weak signal strength. Wi-Fi interference from other devices or networks may cause connectivity drops, affecting your thermostat’s responsiveness. Additionally, poor Wi-Fi security can put your device at risk, so make sure your network is secure. A strong, stable Wi-Fi connection ensures your thermostat operates reliably, responds promptly, and maintains your desired temperature settings effectively.
Are There Specific Safety Considerations When Installing Smart Thermostats on Electrical Baseboard Heaters?
Ironically, safety often takes a backseat when installing smart thermostats on baseboard heaters. You must guarantee proper electrical wiring to prevent fire hazards. Avoid overloading circuits, and verify that your thermostat is compatible with your heater’s electrical load. Always turn off power before installation, and consider consulting a professional. Neglecting these safety considerations can turn a smart upgrade into a dangerous situation.
Conclusion
Installing smart thermostats with baseboard heaters can boost energy efficiency and save you money. Did you know that smart thermostats can reduce heating costs by up to 12%? By making the switch, you’re not only gaining better control over your home’s comfort but also contributing to energy conservation. So, take the step today—upgrading your system is easier than you think and can make a significant difference in your monthly bills.