Maintaining your Keurig K-Mini is essential for ensuring consistently great-tasting coffee and prolonging the lifespan of your machine. Regular cleaning and descaling remove mineral buildup, mold, and residue that can affect flavor and performance. Whether you’re a new user or have owned your Keurig for a while, this comprehensive guide will walk you through essential maintenance steps, troubleshooting common issues, and tips to keep your brewer in top shape.

Get home appliances delivered free with Prime
- Fast, free delivery on millions of items
- Prime Video, Amazon Music and more included
- Member-only deals all year
By following these practical, safe, and effective procedures, you can enjoy optimal coffee quality and avoid costly repairs or replacements. Let’s get started with what you need before diving into the step-by-step process.
Key Takeaways
| Regular cleaning prolongs your brewer’s life | Descale and clean your Keurig every 3 months. |
| Use proper cleaning tools | Keurig rinse pods and descaling solutions are recommended. |
| Troubleshoot common problems | Clogged nozzles, poor brewing, or error messages can often be fixed. |
| Prevent mineral buildup | Regular descaling prevents mineral deposits that impair performance. |
| Replace water filters periodically | Water filter cartridges improve water quality and flavor. |
Gather Your Maintenance Supplies
Before starting, ensure you have the right supplies on hand. For routine cleaning and descaling, you will need:
- Keuring Rinse Pods (included in the maintenance kit)
- Descaling solution (included in the maintenance kit)
- Water filter cartridges (if used)
- Clean, soft cloth or sponge
- White vinegar (optional, as a natural descaler)
Always use manufacturer-approved products to avoid damage to your brewer. If you prefer, you can also consider the My K-Cup® Reusable Coffee Filter for ground coffee brewing, but this is optional for maintenance purposes.
Cleaning Your Keurig K-Mini Step-by-Step
- Unplug the machine and remove the water reservoir. Wash it with warm, soapy water and rinse thoroughly.
- Wipe the exterior with a damp cloth to remove dust and coffee splashes.
- Remove the drip tray and wash it with warm, soapy water. Dry thoroughly before reinserting.
- Clean the K-Cup holder and needle area: Use a damp cloth or a soft brush to remove any coffee grounds or residue.
- Run a rinse cycle: Place a rinse pod (or just run water through without a pod) to clear out any residual coffee oils.
This routine keeps your machine clean and prevents flavor carry-over between brews.
Descaling Your Keurig K-Mini
Mineral deposits from hard water can clog your brewer and affect flavor. Descaling every 3 months is recommended. Here’s how:
- Fill the water reservoir with equal parts white vinegar and water, or use Keurig’s descaling solution if preferred.
- Place a large mug or container under the spout.
- Turn on the machine and run a brew cycle without a K-Cup, allowing the vinegar solution to flow through.
- Repeat the process until the reservoir is empty.
- Fill the reservoir with fresh water and run several rinse cycles to flush out any vinegar taste.
This process removes mineral buildup, ensuring your coffee tastes fresh and your machine runs smoothly.
Troubleshooting Common Issues
If your Keurig K-Mini isn’t functioning correctly, try these troubleshooting tips:
- Clogged needle or nozzle: Clean the needle with a paperclip or brush to remove coffee grounds.
- Brewer not heating: Check the power connection, ensure the auto-off feature isn’t triggered, and reset by unplugging for 30 seconds.
- Water not dispensing: Verify the water reservoir is seated correctly and clean the water inlet if necessary.
- Leaking or overflowing: Ensure the drip tray and reservoir are properly positioned and free of debris.
Persistent issues may require professional service or replacement of parts.
Tips for Maintaining Your Keurig K-Mini
To keep your Keurig K-Mini in optimal condition:
- Use filtered water to reduce mineral deposits.
- Clean the brewer regularly with rinse cycles and wipe down surfaces.
- Replace water filters every 2-3 months for best water quality.
- Do a deep clean and descaling every 3 months or more frequently if you have hard water.
- Store your brewer in a dry, cool place when not in use for extended periods.
The Products in This Guide

Keurig K-Mini Single Serve K-Cup Pod Coffee Maker
- ✔ Size: Less than 5 inches wide
- ✔ Capacity: 6-12oz
- ✔ Mug Height: Up to 7 inches

My K-Cup® Reusable Coffee Filter
- ✔ Material: BPA-free plastic
- ✔ Capacity: Single cup
- ✔ Compatibility: K-Mini, other Keurig models
Keurig K-Mini Single Serve K-Cup Pod Coffee Maker
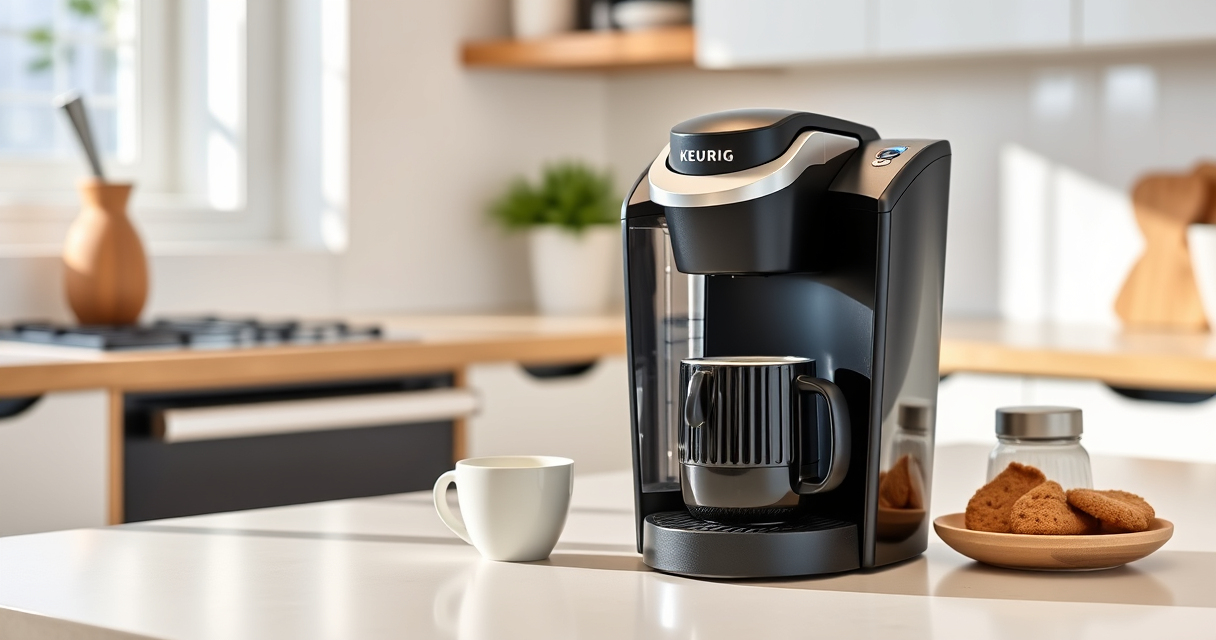
The Keurig K-Mini is perfect for small spaces like offices or apartments. With its simple design and straightforward maintenance, it offers quick brewing and easy cleaning, making it ideal for everyday use.
Pros:
- Space-saving design
- Fast brew times
- Easy to clean
- Removable drip tray
Cons:
- Limited water reservoir capacity
- No on/off switch
- No programmable features
Best for: Small space dwellers who want quick coffee with minimal fuss
Not ideal for: Users looking for advanced features or larger capacity
Bottom line: A compact, reliable brewer ideal for small spaces and quick coffee needs.
My K-Cup® Reusable Coffee Filter
The My K-Cup® Reusable Coffee Filter allows you to brew your favorite ground coffee with your Keurig K-Mini, giving you control over strength and flavor while reducing waste.
Pros:
- Customizable coffee strength
- Eco-friendly
- Cost-effective
- Compatible with K-Mini
Cons:
- Requires measuring ground coffee
- Cleaning after each use
- Slightly more effort
Best for: Coffee lovers who prefer ground coffee over pods
Not ideal for: Those seeking ultra convenience or quick setup
Bottom line: Great for customizing your brew and cutting down on pod waste.
Frequently Asked Questions
How often should I descale my Keurig K-Mini?
Descale your Keurig K-Mini every 3 months or more frequently if you have hard water to prevent mineral buildup and maintain optimal performance.
Can I use ground coffee instead of pods?
Yes, using a reusable filter like the My K-Cup® allows you to brew ground coffee with your Keurig K-Mini, giving you more control over flavor and cost.
What should I do if my coffee isn’t brewing properly?
Check for clogs or blockages in the needle or water inlet, clean the K-Cup holder, and run a cleaning cycle with rinse pods or vinegar solution.
Is the Keurig K-Mini suitable for travel?
Yes, its compact size, cord storage, and travel mug compatibility make it a good choice for travel, provided you have access to power outlets.
How do I prevent mineral buildup?
Regularly descale your machine using descaling solutions or vinegar, and use filtered water whenever possible.
Keep Your Coffee Tasting Fresh and Your Keurig Running Smoothly
Regular maintenance is key to enjoying the best possible coffee from your Keurig K-Mini. By following simple cleaning, descaling, and troubleshooting steps, you can prevent common problems and extend the life of your brewer. Remember, a well-maintained machine not only performs better but also ensures each cup tastes as fresh and delicious as the first. Make these practices part of your routine, and you’ll continue to savor great coffee every day.
Affiliate disclosure: As an Amazon Associate we earn from qualifying purchases. Prices and availability are accurate as of the time of publishing.
Halloween Picks
halloween
As an affiliate, we earn on qualifying purchases.