Installing the wrong thermostat for your 240V system can cause costly system malfunctions, damage, and wasted weekends troubleshooting. If your thermostat isn’t compatible, you might see poor temperature control, system cycling, or increased energy bills. To avoid this, verify your system supports 240V, check wiring labels, and confirm you choose a compatible model. Keep exploring to learn how to prevent these mistakes and ensure your system runs smoothly.
Key Takeaways
- Installing a non-compatible thermostat can cause system malfunctions, leading to weekend-long repairs.
- Using a 240V thermostat without verifying system support risks electrical damage and safety hazards.
- Incorrect wiring or incompatible models may trigger system failures, requiring extensive troubleshooting and repairs.
- Failing to calibrate or reset the thermostat properly can result in inaccurate control, prolonging repair time.
- Overlooking compatibility and proper installation increases the likelihood of costly breakdowns during peak usage times.

NonProgrammable Thermostat for Home, Digital Energy-Saving Thermostat,Single-Stage Systems, 1 Heat/1 Cool, Easy DIY Install, White Backlight
· High Compatibility: Forced air (gas, oil or electric), Electric furnace, Hot water steam or gravity radiant heat,…
As an affiliate, we earn on qualifying purchases.
As an affiliate, we earn on qualifying purchases.
Why Installing the Wrong Thermostat Can Cost You Time and Money

Installing the wrong thermostat might seem like a small mistake, but it can lead to significant issues that cost you both time and money. If you choose a thermostat incompatible with your smart home system, you miss out on advanced features like remote control and automation, reducing your home’s convenience. An improperly installed thermostat can also harm your energy efficiency, causing your system to work harder and consume more power. Over time, these inefficiencies increase your energy bills, and fixing the problem later can be costly and time-consuming. Additionally, selecting a thermostat that isn’t suitable for your heating or cooling system may result in system malfunctions or damage. Picking the right thermostat helps you save money, improves energy efficiency, and guarantees your smart home functions smoothly. Understanding smart home compatibility is essential to avoid these costly mistakes. Furthermore, being aware of proper installation techniques can prevent many common issues and ensure your thermostat operates as intended from the start. Proper setup and choosing the right system compatibility can significantly reduce the risk of costly malfunctions down the line. Being informed about the importance of correct installation can help prevent future troubleshooting headaches and ensure optimal performance. Recognizing home system requirements ensures your thermostat is suitable for your specific setup, avoiding unnecessary complications.

Mysa Smart Thermostat for Electric Baseboard Heaters 240V | Remote Control with 100% Free APP | Easy Install | HomeKit, Alexa, Google Home | Wi-Fi Programmable | Temp. & Humidity Alerts
About this item Before You Buy: Mysa works only with high/line voltage electric heating systems, including 120–240V electric…
As an affiliate, we earn on qualifying purchases.
As an affiliate, we earn on qualifying purchases.
How to Check If Your System Supports a 240V Thermostat

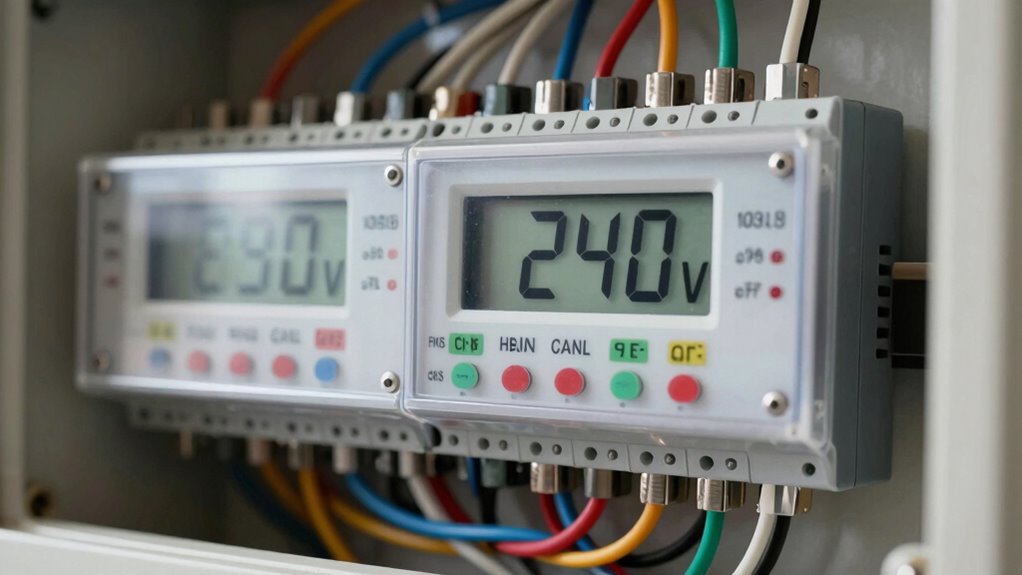
Before attempting to install a 240V thermostat, you need to verify that your heating or cooling system supports it. First, check your system’s wiring panel for a label indicating voltage—look for “240V” or “208/240V.” Second, examine the existing thermostat wiring; if you see thicker, dual-voltage wires, your system likely supports 240V. Third, review your system’s manual or contact a professional to confirm compatibility, especially if you plan to use features like Wi Fi connectivity or advanced temperature calibration. Confirming voltage support ensures your thermostat functions correctly and safely. Additionally, understanding water-based components in HVAC systems can help you better assess compatibility and avoid costly mistakes. Knowing how to identify voltage requirements can prevent potential damage or safety hazards during installation. Recognizing electrical system specifications can also aid in ensuring proper setup and avoiding dangerous errors. Being familiar with electrical safety protocols is essential to prevent accidents during installation or troubleshooting.

Sherco-Auto 450 Pieces (1-45) Wire Marker Labels for Cable Management – Waterproof Vinyl Adhesive Cloth Label Stickers Book – 10 Pages with 45 Labels Each – Tear Resistance Cable Tags – Made in USA
QUICK & EASY LABELING: Flipbook style booklet for fast, convenient labeling on cable/wires. Features a high-tack, adhesive-lined vinyl…
As an affiliate, we earn on qualifying purchases.
As an affiliate, we earn on qualifying purchases.
Signs Your Thermostat Might Be Incompatible or Malfunctioning
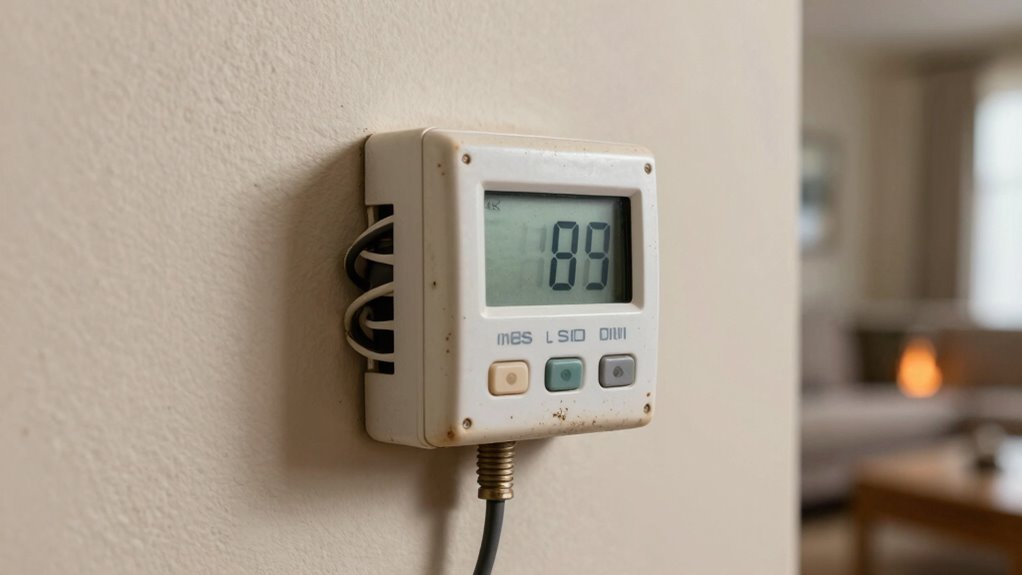
If your thermostat isn’t functioning properly, it could be a sign that it’s incompatible with your system or malfunctioning. For example, your smart home setup might not respond correctly, or the thermostat may fail to control your heating and cooling efficiently. You might notice inconsistent temperature readings or your system cycling on and off unexpectedly. These issues can hinder energy efficiency, leading to higher bills and discomfort. If your thermostat isn’t compatible with your 240V system, it may not communicate properly or handle the voltage safely. Malfunctions can also cause false readings or unresponsive controls. Recognizing these signs early helps prevent further damage and guarantees your system runs smoothly, saving you time and potential repair costs. Understanding voltage compatibility can help you find reliable solutions and avoid common pitfalls. Being aware of system specifications ensures your thermostat matches the requirements of your setup. Additionally, verifying proper installation is crucial to prevent compatibility issues and ensure safe operation. Proper system calibration can further enhance performance and prevent inaccurate readings.

Honeywell TL7235A1003 Line Volt Pro Non-Programmable Digital Thermostat with Electronic Temperature Control, 240-Volt
On-Demand Backlight – Easy to read in various lighting conditions
As an affiliate, we earn on qualifying purchases.
As an affiliate, we earn on qualifying purchases.
How to Install the Correct Thermostat Safely

Ensuring you install the correct thermostat safely starts with understanding your system’s voltage requirements—especially if you have a 240V setup. First, turn off the power at the breaker to prevent shocks. Next, verify your current thermostat’s wiring and compatibility with a smart home system for seamless integration. Finally, choose a thermostat rated for 240V and energy efficiency to optimize performance.
- Confirm voltage compatibility to avoid damage or safety hazards.
- Use a wire stripper to prepare connections and ensure secure, insulated contacts.
- Follow manufacturer instructions precisely to prevent errors.
Troubleshooting Common Thermostat Issues

If your thermostat isn’t working properly, start by checking the power supply to make certain it’s receiving voltage. Sometimes, resetting the thermostat can resolve minor glitches that cause it to malfunction. If issues persist, verify that the circuit breakers are on and that wiring connections are secure. Regular maintenance and inspecting for faulty wiring can help prevent future problems. Additionally, ensuring that your home electrical systems are in good condition can also assist you in identifying potential issues early on. Being familiar with electrical systems can also help you in diagnosing more complex issues. Monitoring for microplastics in dust and other indoor pollutants can improve overall air quality, which may impact your home’s electrical components over time.
Checking Power Supply
Have you checked whether your thermostat is receiving power? Ensuring proper power supply is crucial before diving into more complex issues.
- Confirm the circuit breaker hasn’t tripped, cutting off power to your thermostat.
- Inspect the wiring to see if any connections are loose or damaged, especially if you recently made upgrades, considering wireless compatibility features or aesthetic considerations.
- Use a multimeter to test for voltage at the thermostat’s terminals—240V should be present. Regularly monitoring electrical safety helps prevent future malfunctions.
- Remember that some thermostats may require a dedicated power source or specific wiring configurations, so reviewing proper installation practices can help prevent future issues.
- Additionally, understanding power consumption insights can help you identify potential issues with standby power or energy draw that may affect your thermostat’s operation.
- Staying informed about industry transformations, like advances in smart thermostat technology, can help you troubleshoot more effectively and avoid unnecessary repairs in the future.
If your thermostat isn’t receiving power, these steps can quickly identify the problem. Remember, modern thermostats often integrate wireless compatibility, so ensure their power source aligns with your setup. Fixing power issues promptly prevents unnecessary weekend repairs.
Resetting The Thermostat
Sometimes, resetting your thermostat can resolve basic issues without needing complex repairs. This simple step can fix problems caused by minor glitches or power hiccups. When resetting, consider the thermostat’s aesthetics—verify the display is clear and responsive. Check if the reset option is compatible with your thermostat’s brand; some models require specific procedures for a proper reset. If your thermostat has a reset button, press and hold it for a few seconds. For touch-screen models, follow the on-screen prompts. Resetting can clear temporary faults, restore settings, and improve functionality. Remember, compatibility matters—using the correct reset method ensures your thermostat works efficiently without damaging its internal components. Properly system calibration can also improve overall performance. A quick reset might just save you hours of troubleshooting.
Expert Tips to Avoid Costly Thermostat Mistakes in the Future
To prevent costly thermostat mistakes, it’s essential to understand common pitfalls and how to avoid them. First, invest in a smart home thermostat that allows you to monitor and control your heating remotely, guaranteeing maximum energy efficiency. Second, set your thermostat to energy-saving modes when you’re away or asleep to avoid unnecessary costs. Third, regularly update your thermostat’s firmware and calibrate it properly to prevent malfunctions and ensure accurate temperature control. Avoid using outdated or incompatible models with your system, especially with 240V setups, as this can lead to costly repairs. By choosing smart technology and maintaining your thermostat, you’ll reduce energy waste and prevent mistakes that could turn a simple fix into a weekend project.
Frequently Asked Questions
Can a 240V Thermostat Be Used With Any Heating System?
A 240V thermostat isn’t compatible with every heating system because of thermostat wiring and voltage compatibility. You need to check your system’s voltage requirements before installation. If your heating system runs on 120V, a 240V thermostat won’t work and could cause damage or safety hazards. Always verify your system’s voltage and wiring specifications to confirm you choose a thermostat that matches your heating system’s voltage and wiring setup.
What Tools Are Needed for Installing a 240V Thermostat?
Did you know that improper wiring causes over 30% of thermostat failures? To install a 240V thermostat, you’ll need a screwdriver, wire strippers, a voltage tester, and possibly a drill. Focus on making secure wiring connections and verifying the power supply requirements match your system. Always turn off the power before working on the wiring to avoid shocks. Double-check your connections before turning the power back on to ensure safety and proper operation.
How Often Should I Replace My Thermostat Batteries?
You should replace your thermostat batteries when the power indicator signals low battery or if your thermostat starts malfunctioning. Typically, batteries last about a year, but this can vary with usage and battery quality. Keep an eye on the power indicator, and don’t wait until it’s dead. Regularly checking and replacing batteries ensures consistent heating or cooling, preventing unexpected system failures and maintaining peak comfort in your home.
Are Smart Thermostats Compatible With 240V Systems?
Yes, many smart thermostats are compatible with 240V systems, but not all. You could be risking energy efficiency and accurate temperature calibration if you choose the wrong one. Some models require a specific voltage or wiring, so double-check compatibility before installing. If you ignore this, your smart thermostat might mismanage your heating or cooling, turning your home into a rollercoaster of temperature swings and skyrocketing energy bills.
What Safety Precautions Should I Take Before Installation?
Before installation, make sure you turn off the power to avoid electrical shock. Check that your thermostat’s wiring matches your circuit’s compatibility, especially for 240V systems. Confirm proper electrical grounding to prevent short circuits or damage. Use a voltage tester to verify power is off before handling wires. If unsure, consult a professional to ensure safety and proper installation, protecting both your system and yourself.
Conclusion
Choosing the right thermostat might seem simple, but a small mistake can turn into a costly weekend repair. Always double-check your system’s compatibility before installing, and don’t rush the process. Remember, “A stitch in time saves nine”—taking the time now to get it right can save you hours of frustration later. Stay informed, follow safety precautions, and you’ll keep your home comfortable without unnecessary hassle or expense.