
To turn your old thermostat into a smart one, start by turning off power at the breaker for safety. Remove the existing thermostat, noting or photographing the wiring. Match the wires to the new smart thermostat’s terminals, following manufacturer instructions. Mount the device, then restore power and follow the setup prompts, including Wi-Fi connection. With proper wiring and installation, you’ll enjoy smarter climate control and energy savings. Keep going to discover detailed steps to complete your upgrade seamlessly.
Key Takeaways
- Turn off power at the breaker to safely remove your existing thermostat.
- Note or photograph wiring connections before disconnecting to ensure proper reinstallation.
- Connect the new smart thermostat wires according to manufacturer instructions, matching terminals accurately.
- Mount the thermostat on the wall securely and turn the power back on at the breaker.
- Follow setup prompts to connect Wi-Fi, customize settings, and enjoy remote control features.
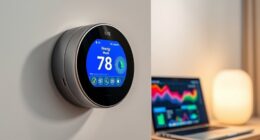
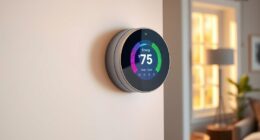
If your old thermostat isn’t keeping your home as comfortable or efficient as it should, retrofitting it with a modern model is a smart solution. Upgrading to a smart thermostat can markedly improve your home’s energy efficiency, helping you save on utility bills while maintaining the perfect temperature. The good news is that this upgrade isn’t complicated, especially if you’re comfortable with basic DIY installation. You don’t need to be a professional to replace your old thermostat with a smart one, but you do need to follow some straightforward steps to guarantee a smooth process.
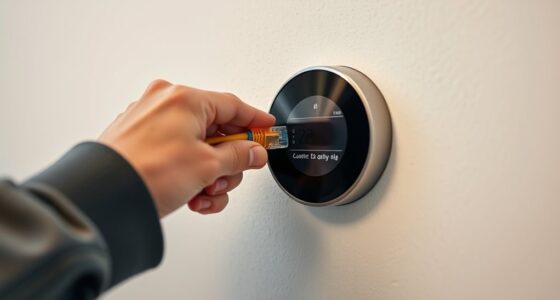
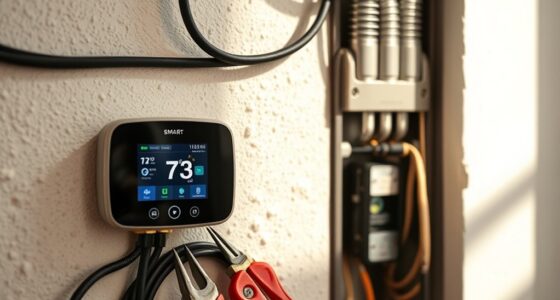
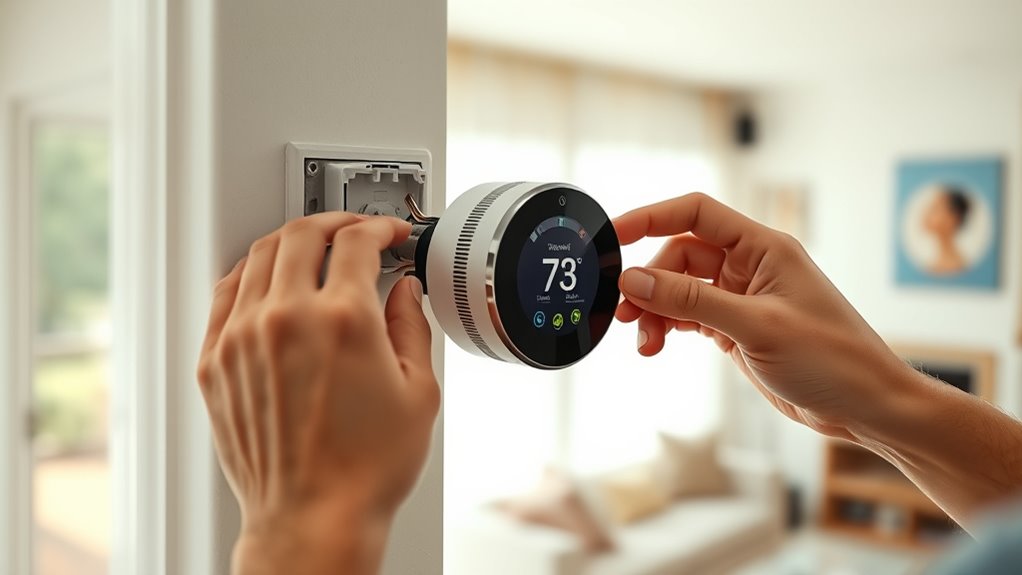
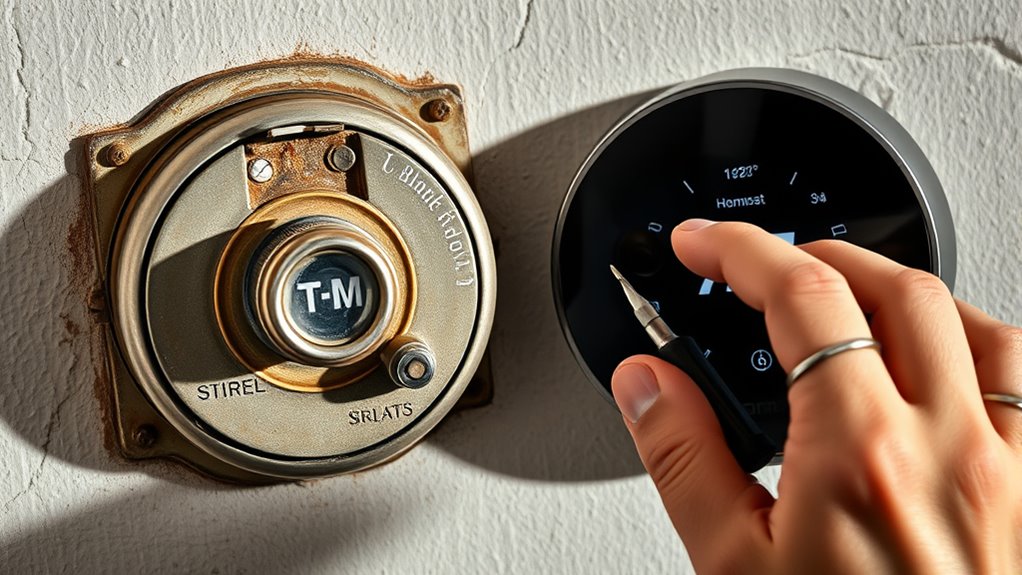
First, turn off the power to your heating and cooling system at the breaker box. This step is vital for safety and prevents any electrical mishaps during installation. Next, remove your existing thermostat from the wall. Usually, this involves unscrewing the mounting plate and gently disconnecting the wires. Take a picture of the wiring beforehand or make note of which wires connect to each terminal—this helps during the new thermostat setup. Most modern smart thermostats come with detailed installation instructions, and many also include labels or stickers to identify wires easily.
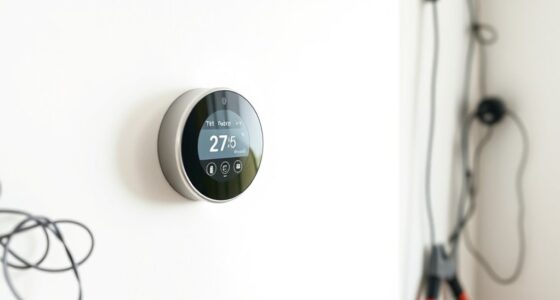
Once the old thermostat is off, clean the wall surface to guarantee the new mounting plate adheres securely. Then, follow the manufacturer’s instructions to connect your new smart thermostat, matching wires to the corresponding terminals. Many models are designed for simple two-wire or four-wire configurations, making DIY installation feasible for most homeowners. After wiring, mount the new unit on the wall, turn the power back on at the breaker, and follow the setup prompts on the thermostat’s display or app. This usually involves connecting the device to your Wi-Fi network and customizing your preferences. Understanding wire color codes can help ensure correct connections and avoid potential issues during installation. Additionally, compatibility with your HVAC system is a crucial factor to consider when selecting a smart thermostat to ensure proper operation.
Clean the wall, connect wires per instructions, mount, power on, and set up your smart thermostat easily.
Upgrading your thermostat yourself not only saves money on installation costs but also gives you more control over your home’s energy efficiency. Smart thermostats can learn your schedule, adjust temperatures automatically, and provide detailed energy usage reports—features that traditional models lack. Additionally, understanding the importance of contrast ratio can help you choose a device with clear and easy-to-read displays for better usability. With some patience and attention to detail, you’ll soon enjoy the comfort and savings that come with a modern, energy-efficient thermostat, all achieved through a simple DIY installation process. Just remember, if at any point you feel unsure about wiring or safety, consulting a professional is always a wise choice. However, for most homeowners willing to follow instructions carefully, retrofitting your old thermostat into a smart one is a manageable and rewarding project.
Frequently Asked Questions
Can I Retrofit Any Type of Old Thermostat?
You might wonder if you can retrofit any old thermostat. Compatibility concerns are key, as some models may not work with smart features or require specific wiring. Check your thermostat’s wiring requirements first—most modern smart thermostats need a C-wire for constant power. If your setup isn’t suitable, you may need additional wiring or a different model. Always review the thermostat’s specifications to ensure it fits your existing system.
Is Professional Installation Necessary for Smart Retrofit?
You might not need a professional for your smart retrofit, but consider DIY challenges like wiring and compatibility issues. If you’re comfortable with basic electrical work, you can often handle the installation yourself. However, technician expertise guarantees safety and correct setup, especially if your system is complex. When in doubt, hiring a professional minimizes risks and guarantees your smart thermostat functions properly.
How Much Does a Thermostat Retrofit Typically Cost?
A thermostat retrofit typically costs between $100 and $250, depending on the model and features. You’ll find a good cost comparison between basic and advanced smart thermostats, which can lead to significant energy savings over time. While DIY installation works for many, professional help might be necessary for complex setups, ensuring safety and proper function. Investing in a smart retrofit can lower your energy bills and enhance home comfort.
Will Retrofitting Affect My Existing HVAC Warranty?
You might wonder if retrofit considerations affect your HVAC warranty implications. Generally, updating your thermostat doesn’t void your warranty if you follow manufacturer guidelines and use compatible devices. However, it’s wise to verify your HVAC system’s warranty terms and consult your installer. Proper installation ensures your warranty remains intact, so always confirm that retrofit efforts don’t inadvertently cause issues that could impact coverage.
What Features Can I Add With a Smart Retrofit?
Imagine transforming your old thermostat into a smart hub, like upgrading from a flip phone to a smartphone. With a retrofit, you can add features like Wi-Fi control, voice commands, and energy monitoring. Compatibility considerations guarantee your system works smoothly, and the upgrade benefits include improved comfort and savings. You’ll enjoy more control and insights, making your home smarter without a full replacement.
Conclusion
So, you’ve turned your old thermostat into a smart one—who knew that a simple retrofit could make your home feel both modern and slightly smug? Now, every time you adjust the temperature from your phone, you’ll wonder why you ever tolerated those outdated dials. It’s almost funny how a tiny upgrade can turn your cozy nest into a high-tech fortress, making your old device feel like it’s finally caught up with the 21st century—better late than never!