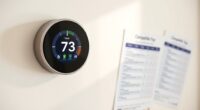
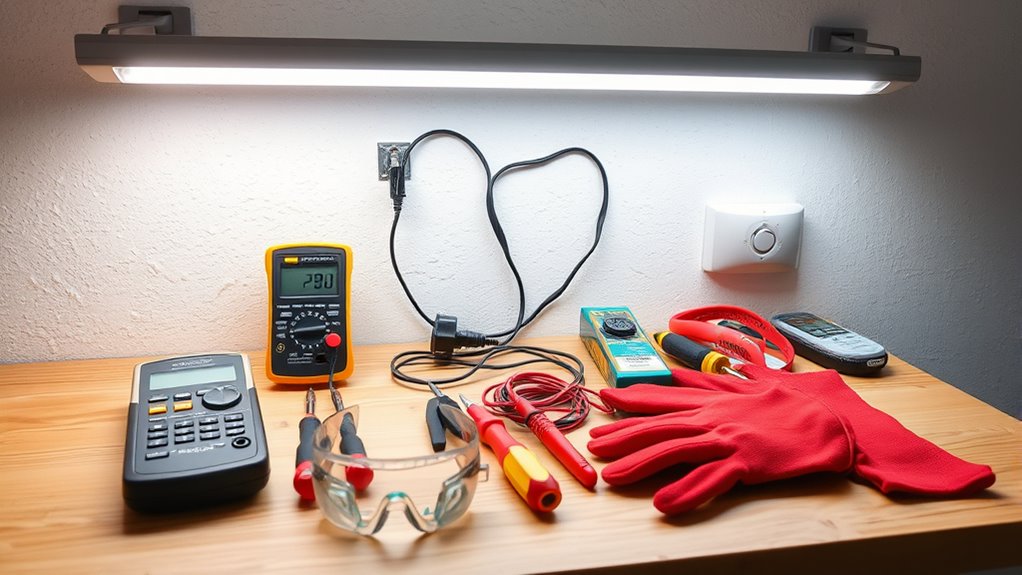
To install your smart thermostat safely and successfully, gather essential tools like a screwdriver, voltage tester, level, and wire strippers. Always wear protective gear, including gloves and safety goggles, and make sure the power is turned off at the circuit breaker before handling electrical components. Keep your workspace organized and clear of hazards. Understanding your wiring system is key to correct connections. If you follow these safety tips, you’ll be set for a smooth installation—more helpful tips await if you keep at it.
Key Takeaways
- Gather essential tools like screwdrivers, voltage testers, level, and safety gear before starting installation.
- Turn off power at the main circuit breaker and confirm no voltage before handling wiring.
- Follow wiring color codes and manufacturer instructions to ensure proper, secure connections.
- Wear protective clothing, goggles, and use insulated gloves to prevent electrical injuries.
- Keep workspace organized, well-lit, and free of hazards to ensure a safe, efficient installation process.
Essential Tools for a Successful Installation
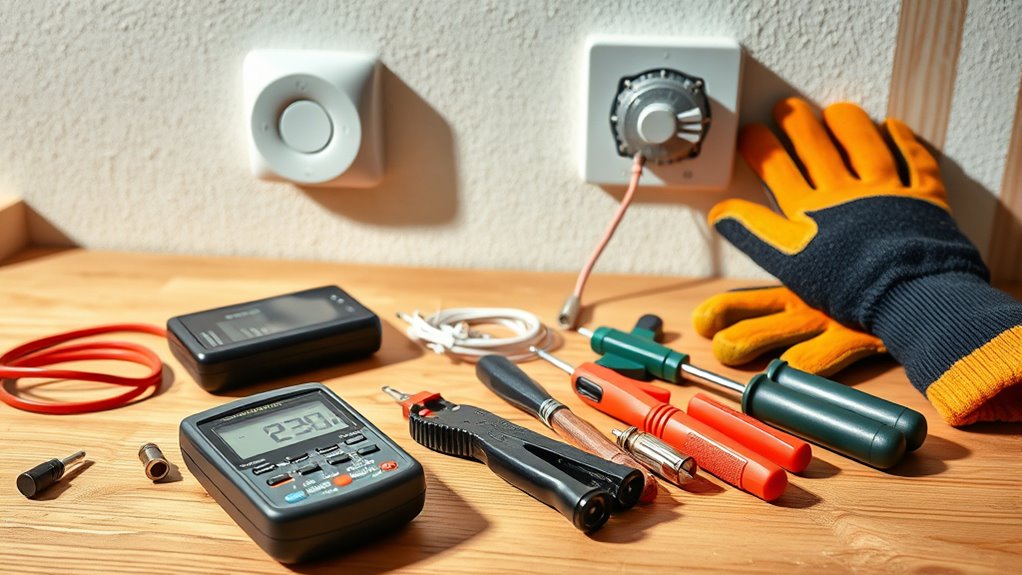
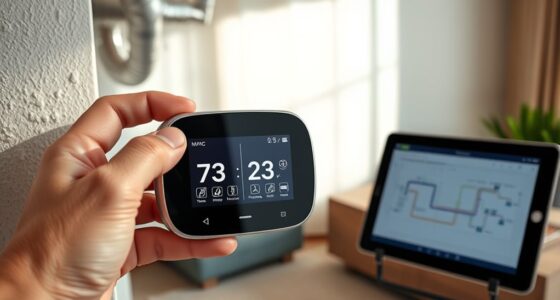
To guarantee your DIY smart thermostat installation goes smoothly, you need a few essential tools. First, verify your thermostat is compatible with your home’s wireless network, so check for wireless compatibility before starting. A screwdriver set is vital for secure thermostat mounting, allowing you to attach the device firmly to the wall. A voltage tester helps verify power is off, preventing electrical mishaps during installation. A level ensures your thermostat is mounted straight, providing a clean, professional look. You might also need a drill if the wall requires new holes for mounting. Additionally, having the thermostat’s manual handy will guide you through specific wiring and setup steps. Using the right tools not only ensures safety but also enhances overall installation quality, aligning with the importance of proper support and maintenance for systems like comfort solutions for smart home devices. Properly installing your thermostat can also contribute to improved energy efficiency and indoor climate control, making your home more comfortable and cost-effective. A thorough understanding of electrical wiring can help troubleshoot common issues during installation. With these tools, you’ll streamline the process and verify your smart thermostat is installed correctly and safely.
Protective Gear to Keep You Safe
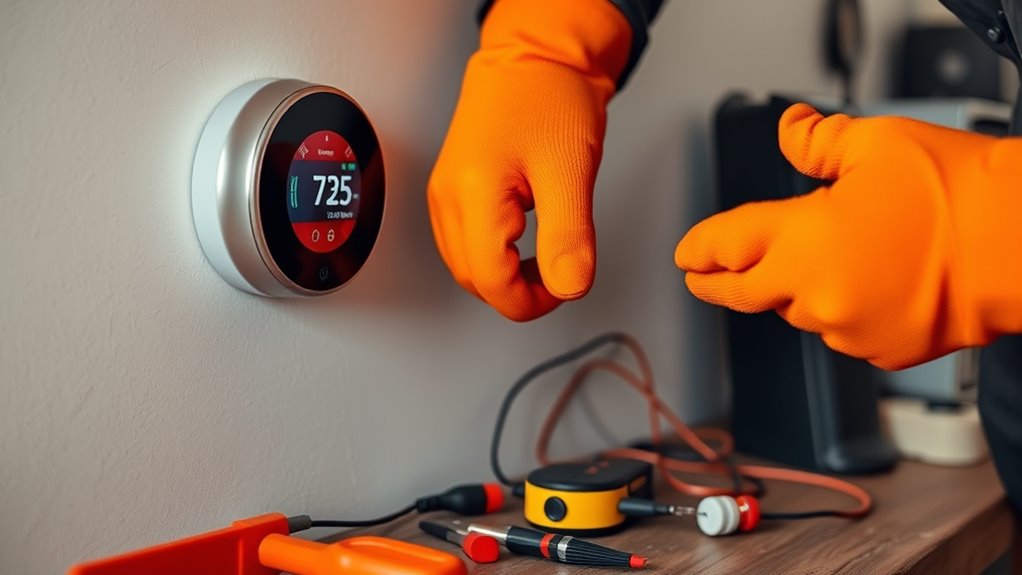
Wearing the right protective gear is vital to keep you safe during your smart thermostat installation. Protective clothing, like long sleeves and gloves, shields your skin from potential scrapes, cuts, or electrical sparks. Safety goggles are essential to protect your eyes from dust, debris, or accidental splashes from cleaning agents or other substances. Before you start, make sure your clothing fits well and covers exposed skin, reducing the risk of injury. Safety goggles should fit snugly and stay in place as you work. Even if you’re experienced, don’t skip this gear—small accidents can happen unexpectedly. Proper protective gear helps you focus on the task without worrying about minor injuries, making your installation safer and more efficient. Automation technologies are increasingly integrated into home systems, so understanding safety measures is more important than ever. Additionally, being aware of home electrical safety guidelines can prevent potential hazards during installation. Staying informed about personal debt forgiveness options can also help you manage unexpected expenses that might arise from home repairs or upgrades.
Handling Electrical Components Properly
Before working with electrical components, make sure to turn off the power supply to avoid shocks. Always use insulated tools to protect yourself from accidental contact with live wires. Taking these precautions guarantees your safety during the installation process. Additionally, understanding proper electrical safety practices can prevent accidents and ensure a smooth installation. Remember that using professional-grade equipment can further reduce risks and improve the quality of your work. Being aware of grocery savings strategies can also help you allocate funds for quality tools and safety gear.
Turn Off Power Supply
Since working with electrical components can be dangerous, it’s essential to turn off the power supply before starting your thermostat installation. To guarantee safety, locate your main circuit breaker and switch it off to achieve proper power isolation. This step prevents accidental shocks and protects your equipment. Before proceeding, double-check that the power is truly off by testing the thermostat wires. Remember, working on live wires increases the risk of injury. Always prioritize safety by following these steps:
- Identify your main circuit breaker
- Switch off the breaker to cut power
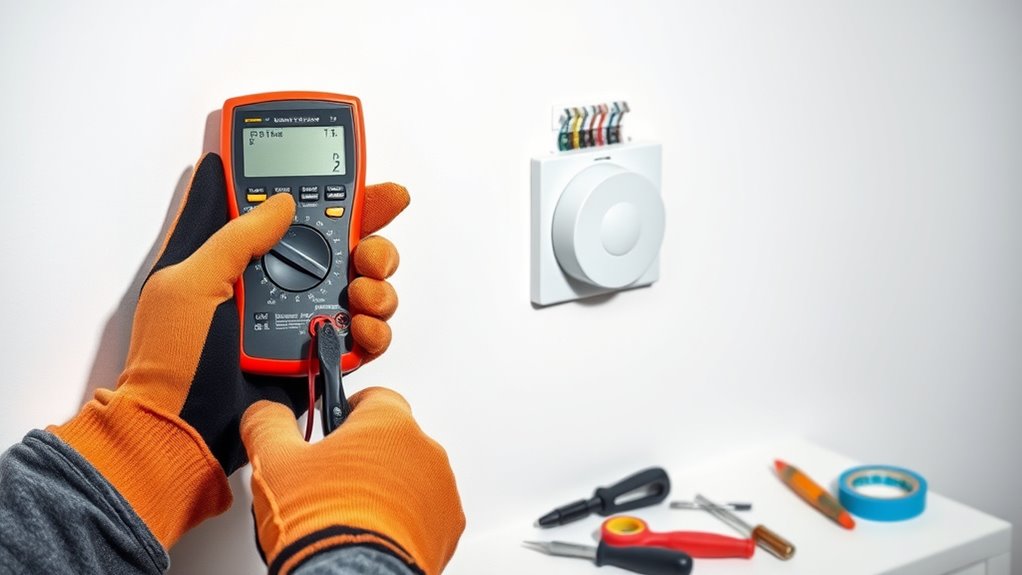
- Confirm power is off with a voltage tester
- Keep the breaker in the off position during installation
Ensuring the circuit breaker is off is critical for a safe, smooth process. Never skip this step; your safety depends on it. Additionally, understanding electrical safety protocols can help prevent accidents during DIY projects. Always familiarize yourself with SWIFT/BIC codes to ensure secure and accurate financial transactions when necessary.
Furthermore, knowing how to properly handle electrical components can significantly reduce risks associated with DIY electrical work.
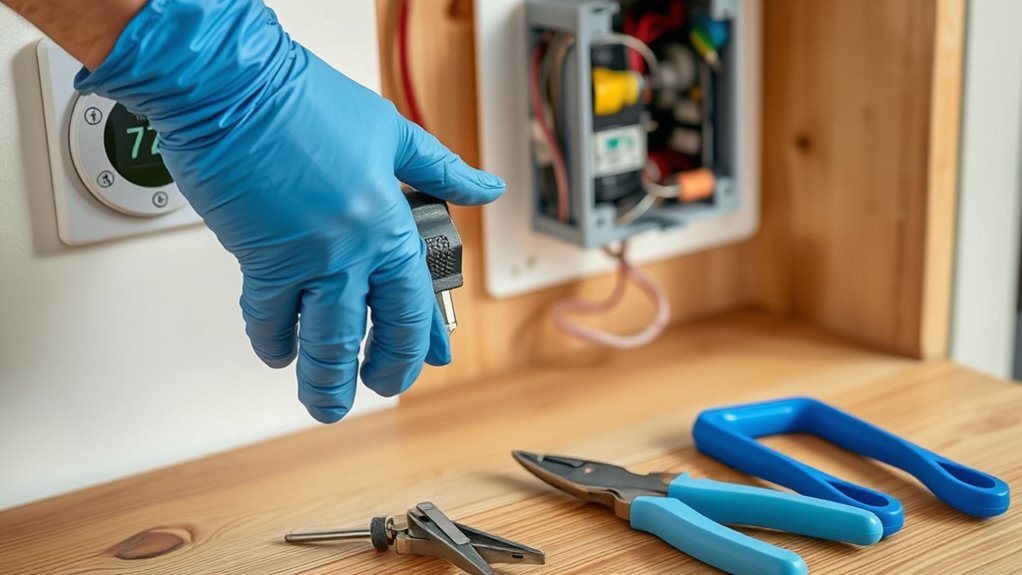
Use Insulated Tools
Using insulated tools is a key step in safely handling electrical components during your thermostat installation. These tools protect you from accidental shocks by preventing electrical current from passing through your body. Always choose insulated screwdrivers, pliers, and wire strippers designed for electrical work. Before working on any wiring, verify the power is completely turned off. Keep your insulated tools in good condition, inspecting for damage or wear before use. Using the right tools not only enhances electrical safety but also makes the installation smoother. Proper use of insulated tools minimizes risks and helps you complete your smart thermostat setup confidently and securely. Additionally, being aware of electrical safety practices ensures a safer working environment throughout your project. Remember, electrical safety is your top priority—never bypass safety measures or take shortcuts. Regularly checking your tools for damage or wear is essential to maintain their protective qualities.
Preparing Your Workspace and Safety Environment
Before you start, clear your workspace to prevent accidents and make your work easier. Gather all safety equipment like gloves and goggles to protect yourself throughout the process. A well-prepared area guarantees safety and efficiency during your thermostat installation. Additionally, consider familiarizing yourself with electric power generation techniques to understand the energy concepts involved in modern smart systems. Understanding Narcissism can also help in managing any interpersonal challenges that may arise during DIY projects involving others. Creating a dedicated, clutter-free space can also help optimize your remote work environment, leading to better focus and efficiency during your project.
Clear Workspace Setup
A well-organized workspace is essential for a safe and efficient thermostat installation. Clear your area to prevent accidents and streamline your work. To do this effectively, focus on these key points:
- Manage cables properly to avoid tangles and tripping hazards
- Ensure ample workspace lighting to see connections clearly
- Remove clutter and unnecessary tools from your surface
- Keep your tools and parts within easy reach
- Incorporate proper lighting to enhance visibility and reduce errors during installation. Good cable management keeps wires neat and reduces frustration, while understanding city dynamics can help you plan your project around your environment. Additionally, staying informed about crypto market trends can inspire innovative approaches to your projects. Clearing your workspace minimizes the risk of damaging components or making errors. By establishing a tidy, well-lit environment, you set the stage for a smooth installation process that’s safe and stress-free.
Safety Equipment Checklist
Ensuring your workspace is equipped with the right safety gear is essential for a secure and smooth thermostat installation. You should wear fire resistant clothing to protect against electrical sparks or sparks. Keep an emergency contact number handy in case of accidents. Use insulated gloves and safety goggles to prevent injuries. Check that your workspace has a fire extinguisher nearby and clear of clutter. Additionally, being aware of Home Improvement safety considerations can help you make informed decisions during your DIY project. Familiarizing yourself with safety equipment protocols can further reduce risks and ensure a safe working environment.
Understanding Your Home’s Wiring System
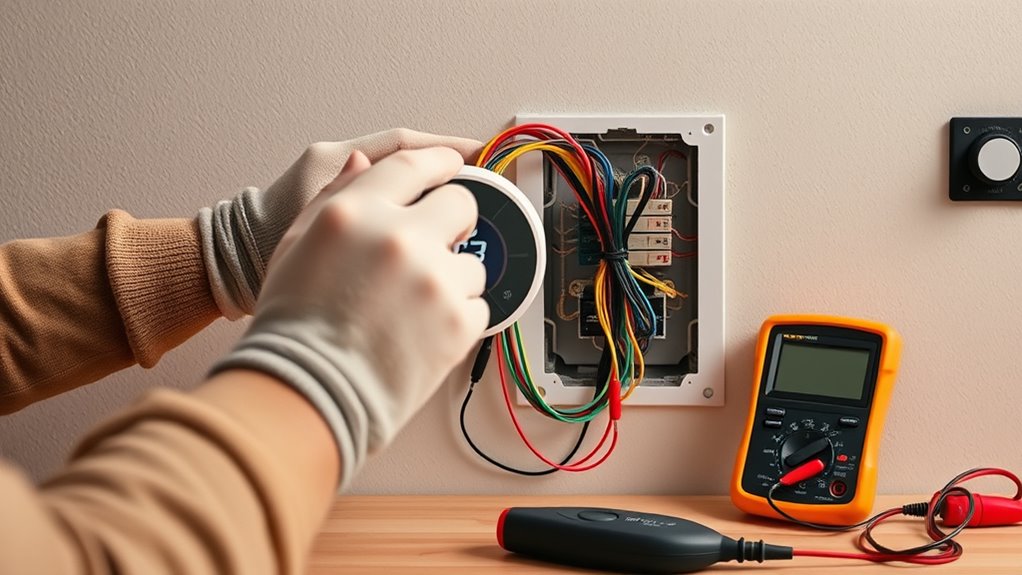
Understanding your home’s wiring system is essential for a safe and successful DIY smart thermostat installation. Knowing wire color codes helps you identify circuit functions, reducing mistakes. Be aware that circuit breaker types vary, affecting how you safely disconnect power. Familiarize yourself with:
- Common wire color codes (e.g., red, white, green, black)
- Different circuit breaker types (single-pole, double-pole)
- How to locate your thermostat wiring terminals
- The importance of verifying wiring before making connections
This knowledge minimizes risks and ensures proper setup. Additionally, understanding cookie categories can help you manage online privacy during your research. Being aware of your home’s wiring standards can help you better interpret wiring diagrams and improve safety during installation. If you’re unsure about wire functions or breaker types, consult your home’s wiring diagrams or a professional. Clear understanding prevents damage and keeps your project safe and efficient.
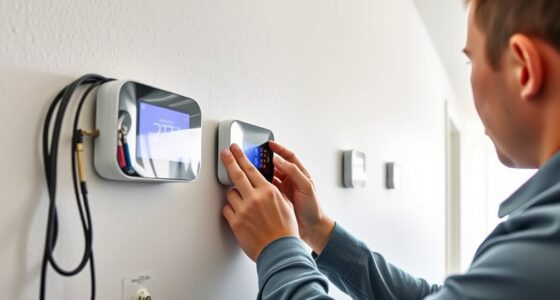
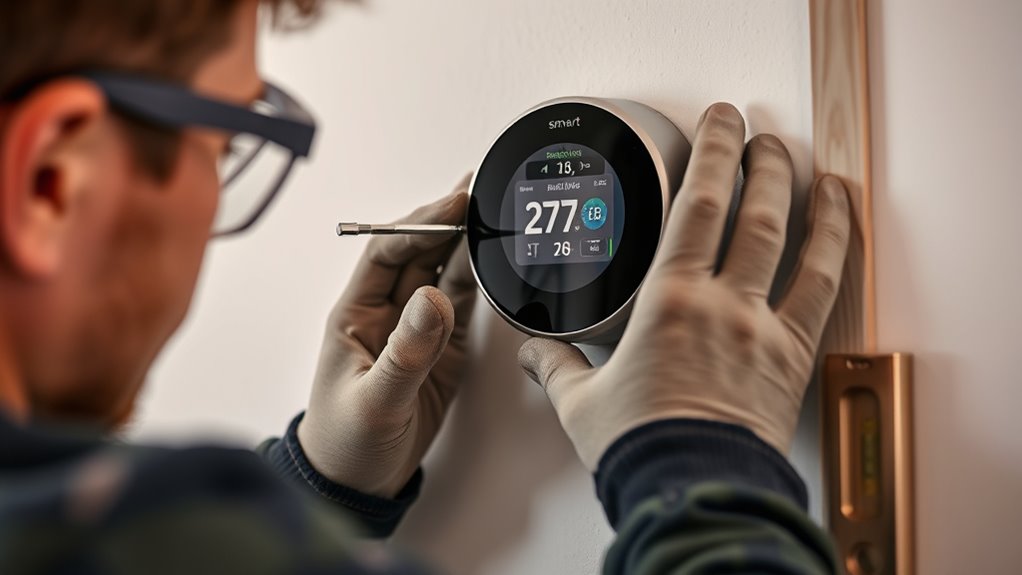
Step-by-Step Disconnection and Power Shutdown
Before you start disconnecting wires, it’s crucial to shut off the power to your heating and cooling system to prevent electrical shocks or damage. Locate your circuit breakers and switch the breaker controlling your HVAC system to the OFF position. Consult your wiring diagrams to identify the correct breaker if needed. Once power is off, verify there’s no voltage at the thermostat wires using a multimeter or voltage tester. Carefully remove any cover plates to access the wiring terminals. Take photos or note how the wires are connected for future reference. Disconnect the wires one at a time, ensuring you don’t damage the terminals. This step guarantees a safe, controlled environment for installing your smart thermostat.
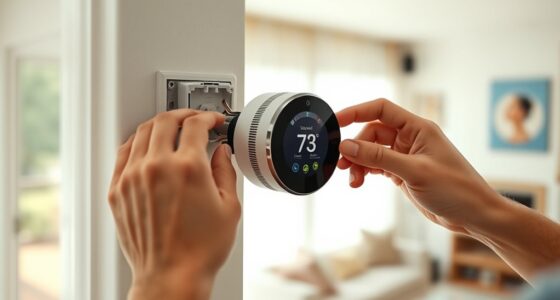
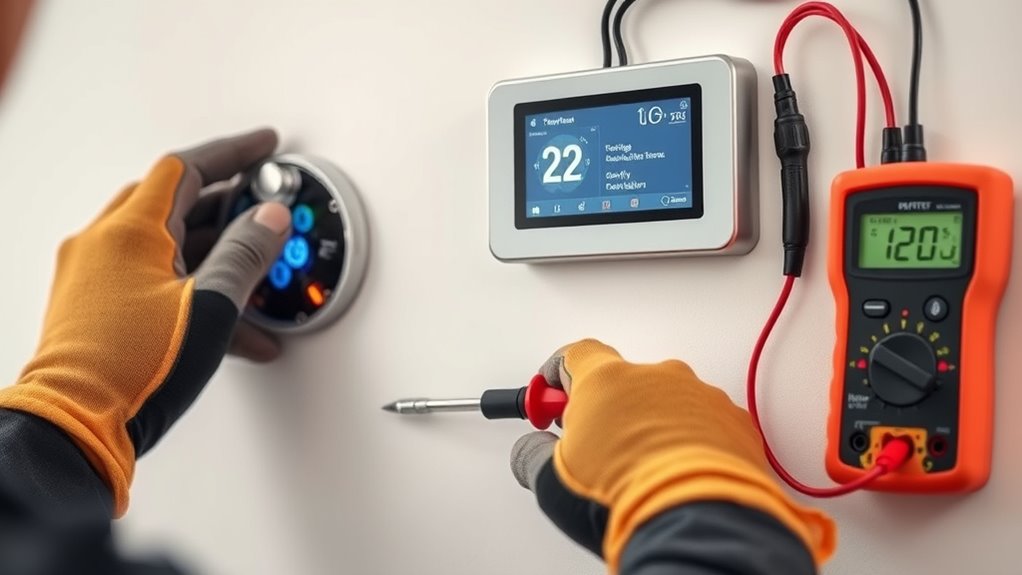
Connecting Your Smart Thermostat Correctly

Once you’ve removed the old thermostat wires and verified the power is off, you can begin connecting your smart thermostat. Make certain it’s compatible with your heating and cooling system to avoid issues. Next, follow the wiring diagram provided with your device, matching wires to their corresponding terminals. Pay attention to wireless connectivity options—some thermostats use Wi-Fi, while others rely on Zigbee or Z-Wave. Confirm your home’s network supports the chosen method.
- Check for secure, tight wire connections to prevent communication problems
- Use the correct terminal labels for each wire, such as R, C, W, or Y
- Confirm compatibility with your system before finalizing connections
- Follow manufacturer instructions closely to ensure proper setup
Troubleshooting Common Installation Issues

If you encounter issues during installation, troubleshooting can help identify and resolve common problems quickly. One frequent issue is wireless connectivity; ensure your Wi-Fi signal is strong and that the thermostat is within range. Compatibility might also cause problems—check if your existing wiring and HVAC system match your smart thermostat’s requirements.
| Issue | Solution |
|---|---|
| Wireless connectivity | Restart your router and reconnect the thermostat |
| Compatibility issues | Verify wiring and system compatibility before installation |
| Unresponsive thermostat | Reset the device and re-pair it with your network |
| Bad signal strength | Move your router closer or use a Wi-Fi extender |
Post-Installation Safety Checks
After installing your smart thermostat, it’s essential to perform safety checks to guarantee proper operation and prevent potential hazards. Begin by verifying your Wi Fi connectivity to ensure seamless remote control and updates. Next, check that the thermostat’s batteries are properly maintained; replace or recharge them if needed to avoid power loss. Inspect wiring connections for tightness and signs of damage, preventing electrical issues. Finally, test the thermostat’s response by adjusting temperature settings and confirming it communicates correctly with your HVAC system. Regularly performing these safety checks helps maintain peak performance, extends device lifespan, and keeps your home safe. Staying proactive with battery maintenance and connectivity ensures your smart thermostat functions reliably and efficiently.
Frequently Asked Questions
Can I Install a Smart Thermostat Without Prior Electrical Experience?
You might wonder if you can do a DIY installation without electrical experience. While it’s possible, it’s not recommended if you’re unfamiliar with wiring or electrical systems. DIY installation requires careful attention to safety and proper connections. If you lack electrical experience, consider hiring a professional or thoroughly researching the process. This way, you guarantee your smart thermostat is installed safely and functions correctly, avoiding potential hazards or damage.
What Should I Do if My Home’s Wiring Is Incompatible?
If your home’s wiring isn’t compatible with your smart thermostat, don’t worry. You can use wireless adapters or compatibility adapters to bridge the gap. First, identify the specific wiring issue, then choose an adapter designed for your system. Install the adapter according to the manufacturer’s instructions, ensuring it connects properly. This approach helps you bypass wiring limitations, making your smart thermostat installation smooth and safe without rewiring your home.
Are There Specific Safety Precautions for Handling Lithium Batteries?
Ah, the thrill of lithium batteries—truly the rock stars of the tech world. When it comes to battery safety, you should always handle lithium handling with care, avoiding punctures or exposing them to heat. Wear gloves and eye protection, keep them away from water, and never attempt to modify them. Remember, a little caution goes a long way in preventing fiery disasters and ensuring your tech’s longevity.
How Do I Verify the Correct Wiring Connections Before Powering Up?
Before powering up, you should verify your wiring connections by referring to your wiring diagrams carefully. Double-check each wire’s placement to make sure it matches the diagram. Use a multimeter for voltage testing, confirming that there’s no unexpected voltage or shorts. This step helps prevent damage to your thermostat or system. Taking these precautions ensures your wiring is correct and safe before you turn on your smart thermostat.
Is It Necessary to Hire a Professional for Complex Wiring Setups?
When considering if you need professional assistance for complex wiring setups, think about the wiring complexity involved. If your system has multiple wires, unfamiliar connections, or if you’re unsure about the wiring, it’s best to hire a professional. They have the experience to handle tricky wiring safely and correctly, preventing potential damage or hazards. Don’t risk mistakes—trust a professional when wiring complexity exceeds basic setups.
Conclusion
Congratulations, you’ve now mastered the art of DIY smart thermostat installation—armed with tools, safety tips, and enough knowledge to outwit your home’s wiring. Just remember, nothing says “I’m in control” like confidently flipping switches and connecting wires, even if you’re secretly praying to the electrical gods. With your newfound expertise, you’ll enjoy a cozy home and maybe even impress your neighbors—who’ll never suspect you’re a DIY thermostat whisperer in disguise. Happy installing!