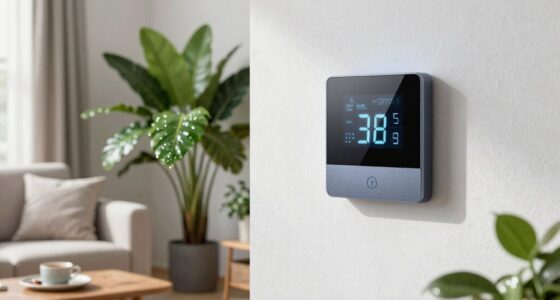

This guide explains how to install and configure a smart thermostat in a dorm room. It is designed for students or renters with basic electrical and technical skills. You will learn to select the right device, install it safely, and set up remote control features to maintain a comfortable environment efficiently.

ecobee Smart Thermostat Essential – Energy Star Certified Wi-Fi Programmable Thermostat
- ✔ Energy Star Certified: Yes
- ✔ Compatibility: Most 24 VAC HVAC systems
- ✔ Connectivity: Wi-Fi

ecobee Smart Thermostat Enhanced – Programmable Wi-Fi Thermostat with Voice Compatibility
- ✔ Energy Star Certified: Yes
- ✔ Compatibility: Most 24 VAC HVAC systems including boilers
- ✔ Connectivity: Wi-Fi

Sensi Smart Thermostat, Wi-Fi, DIY, Alexa, Energy Star Certified, ST55
- ✔ Controller Type: Amazon Alexa, Apple HomeKit, Google Assistant, SmartThings
- ✔ Additional Features: Data Privacy, Energy Savings, Filter Indicator
- ✔ Specific Uses: Air Conditioner, Boiler, Furnace, Heat Pump
Difficulty: Intermediate | Time: 30-60 minutes
What You’ll Need
Tools & Materials:
- Screwdriver
- Drill (optional)
- Smartphone or tablet
- Wi-Fi network access
Knowledge:
- Basic understanding of electrical wiring
- Familiarity with smartphone app installation
Ensure your dorm room has a compatible heating/cooling system (central or mini-split). Check the thermostat wiring before purchase.

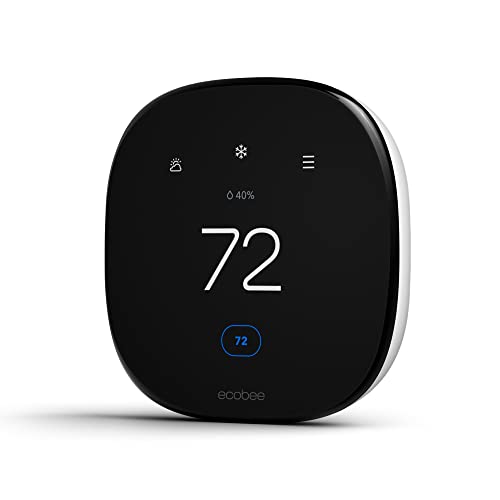
ecobee Smart Thermostat Essential - Energy Star Certified programmable Wi-Fi Thermostat - Works with Siri, Alexa, and Google Assistant
Save up to 23% every year on heating and cooling costs, adjusts to your set schedule to save...
As an affiliate, we earn on qualifying purchases.
ecobee Smart Thermostat Essential – Energy Star Certified Wi-Fi Programmable Thermostat
This option stands out for its up to 23% annual energy savings, making it a smart choice for dorm residents looking to cut costs. Its DIY installation without C-wire simplifies setup, while its compatibility with major smart home systems ensures seamless integration. However, the SmartSensors and Power Extender Kit must be purchased separately, adding to the initial cost, and some users might find the setup detailed if unfamiliar with smart devices.
Pros:
- Saves up to 23% on energy costs annually
- Easy DIY installation with no C-wire needed
- Compatible with Siri, Alexa, and Google Assistant
- Supports smart sensors for room-specific control
Cons:
- SmartSensors and Power Extender Kit sold separately
- Requires online system compatibility checks
- Advanced features need app setup
Best for: Students seeking a reliable, energy-efficient thermostat with straightforward installation.
Not ideal for: Dorm residents with incompatible HVAC systems or those unwilling to purchase extra sensors.
Bottom line: A well-rounded choice offering energy savings and simple setup perfect for most dorm rooms.
“A well-rounded choice offering energy savings and simple setup perfect for most dorm rooms.”
ecobee Smart Thermostat Enhanced - Programmable Wifi Thermostat - Works with Siri, Alexa, Google Assistant - Energy Star Certified - Smart Home
Save up to 26% per year on heating and cooling costs Automatically adjusts the temperature when you’re away...
As an affiliate, we earn on qualifying purchases.
ecobee Smart Thermostat Enhanced – Programmable Wi-Fi Thermostat with Voice Compatibility
This model is better suited for students who want a thermostat that adapts over time, with learning capabilities and voice control. Its compatibility with multiple platforms makes remote management more convenient, and it includes a Power Extender Kit and Trim Kit for easier installation. The main tradeoff is the need to check HVAC compatibility beforehand and the potential complexity of setup for those less familiar with smart tech.
Pros:
- Saves up to 26% annually on heating and cooling
- Learns your schedule and preferences
- Works with Alexa, Google, and Apple HomeKit
- Includes accessories for easier installation
Cons:
- Requires system compatibility check
- Setup can be complex without prior experience
- Dependent on Wi-Fi for remote control
Best for: Students who want a smart thermostat that learns routines and integrates with multiple voice assistants.
Not ideal for: Users with incompatible HVAC systems or those seeking a simple, no-fuss device.
Bottom line: Ideal for students who desire a smart, adaptive thermostat that integrates seamlessly with their existing smart home setup.
“Ideal for students who desire a smart, adaptive thermostat that integrates seamlessly with their existing smart home setup.”

Sensi Smart Thermostat, Wi-Fi, DIY, Alexa, Energy Star Certified, ST55
PRIVACY PROTECTION*: Sensi won’t sell your personal information to third parties
As an affiliate, we earn on qualifying purchases.
Sensi Smart Thermostat, Wi-Fi, DIY, Alexa, Energy Star Certified, ST55
The Sensi Smart Thermostat makes setup straightforward with its step-by-step app instructions, ideal for students who want a quick, reliable solution. It offers about 23% energy savings and supports a wide range of smart platforms, including Alexa, Google, and Apple. The main tradeoff is its reliance on a c-wire in some systems, which could complicate installation, and it offers fewer advanced features compared to ecobee’s premium models.
Pros:
- Easy DIY installation with clear app instructions
- Energy savings of around 23%
- Compatible with multiple smart home systems
- Provides maintenance and usage reports
Cons:
- Requires a c-wire in some applications
- Limited advanced features
- Potential learning curve for tech novices
Best for: Dorm residents seeking an easy-to-install, compatible thermostat with basic smart features.
Not ideal for: Users with no existing c-wire or those wanting advanced learning functions.
Bottom line: A solid, user-friendly option for students prioritizing simplicity and broad smart support.
“A solid, user-friendly option for students prioritizing simplicity and broad smart support.”
As an Amazon Associate we earn from qualifying purchases.
Before You Start
Verify dorm policies on installing devices and confirm Wi-Fi stability. Turn off power to the existing thermostat if required to prevent electrical hazards. Keep the device manual handy for reference.
Step-by-Step Instructions
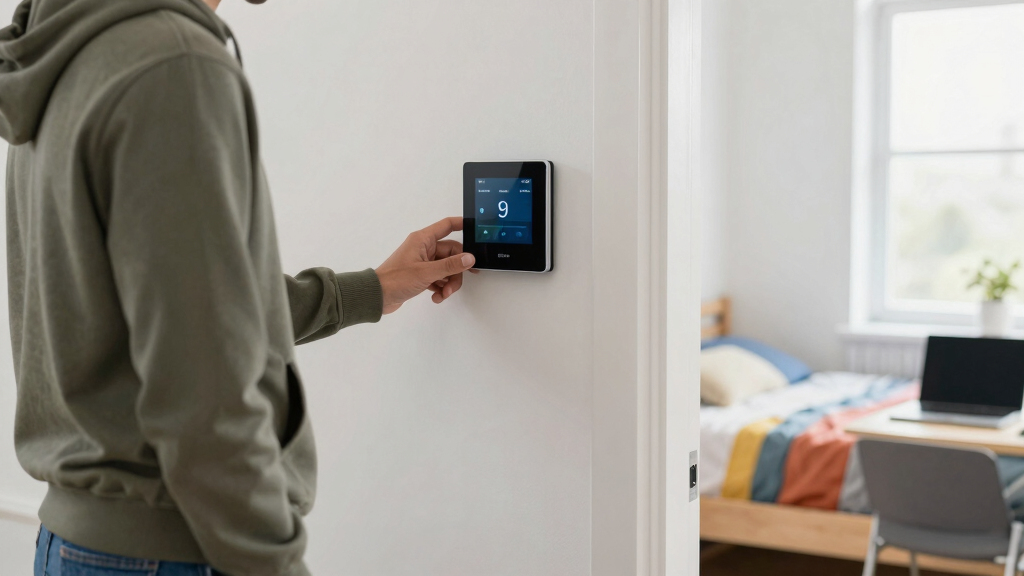
Step 1: Choose a compatible smart thermostat
Select a smart thermostat compatible with your heating and cooling system and Wi-Fi. Check the device specifications for compatibility with your system type (central HVAC, mini-split, etc.).
Tip:Read reviews and confirm app compatibility with your smartphone.
Check: You have a device compatible with your system and ready for installation.
Step 2: Turn off power to the existing thermostat
Locate the circuit breaker for your dorm room’s HVAC system and switch it off to cut power. Confirm power is off by testing the existing thermostat or using a voltage tester.
Tip:Be cautious and double-check before proceeding to avoid electrical shock.
Check: No power is flowing to the thermostat or HVAC system.
Step 3: Remove the old thermostat
Unscrew the existing thermostat cover and disconnect wires carefully. Keep track of wire color and terminal connections for reference.
Tip:Take a photo of the wiring before disconnecting for easy reference during installation.
Check: The old thermostat is removed, and wiring is documented and safe.
Step 4: Connect the new thermostat wiring
Follow the manufacturer’s wiring diagram to connect the wires to the new thermostat terminals. Use the provided screws or clips to secure wires firmly.
Tip:Ensure wires are inserted fully and check for loose connections to prevent malfunction.
Check: All wires are properly connected and secured according to the device instructions.
Step 5: Mount the smart thermostat
Attach the thermostat base to the wall using screws or mounting hardware, ensuring it is level and secure.
Tip:Use a level if necessary to keep the device straight.
Check: The thermostat is firmly mounted and wiring is hidden behind the panel.
Step 6: Restore power and turn on the thermostat
Switch the circuit breaker back on and power up the HVAC system. Turn on the thermostat and verify it powers up correctly.
Tip:If the device does not turn on, recheck wiring connections.
Check: The thermostat displays a startup screen or ready status.
Step 7: Download and set up the app
Install the thermostat’s companion app from your app store, then create an account or log in. Follow the app instructions to connect the device to your Wi-Fi network.
Tip:Make sure your phone is connected to the same Wi-Fi network as the thermostat during setup.
Check: The app shows the thermostat online and ready for control.
Step 8: Configure temperature settings and schedules
Use the app to set desired temperature ranges, schedules, and control preferences. Test remote adjustments to confirm connectivity.
Tip:Set energy-saving schedules to optimize comfort and reduce costs.
Check: The thermostat responds to app commands and maintains the set temperature.
Common Mistakes to Avoid
- Connecting wires incorrectly, causing malfunction or damage. — Double-check wire colors and terminal labels against the wiring diagram before connecting.
- Not turning off power, risking electrical shock or damage. — Always switch off the circuit breaker before removing or connecting wires.
- Choosing an incompatible thermostat for your system. — Verify system compatibility before purchase using the manufacturer’s guidelines.
- Failing to secure the thermostat properly, leading to poor contact or damage. — Ensure mounting is firm and level, with wires tucked neatly behind.
Troubleshooting
Problem: Thermostat does not power on after installation.
Solution: Check circuit breaker and wiring connections. Confirm power supply and wiring polarity.
Problem: App cannot find or connect to the thermostat.
Solution: Ensure Wi-Fi is active and the thermostat is within range. Restart the app and device if needed.
Problem: Heating or cooling system does not respond to thermostat commands.
Solution: Verify wiring connections and power status. Reset the device and reconfigure in the app.
What Success Looks Like
The thermostat displays a clear status screen, responds to app control, maintains set temperatures, and stays connected to Wi-Fi without errors.
Next Steps
Monitor the thermostat over a few days, adjusting settings as needed. Keep the app updated and check Wi-Fi connection regularly. If issues arise, consult the device manual or support.
Frequently Asked Questions
Can I install a smart thermostat myself in a dorm room?
Yes, if you have basic electrical skills and follow safety precautions. Otherwise, seek assistance from a professional or maintenance staff.
Will installing a smart thermostat violate dorm policies?
Check with your dorm’s rules before installation. Some facilities may have restrictions or require approval.
What if my heating/cooling system isn’t compatible?
Choose a thermostat that supports your system type or contact the manufacturer for guidance. Some systems may require professional wiring or retrofit.
How often should I update the thermostat firmware?
Check the app or device notifications regularly for updates to improve security and features.