
After installing your thermostat, start by checking the wiring to guarantee all connections are secure and aligned with guidelines. Confirm compatibility with your HVAC system and use a separate thermometer to verify calibration. Next, check that the power supply is adequate and the display is working. Finally, test the functionality by adjusting settings and listening for system activation. If everything looks good, you’re on your way to a comfortable home, but there’s more to explore!

Get home appliances delivered free — and shop member deals
- Fast, free delivery on millions of items
- Access to Prime Big Deal Days deals on October 6–7
- Prime Video, Amazon Music and more included
Key Takeaways
- Verify wiring connections are secure and aligned with manufacturer guidelines to prevent malfunctions.
- Check thermostat compatibility with your HVAC system to avoid communication issues.
- Use a separate thermometer to calibrate the thermostat and ensure accurate temperature readings.
- Confirm the power supply is adequate, checking batteries or wiring for functionality.
- Test the thermostat’s response by setting it to heat or cool and monitoring system activation sounds.
After installing a thermostat, there are several key tests you should perform to confirm everything’s working smoothly. First, you’ll want to conduct a thorough wiring inspection. This guarantees that all connections are secure and correctly aligned with the manufacturer’s guidelines. A loose wire can lead to malfunctions, so double-checking this step is vital.
Once you’ve confirmed the wiring is safe, it’s time for a compatibility check. Make sure your new thermostat is compatible with your HVAC system. You wouldn’t want to find out after the install that your heating or cooling system can’t communicate properly with your new device. Refer to the user manual for details about system compatibility. If everything matches up, you can move forward confidently.
After ensuring the wiring is secure, verify your thermostat’s compatibility with your HVAC system to avoid communication issues.
Next, conduct calibration checks. This helps verify that the thermostat accurately reflects the actual room temperature. If it’s off by a few degrees, it can affect your comfort and energy efficiency. Use a separate thermometer to compare readings, and adjust settings as necessary to achieve temperature accuracy.
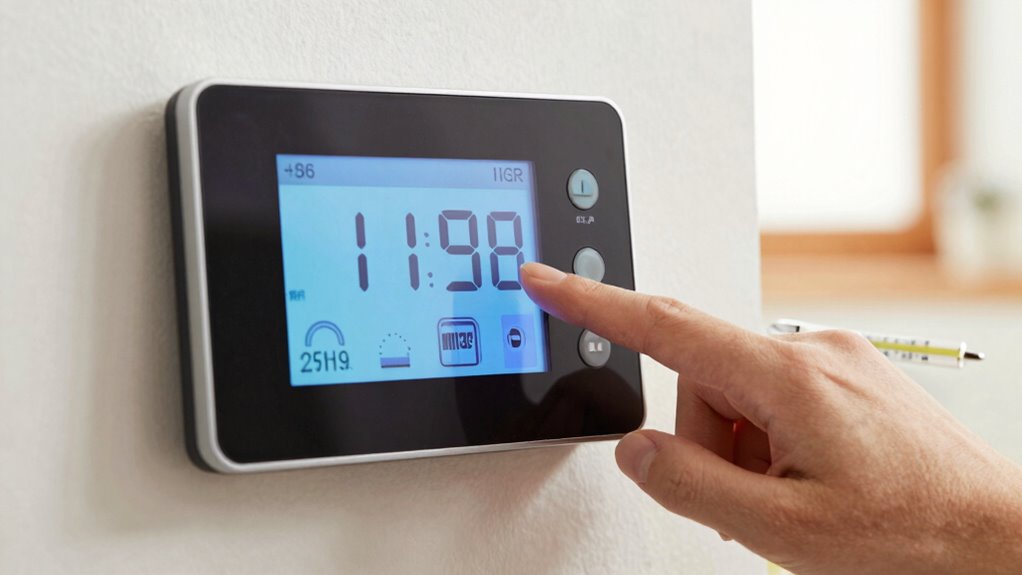
Once you’ve verified the calibration, it’s important to check the power supply. If the thermostat isn’t receiving adequate power, it won’t function correctly. Confirm that any batteries are fresh or that it’s wired properly to your home’s electrical system. You should see indicators on the display confirming that the device is powered up. Additionally, understanding the power source of your thermostat can help prevent future issues. Ensuring proper power supply is also crucial for maintaining your home’s energy efficiency.
Now, perform a functionality review. Set your thermostat to heat or cool and monitor how it responds. Listen for the system to activate and confirm the temperature adjusts according to your settings. This step is vital to ensure that it operates as intended.
Additionally, explore the user settings on your thermostat. Familiarize yourself with the various modes and options available. Adjust settings to suit your lifestyle, whether that means setting timers or creating a schedule for different times of the day.
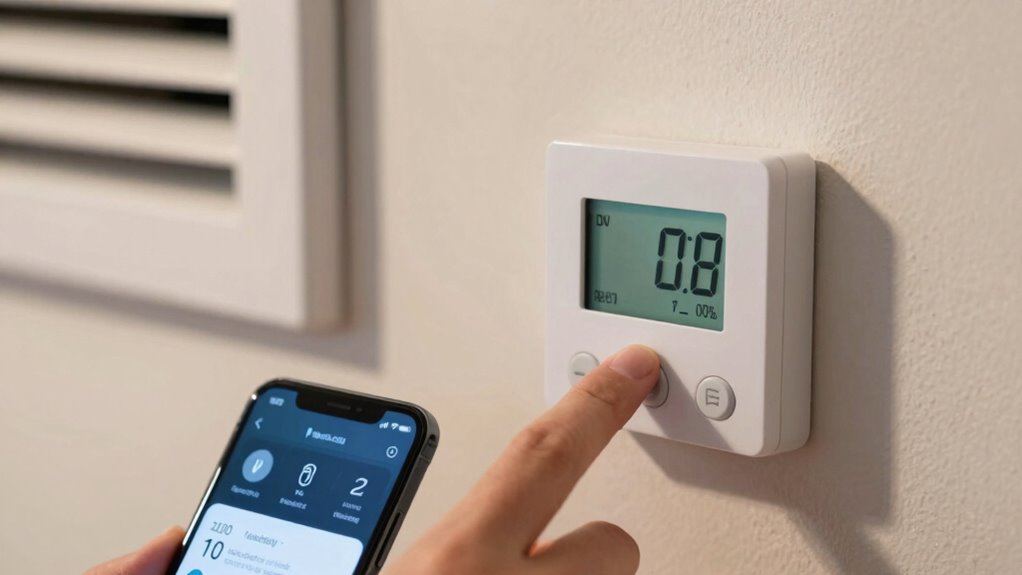
Finally, if your thermostat supports app connectivity, download the corresponding app and link it to your device. This feature can enhance your control over the system, allowing for remote adjustments and monitoring. Test the app’s responsiveness to verify it communicates well with your thermostat.
Furthermore, understanding the home automation capabilities of your thermostat can streamline your home management and improve energy efficiency.
As an affiliate, we earn on qualifying purchases.
Frequently Asked Questions
How Do I Reset My Thermostat After Installation?
To reset your thermostat after installation, locate the reset button, usually found on the device or in the settings menu. Press and hold it for a few seconds until the display changes, indicating a reset. This helps clear any troubleshooting issues you might face. Once it restarts, check the thermostat functions to confirm everything’s working correctly. If problems persist, consult your manual or contact support for further assistance.
Can I Install a Thermostat Without Professional Help?
Yes, you can install a thermostat without professional help! With some basic tools and a bit of patience, a DIY thermostat installation can be straightforward. Start by turning off the power to your HVAC system, then follow the manufacturer’s installation tips carefully. Make sure to connect the wires correctly and mount the thermostat securely. Once you’ve done that, you can turn the power back on and test it out. Good luck!
What Tools Are Needed for Thermostat Installation?
Installing a thermostat is like piecing together a puzzle; you need the right tools to see the full picture. Start with a screwdriver, wire stripper, and a voltage tester. Pay attention to wire color coding to avoid common mistakes—white for heat, yellow for cooling, and green for the fan. A level can help guarantee your thermostat sits straight. With these tools in hand, you’re ready to create a cozy home environment!
How Long Does It Take for a Thermostat to Calibrate?
It usually takes about 15 to 30 minutes for your thermostat to calibrate. During this calibration process, the device adjusts to guarantee temperature accuracy. You might notice fluctuations as it fine-tunes its readings, so give it some time to settle. If you find it’s still not accurate after a few hours, double-check your installation and settings. A well-calibrated thermostat helps maintain your home’s comfort efficiently.
Is There a Warranty for My New Thermostat?
Yes, there’s typically a warranty for your new thermostat. Most manufacturers offer warranty details that cover defects and malfunctions for a certain period, often ranging from one to five years. It’s essential to check the specific terms, as some warranties may require registration. Understanding your thermostat’s lifespan can also help you gauge when it might need replacement, but with proper care, you can maximize its longevity and get the most out of your investment.
HVAC system compatibility checker
As an affiliate, we earn on qualifying purchases.
As an affiliate, we earn on qualifying purchases.
Conclusion
Once you’ve installed your thermostat, don’t just walk away like it’s 1999! Make certain to test its functionality right away. Check the temperature settings, guarantee it’s communicating with your HVAC system, and verify that it responds to adjustments. This quick troubleshooting can save you from a chilly surprise later. By following these steps, you’ll make certain your home stays cozy and efficient, keeping you comfortable all year round!
digital thermometer for thermostat calibration
As an affiliate, we earn on qualifying purchases.
As an affiliate, we earn on qualifying purchases.
As an affiliate, we earn on qualifying purchases.
NFL season / tailgating Picks
team gear
As an affiliate, we earn on qualifying purchases.