
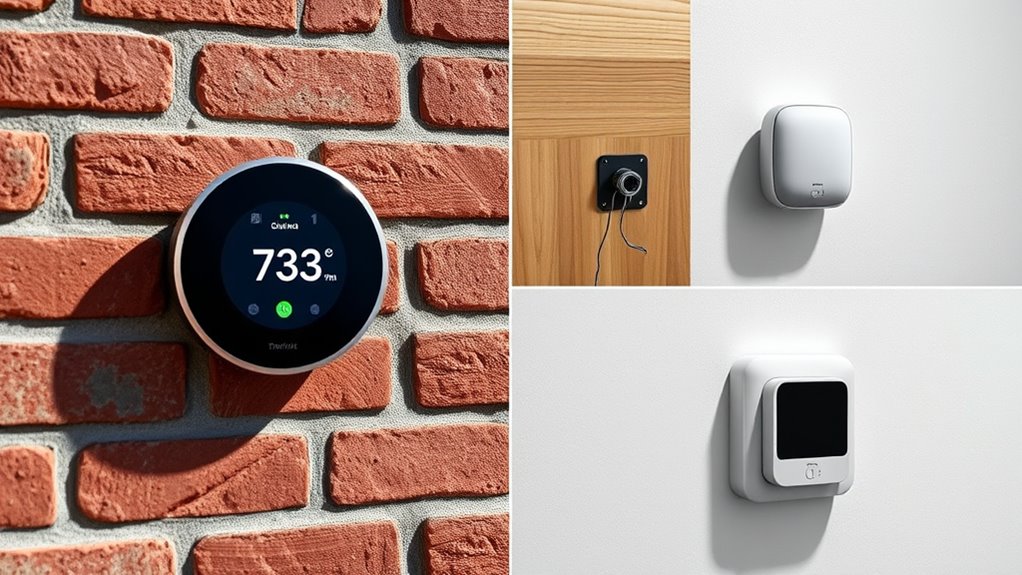
To mount your smart thermostat effectively, first identify your wall type. For drywall, use a drill with anchors, preferably attaching the thermostat near studs for stability. On brick or concrete, choose a masonry drill and anchors designed for masonry surfaces. For tile, employ a carbide-tipped drill bit to prevent cracks. Wooden walls are easiest, requiring just screws and a drill. Ensuring proper hardware and placement will keep your device secure and functioning smoothly—learn more tips for a perfect installation.
Key Takeaways
- Use a masonry drill and appropriate anchors for brick, concrete, or tile walls to ensure secure mounting.
- For drywall, locate studs or use drywall anchors to provide strong support for the thermostat.
- When mounting on wood walls, utilize screws and a drill for a stable and flush installation.
- Avoid placing the thermostat near heat sources or direct sunlight to maintain accurate readings.
- Choose a central, interference-free wall with a strong Wi-Fi signal for optimal connectivity and performance.
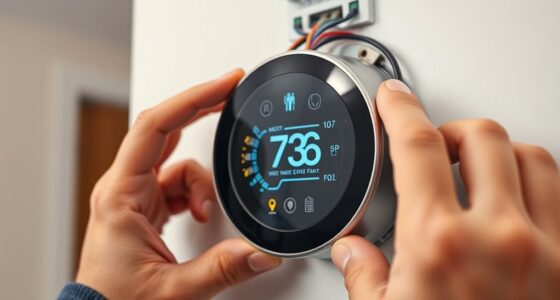
Installing a smart thermostat can considerably enhance your home’s comfort and energy efficiency, but proper mounting is indispensable for ideal performance. The way you install your device impacts its wireless compatibility and overall function. You want to ensure it’s positioned correctly to receive a strong Wi-Fi signal, which is essential for seamless connectivity and remote control features. Mounting your thermostat on a wall that’s too far from your router or obstructed by furniture can weaken the signal, leading to slow response times or connectivity issues. To optimize wireless compatibility, choose a spot with minimal interference, and consider a central location on your wall for consistent connectivity.
Choose a central, interference-free wall spot for optimal Wi-Fi signal and reliable smart thermostat performance.
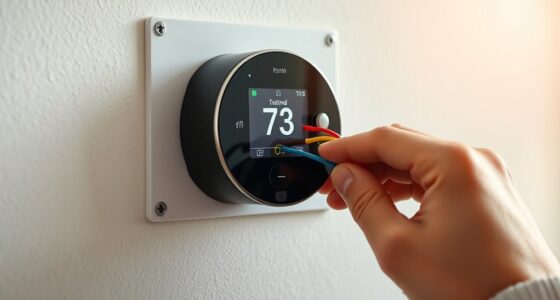
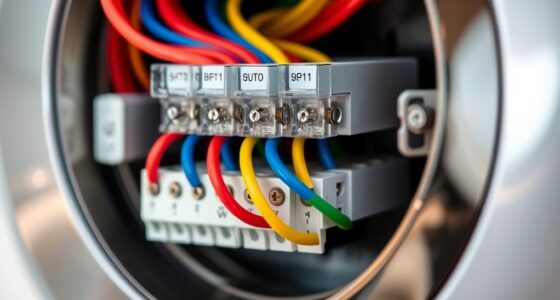
When it comes to power supply options, your mounting choice plays a significant role. Many smart thermostats can operate using the existing wiring, typically the C-wire, which supplies continuous power. If your home’s wiring lacks a C-wire, you might need to use an adapter or choose a model specifically designed for power sharing, which can draw power from other connections. Some units are battery-powered, which simplifies installation but may require periodic battery replacements. Before mounting, examine the power supply options available for your model and confirm your wall can accommodate the necessary wiring or power sources.
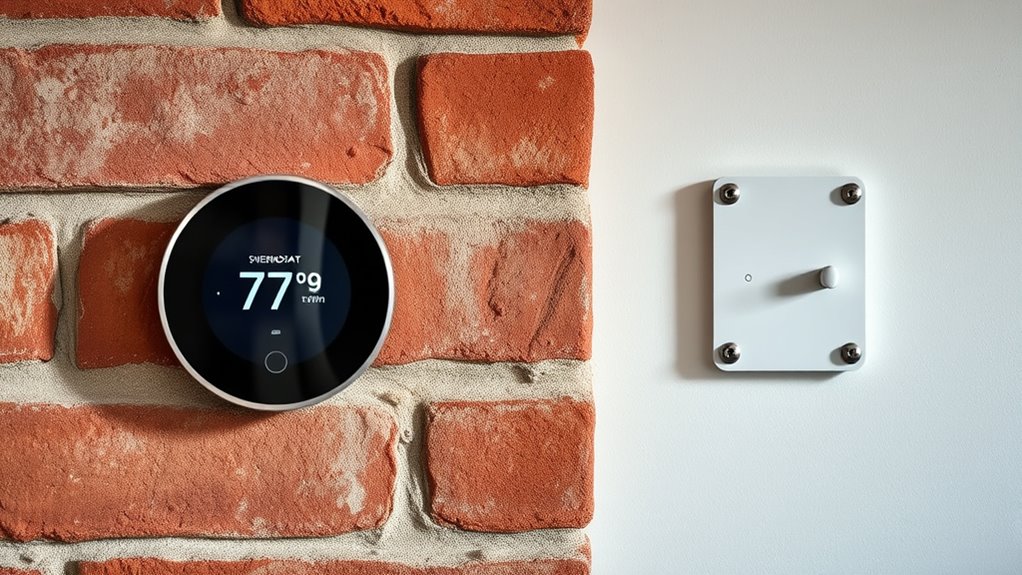
Different wall types demand tailored mounting techniques. For drywall, a straightforward approach involves using a drill and anchors to secure the mounting plate firmly. Make sure you locate studs behind the drywall using a stud finder for added stability, especially if your device is heavy or if you want to guarantee it stays securely mounted over time. For brick or concrete walls, you’ll need a masonry drill bit and anchors designed for these surfaces. Drilling into these materials requires more effort but provides a sturdy base for your thermostat. If you’re mounting on tile, use a carbide-tipped drill bit to prevent cracking, and proceed carefully to avoid damaging the surface.
Wooden walls are generally the easiest to work with, requiring only basic screws and a drill. Just ensure the mounting plate is flush against the surface and securely anchored to avoid wobbling or falling. Keep in mind that height and placement are also essential; position your thermostat at eye level and away from direct sunlight, vents, or sources of heat and cold to maintain accurate readings. Whether you’re dealing with drywall, brick, tile, or wood, selecting the right mounting hardware and method guarantees your smart thermostat stays securely in place, functions reliably, and maintains a strong wireless connection.
Frequently Asked Questions
Can Smart Thermostats Be Mounted Outdoors?
Yes, you can mount smart thermostats outdoors if they have outdoor compatibility. However, you need to contemplate wall material considerations, ensuring the surface is sturdy and protected from weather elements. Choose a sheltered spot away from direct sunlight, rain, and extreme temperatures. Use appropriate mounting hardware designed for exterior use, and consider a weatherproof enclosure if necessary, to keep your smart thermostat functioning properly outside.
How Do I Hide Wiring on Exposed Brick Walls?
Ever wonder how to keep your exposed brick wall looking sleek? To hide wiring, use cable concealment options like surface-mounted raceways or flexible conduit that match your wall’s color. You can also opt for aesthetic solutions such as decorative cords or installing the wiring behind the wall if possible. These methods keep your space tidy and stylish, ensuring your smart thermostat installation looks seamless and professional.
Are Special Mounts Needed for Uneven or Textured Surfaces?
Yes, special mounts can help when dealing with uneven or textured surfaces. You should focus on proper wall preparation to guarantee a secure fit. Use a level and a drill to create a flat mounting surface, and consider wall anchors or spacers if needed. These steps help the thermostat sit flush and stay firmly attached, preventing future issues caused by the irregularities in your wall surface.
Can I Install a Smart Thermostat on a Metal Wall?
You can install a smart thermostat on a metal wall, but it’s tricky. Imagine a homeowner in winter struggling with uneven heating—mounting on a metal wall could cause signal interference or poor temperature readings. To guarantee proper function, consider insulation behind the wall or use a mounting plate to reduce metal contact. This way, you’ll avoid issues with connectivity and temperature accuracy, making your smart thermostat work effectively.
Is Professional Installation Necessary for All Wall Types?
You don’t always need a professional to install your smart thermostat, but DIY challenges vary with wall types. For complex surfaces like metal or brick, a professional guarantees secure mounting and prevents damage. Aesthetic considerations also matter; a professional can help position the device for best appearance and functionality. If you’re comfortable with DIY projects and your wall is straightforward, you might handle it yourself, but when in doubt, hiring an expert is a smart move.
Conclusion
Mounting your smart thermostat is like planting a sturdy tree—you want it secure and well-positioned. By choosing the right wall type and following these tips, you guarantee it functions flawlessly and adds convenience to your home. Remember, proper installation is the foundation for peak performance, so take your time and get it right. With these simple steps, you’ll enjoy a seamless setup that keeps your home comfortable and energy-efficient, just like a well-tuned orchestra.