To install your smart thermostat, first check that your system is compatible and turn off the power. Remove your old thermostat, noting and photographing the wiring, then connect the new device by attaching the mounting plate and wiring it correctly. Turn the power back on, connect to Wi-Fi, calibrate the temperature, and customize your settings. If you follow these steps, you’ll enjoy improved comfort and savings—keep going to learn more about each stage.
Key Takeaways
- Verify system compatibility, wiring, and power supply before beginning installation.
- Carefully remove the old thermostat, noting wiring connections and taking photos for reference.
- Mount the new thermostat, connect wires accurately using color codes and manufacturer instructions.
- Power on the system, connect the thermostat to Wi-Fi, and perform temperature calibration.
- Configure settings via app or device, test remote control functions, and ensure smooth operation.
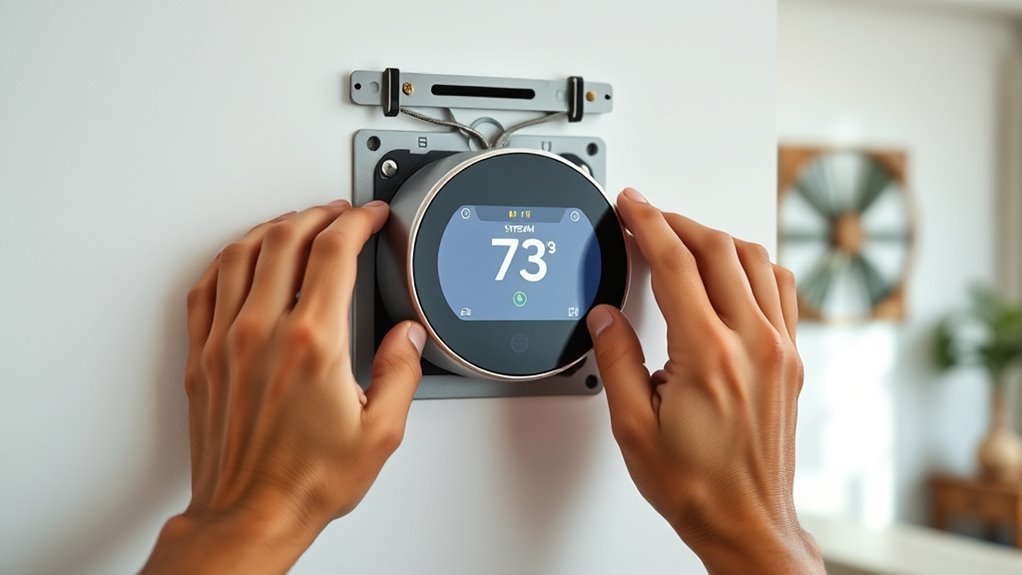
Installing a smart thermostat can substantially enhance your home’s comfort and energy efficiency. The first step is to verify your current system is compatible with the new device. Most smart thermostats offer wireless compatibility, allowing you to connect seamlessly to your Wi-Fi network. This feature simplifies setup and provides remote control through smartphone apps. Before purchasing, confirm that your heating and cooling systems are compatible, and check if your existing wiring supports the smart thermostat model you’ve chosen. Once you verify compatibility, turn off power to your HVAC system to prevent any electrical mishaps during installation.
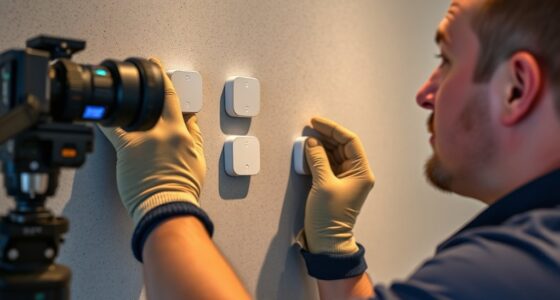
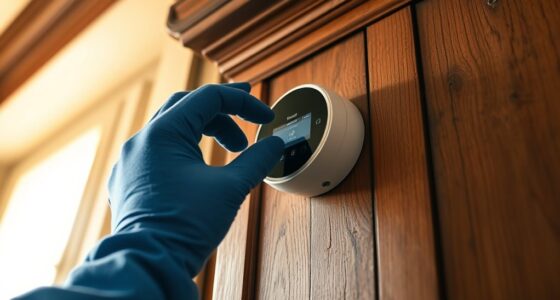
Next, remove your old thermostat carefully, noting how the wires are connected. Many thermostats have a wiring diagram on the back or inside the cover. Take pictures for reference, making sure you’ll remember where each wire goes. Disconnect the wires and remove the old thermostat from the wall. With your new smart thermostat, start by attaching the mounting plate to the wall, making sure it’s level. Then, connect the wires to the corresponding terminals on the new device. Many smart thermostats have color-coded terminals and labels, but double-check with your pictures and the manufacturer’s instructions to be sure. Proper wiring is vital for guaranteeing wireless compatibility and maximum operation.
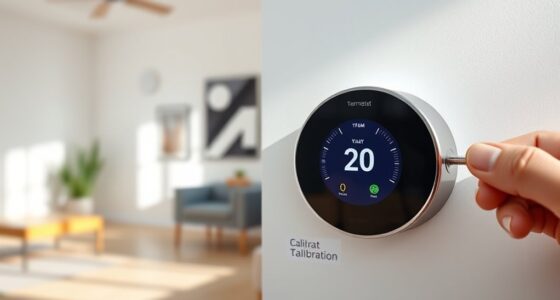
Once wired, attach the thermostat to its mounting plate and turn the power back on. With power restored, follow the on-screen instructions to connect your thermostat to your Wi-Fi network. This step allows you to access features like remote control, scheduling, and energy reports. After connecting to Wi-Fi, you’ll need to perform temperature calibration. This process involves setting your thermostat to match your actual room temperature accurately. Some models automatically calibrate, but others require manual adjustment. To do this, place a reliable thermometer near the thermostat, then compare the readings. If there’s a discrepancy, adjust the thermostat’s calibration setting until the displayed temperature matches the actual room temperature. Precise temperature calibration ensures your smart thermostat maintains a comfortable environment and maximizes energy savings.
Additionally, understanding the importance of reputable builders can help ensure your smart thermostat is installed correctly in a well-constructed system. Finally, customize your settings through the app or device interface. You can set schedules, enable energy-saving modes, and integrate the thermostat with smart home systems if supported. Test the system by adjusting the temperature remotely and observing the response from your HVAC. If everything operates smoothly, you’ve successfully installed your smart thermostat. With your device properly set up and calibrated, you’ll enjoy improved comfort, convenience, and energy efficiency in your home. This process, though detailed, becomes straightforward once you understand the importance of wireless compatibility and accurate temperature calibration, guaranteeing your smart thermostat works perfectly for years to come.

ecobee Trim Plate for Smart Thermostat Essential – Thermostat Accessory
- Compatibility: Designed for ecobee Smart Thermostat Essential
- Wall Coverage: Conceals old wiring and imperfections
- Design & Fit: Matches thermostat and fits flush with wall
As an affiliate, we earn on qualifying purchases.
As an affiliate, we earn on qualifying purchases.
Frequently Asked Questions
Can I Install a Smart Thermostat Without Professional Help?
Yes, you can do a DIY installation of a smart thermostat if you’re comfortable with basic wiring and electrical work. However, if you’re unsure or encounter complex wiring, it’s best to seek professional assistance to avoid potential damage or safety risks. Make sure to carefully follow the manufacturer’s instructions and turn off power before starting. With the right knowledge, a DIY installation can be straightforward and save you money.
How Do I Connect My Smart Thermostat to Wi-Fi?
Connecting your smart thermostat to Wi-Fi is like opening a door to a smarter home. First, access the Wi-Fi setup on your thermostat—usually via the screen or app. Then, select your Wi-Fi network and enter the password during app configuration. Follow prompts to complete the connection, ensuring your thermostat is seamlessly integrated. With these steps, you’re turning your device into a connected hub of comfort and control.
Will Installing a Smart Thermostat Affect My Existing HVAC Warranty?
Installing a smart thermostat generally shouldn’t affect your HVAC warranty, but you should check for warranty implications and manufacturer restrictions first. Some manufacturers may have specific installation requirements or restrictions, so it’s crucial to review your warranty terms. If you follow the proper installation procedures and use compatible equipment, your warranty usually remains valid. To be safe, contact your HVAC provider or manufacturer for personalized advice.
What Safety Precautions Should I Take During Installation?
You should prioritize electrical safety and tool safety during installation. Turn off the power at the breaker to prevent electrical shock, and use insulated tools to avoid accidental shorts. Wear gloves and safety glasses to protect yourself. Double-check all connections before turning the power back on. Following these precautions minimizes risks, keeps you safe, and guarantees a smooth installation process. Always follow the manufacturer’s safety instructions for maximum safety.
How Do I Troubleshoot Connectivity Issues After Installation?
If you’re experiencing connectivity issues after installation, first check your wireless connectivity by ensuring your Wi-Fi signal is strong and stable. Move your router closer if needed, and minimize signal interference from other electronic devices. Restart your thermostat and router to reset connections. Confirm your thermostat is connected to the correct Wi-Fi network and update its firmware if available. These steps should improve your smart thermostat’s wireless performance.
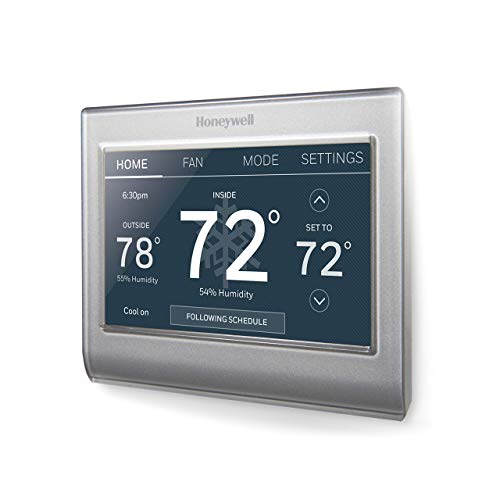
Honeywell Home RTH9585WF Wi-Fi Smart Color Thermostat, 7 Day Programmable, Touch Screen, Energy Star, Alexa Ready, C-Wire Required, Not Compatible with Line Volt Heating Gray
- Color Personalization: Customize to match your decor
- Energy Savings Rewards: Rebates and utility programs available
- Flexible Scheduling: Program according to your schedule or rates
As an affiliate, we earn on qualifying purchases.
As an affiliate, we earn on qualifying purchases.
Conclusion
Now that you’ve completed your smart thermostat installation, you’re ready to enjoy a cozy, energy-efficient home. Think of your new device as the conductor of your household’s comfort symphony, perfectly tuning your environment with just a tap or tap of your app. With a little effort, you’ve turned a simple upgrade into a smart move towards savings and convenience. Welcome to a smarter, more comfortable way of living—your home’s new heartbeat is now in perfect harmony.

NonProgrammable Thermostat for House, Digital Energy-Saving Thermostat,Single-Stage Systems, 1 Heat/1 Cool, Easy DIY Install, Blue Backlight
- Installation Guidance: Review wiring instructions before installation
- Wiring Limitations: Supports 2 to 5 wires only
- Incompatible Systems: Not suitable for multi-stage or heat pump systems
As an affiliate, we earn on qualifying purchases.
As an affiliate, we earn on qualifying purchases.

Sensi Smart Thermostat, Wi-Fi, DIY, Alexa, Energy Star Certified, ST55
- Privacy Protected: Won’t sell your personal data
- Easy DIY Installation: Includes level and step-by-step app guide
- Universal Compatibility: Works with most HVAC systems without c-wire
As an affiliate, we earn on qualifying purchases.
As an affiliate, we earn on qualifying purchases.